Chalk bag
Last winter I start with indoor climbing. It’s a nice and fun way of training that challenge both mind and body. After a short wile you realize that chalk is necessary and of course the bag need to be made out of leather.
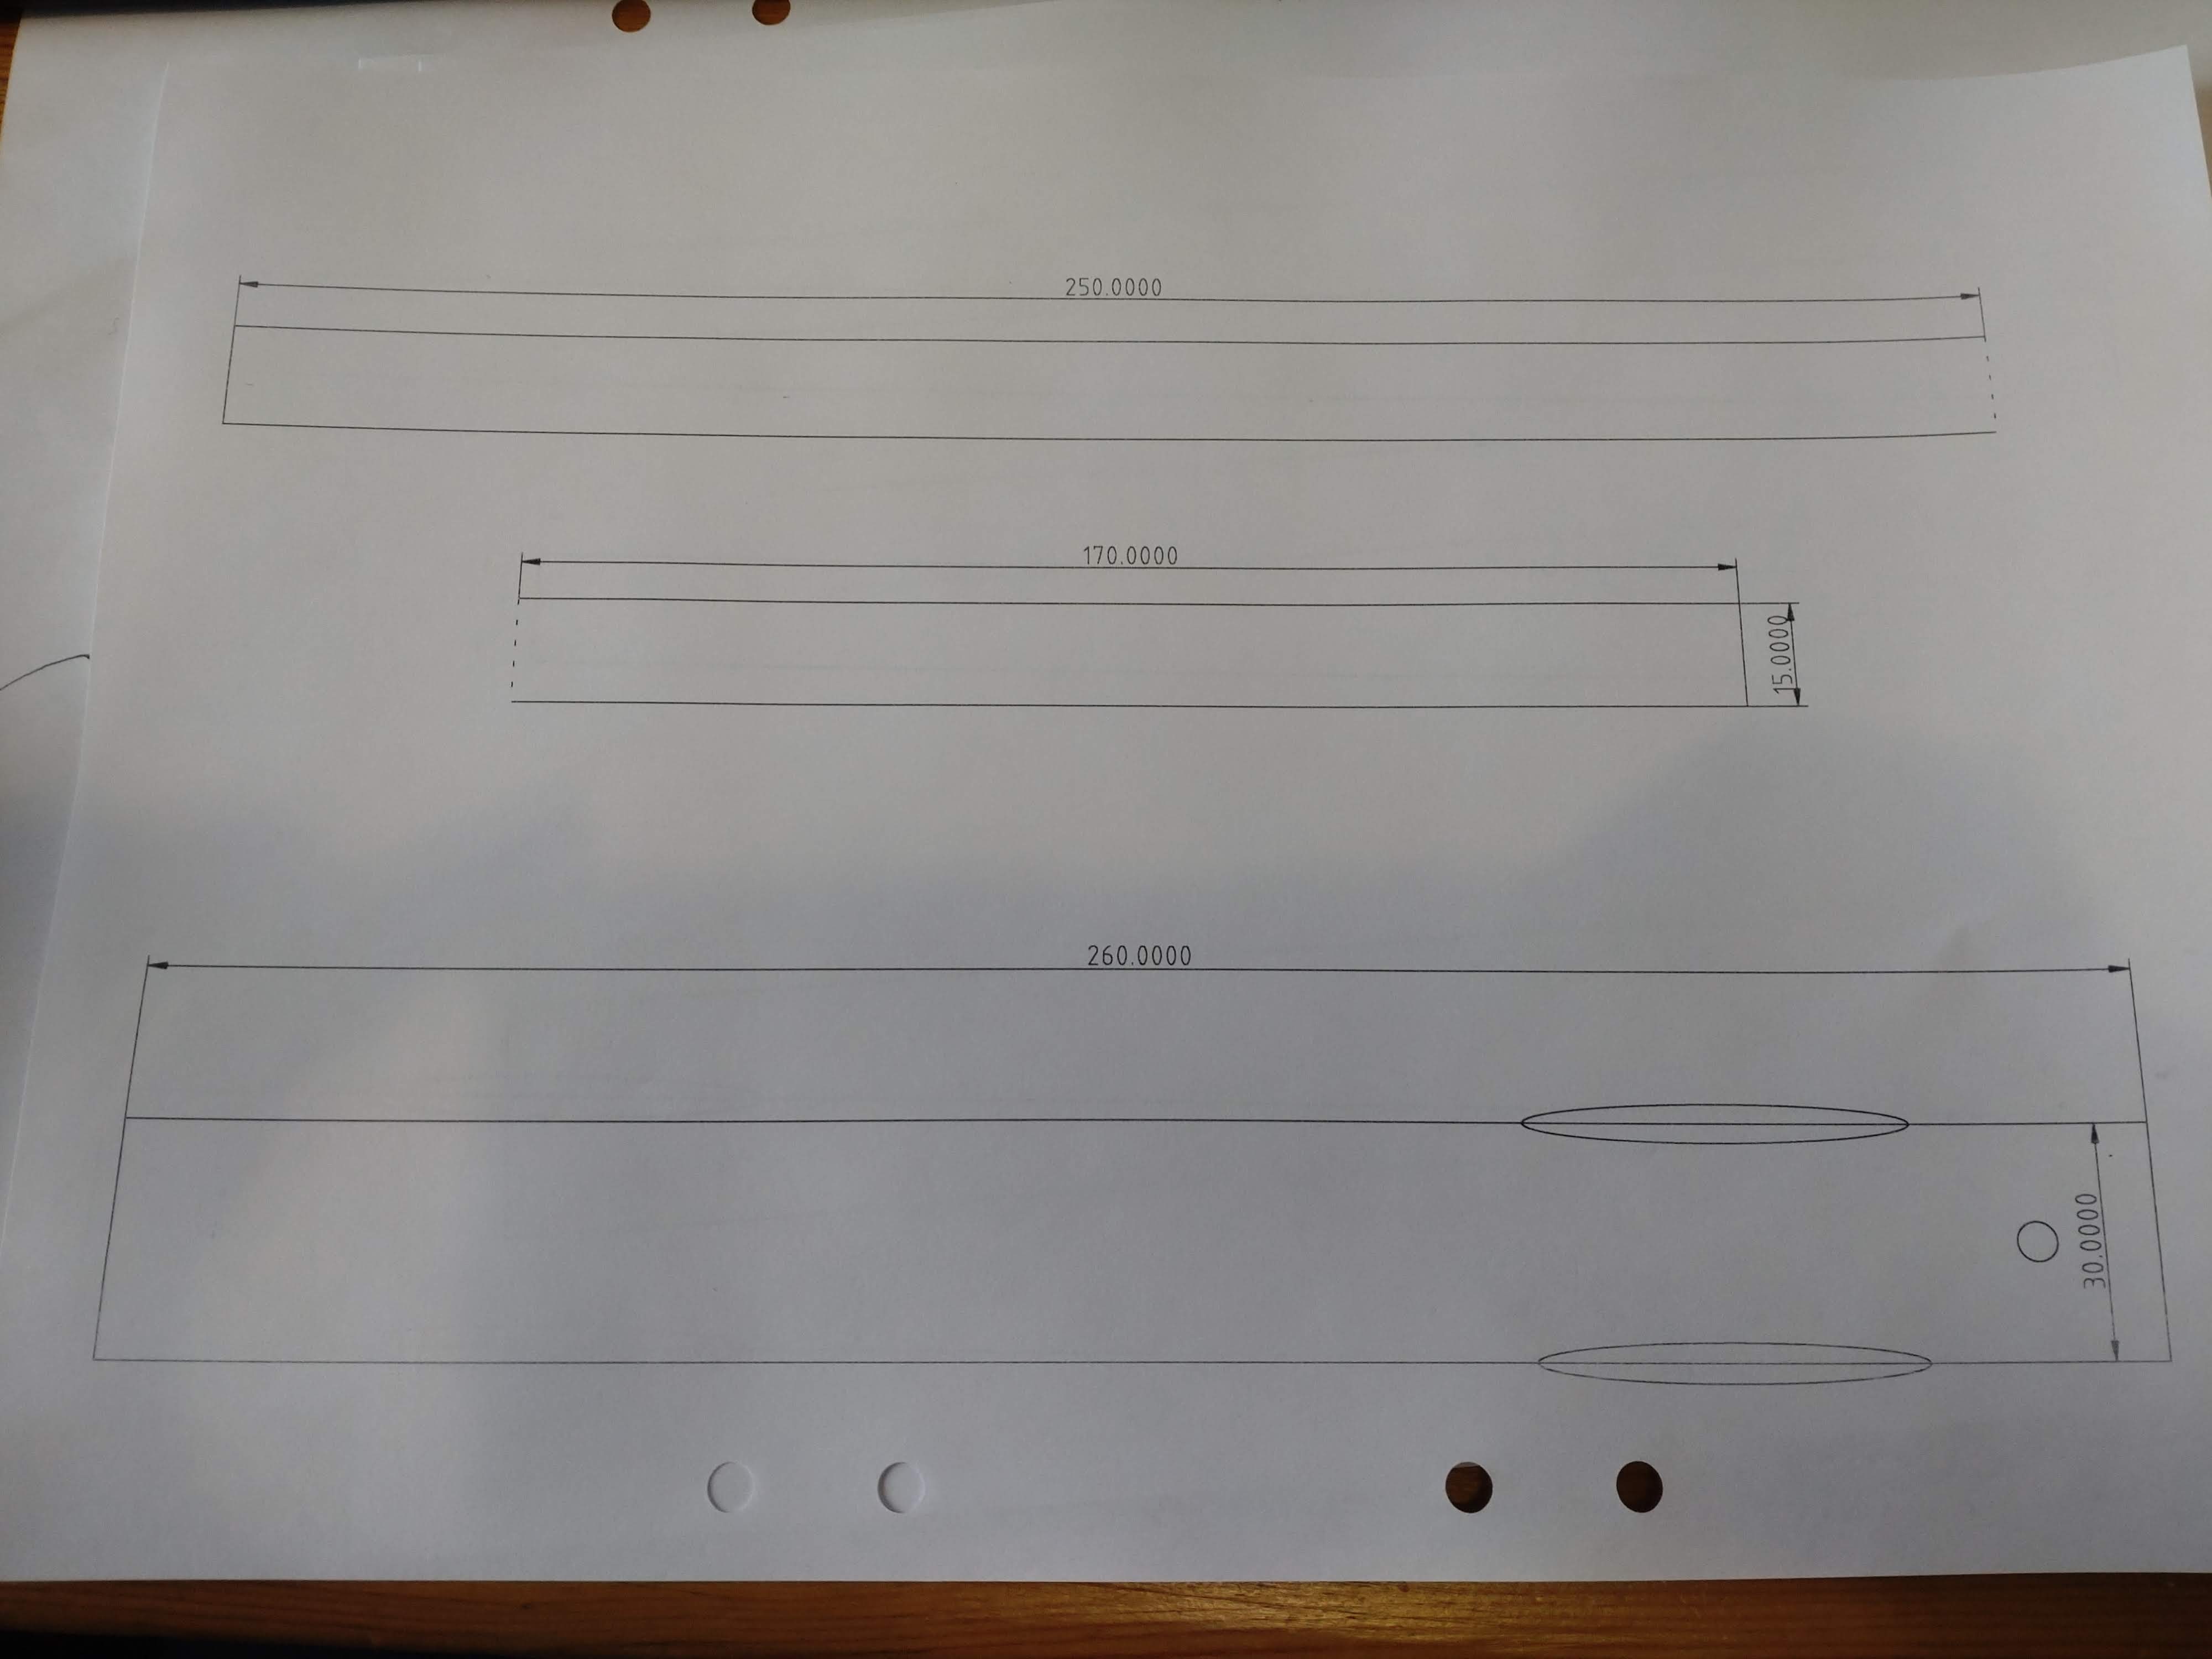
After some internet research I find a model that I liked. But to draw a pattern on free hand is hard and would probably ended up lopsided and asymmetrical. So some measurements and cut&paste from a pencil case pattern I had, I got something that would be doable, I hoped.
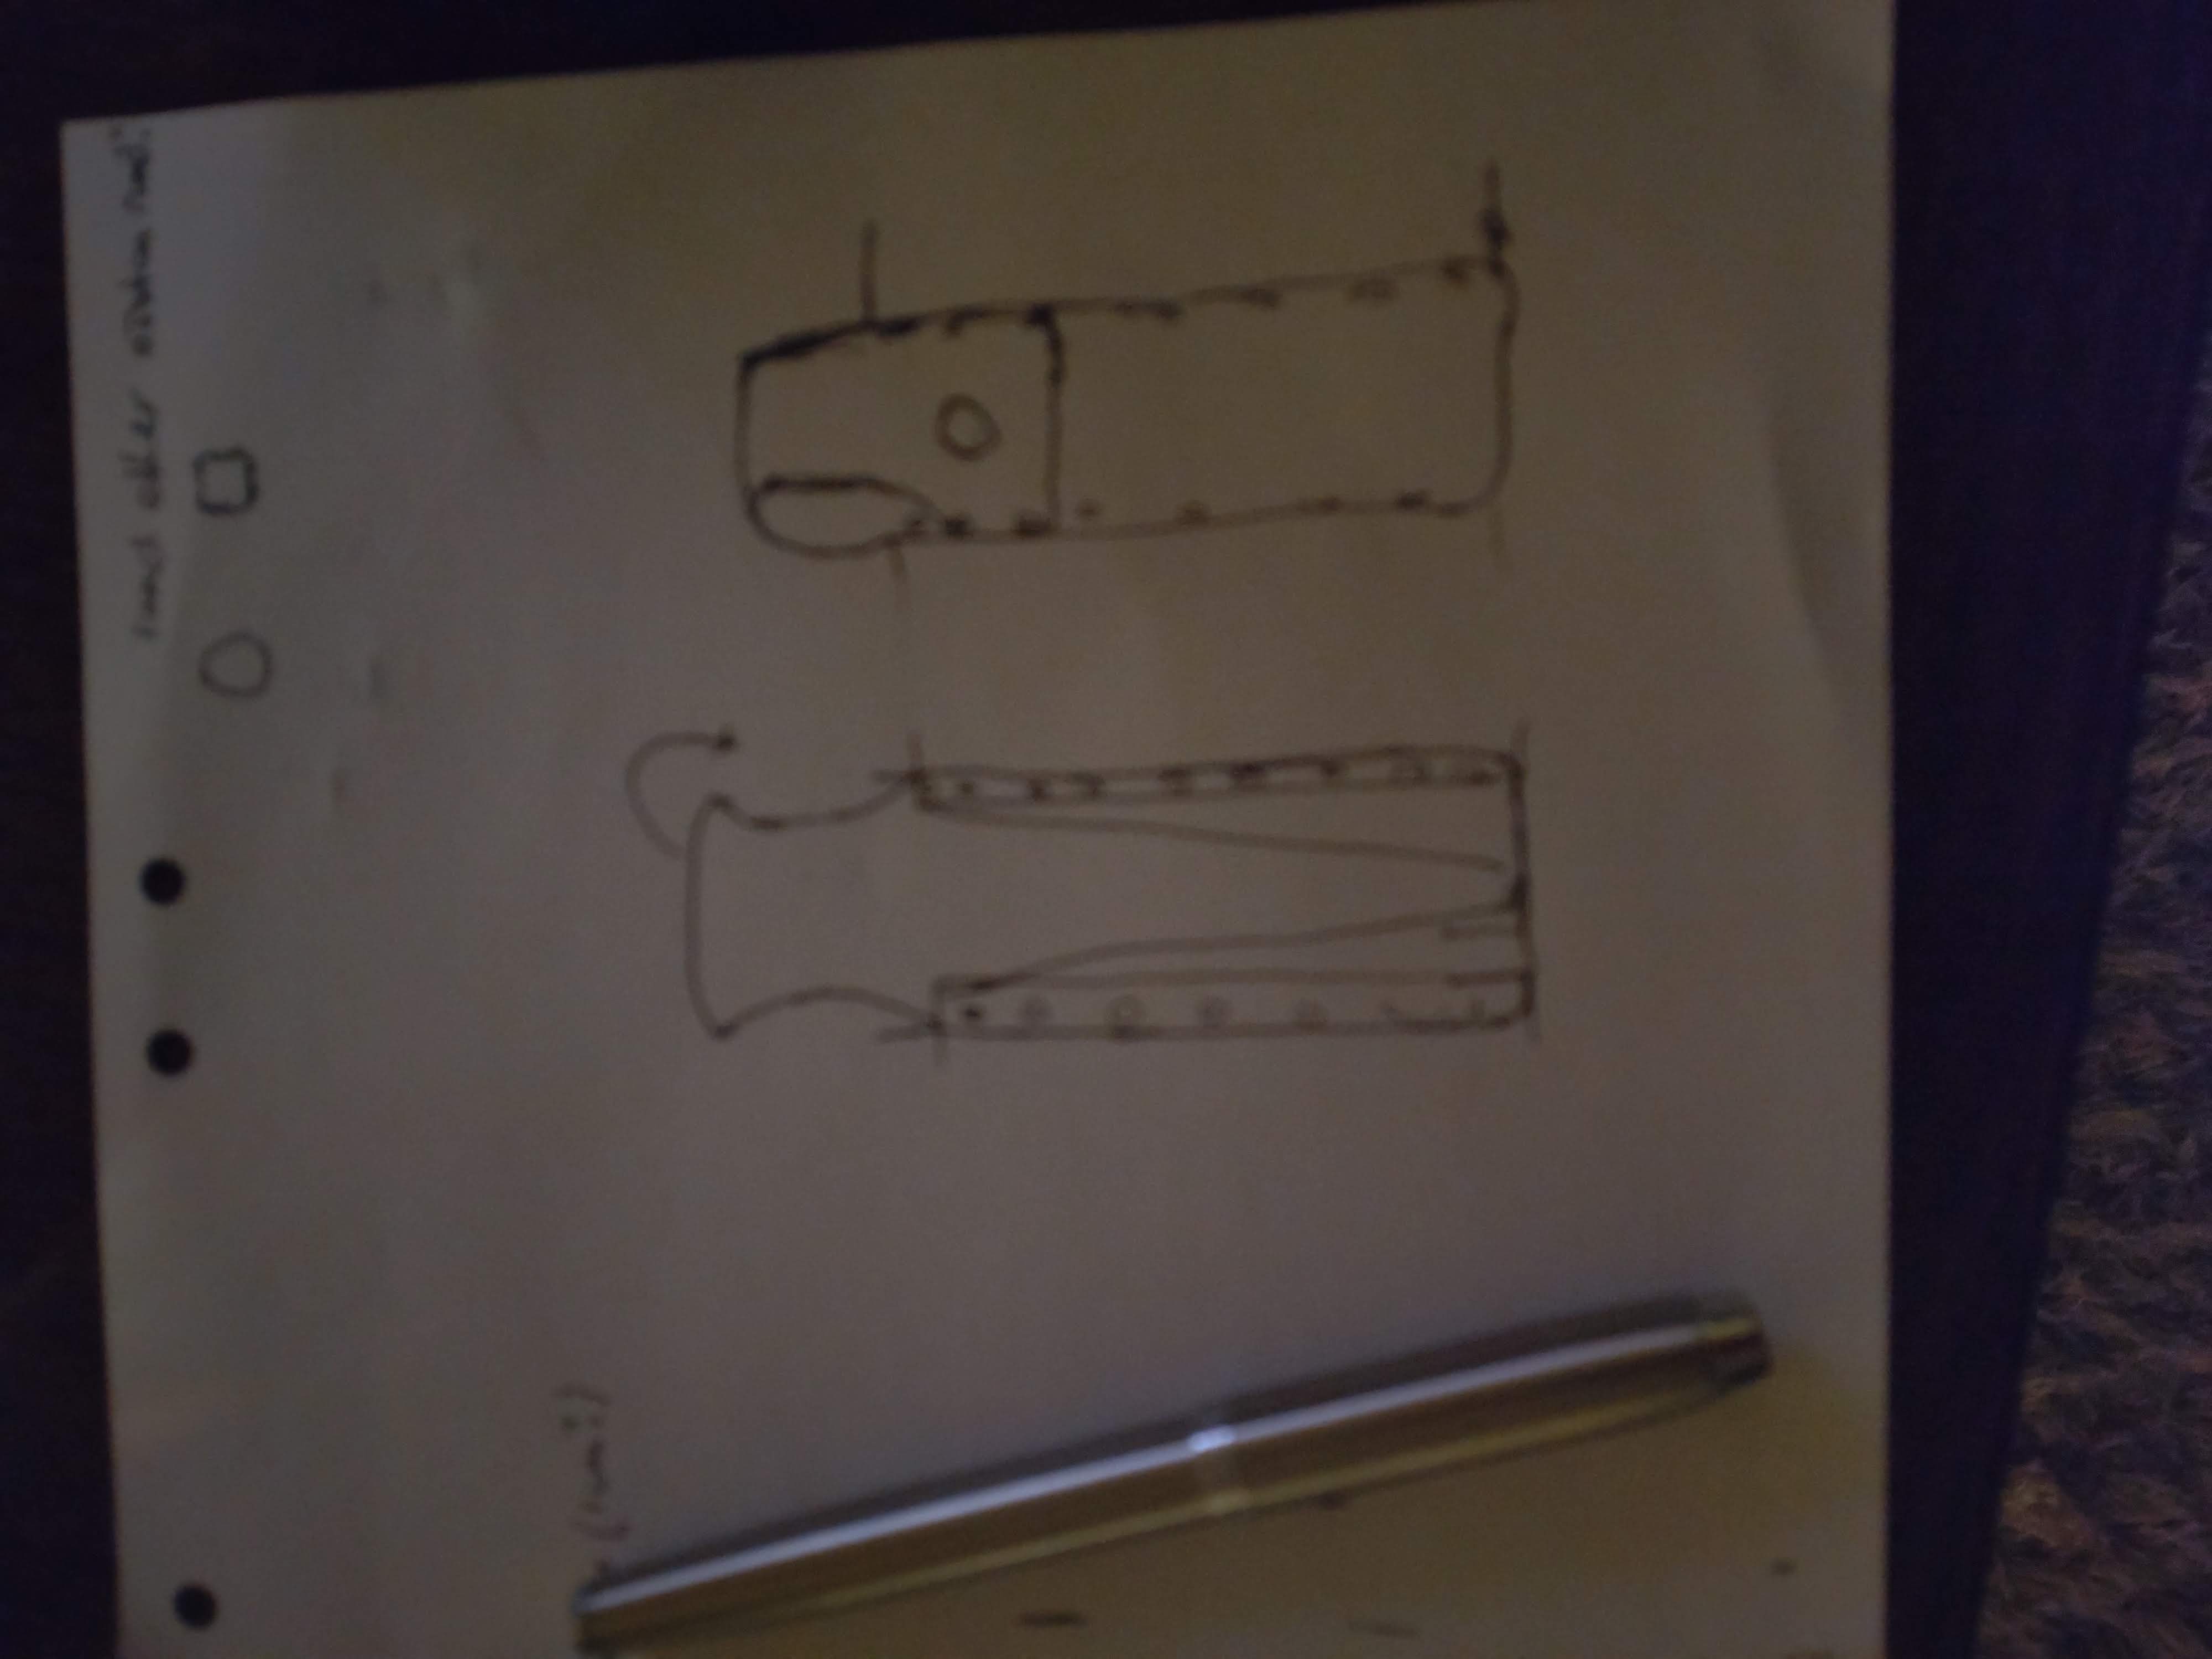
I even tried to make some pattern in LibreCad, not so impressed by the tools available in the cad. My electronic CAD programs I use at work, are even more capable of drawing shapes and that really not what they are design to to.
The bag
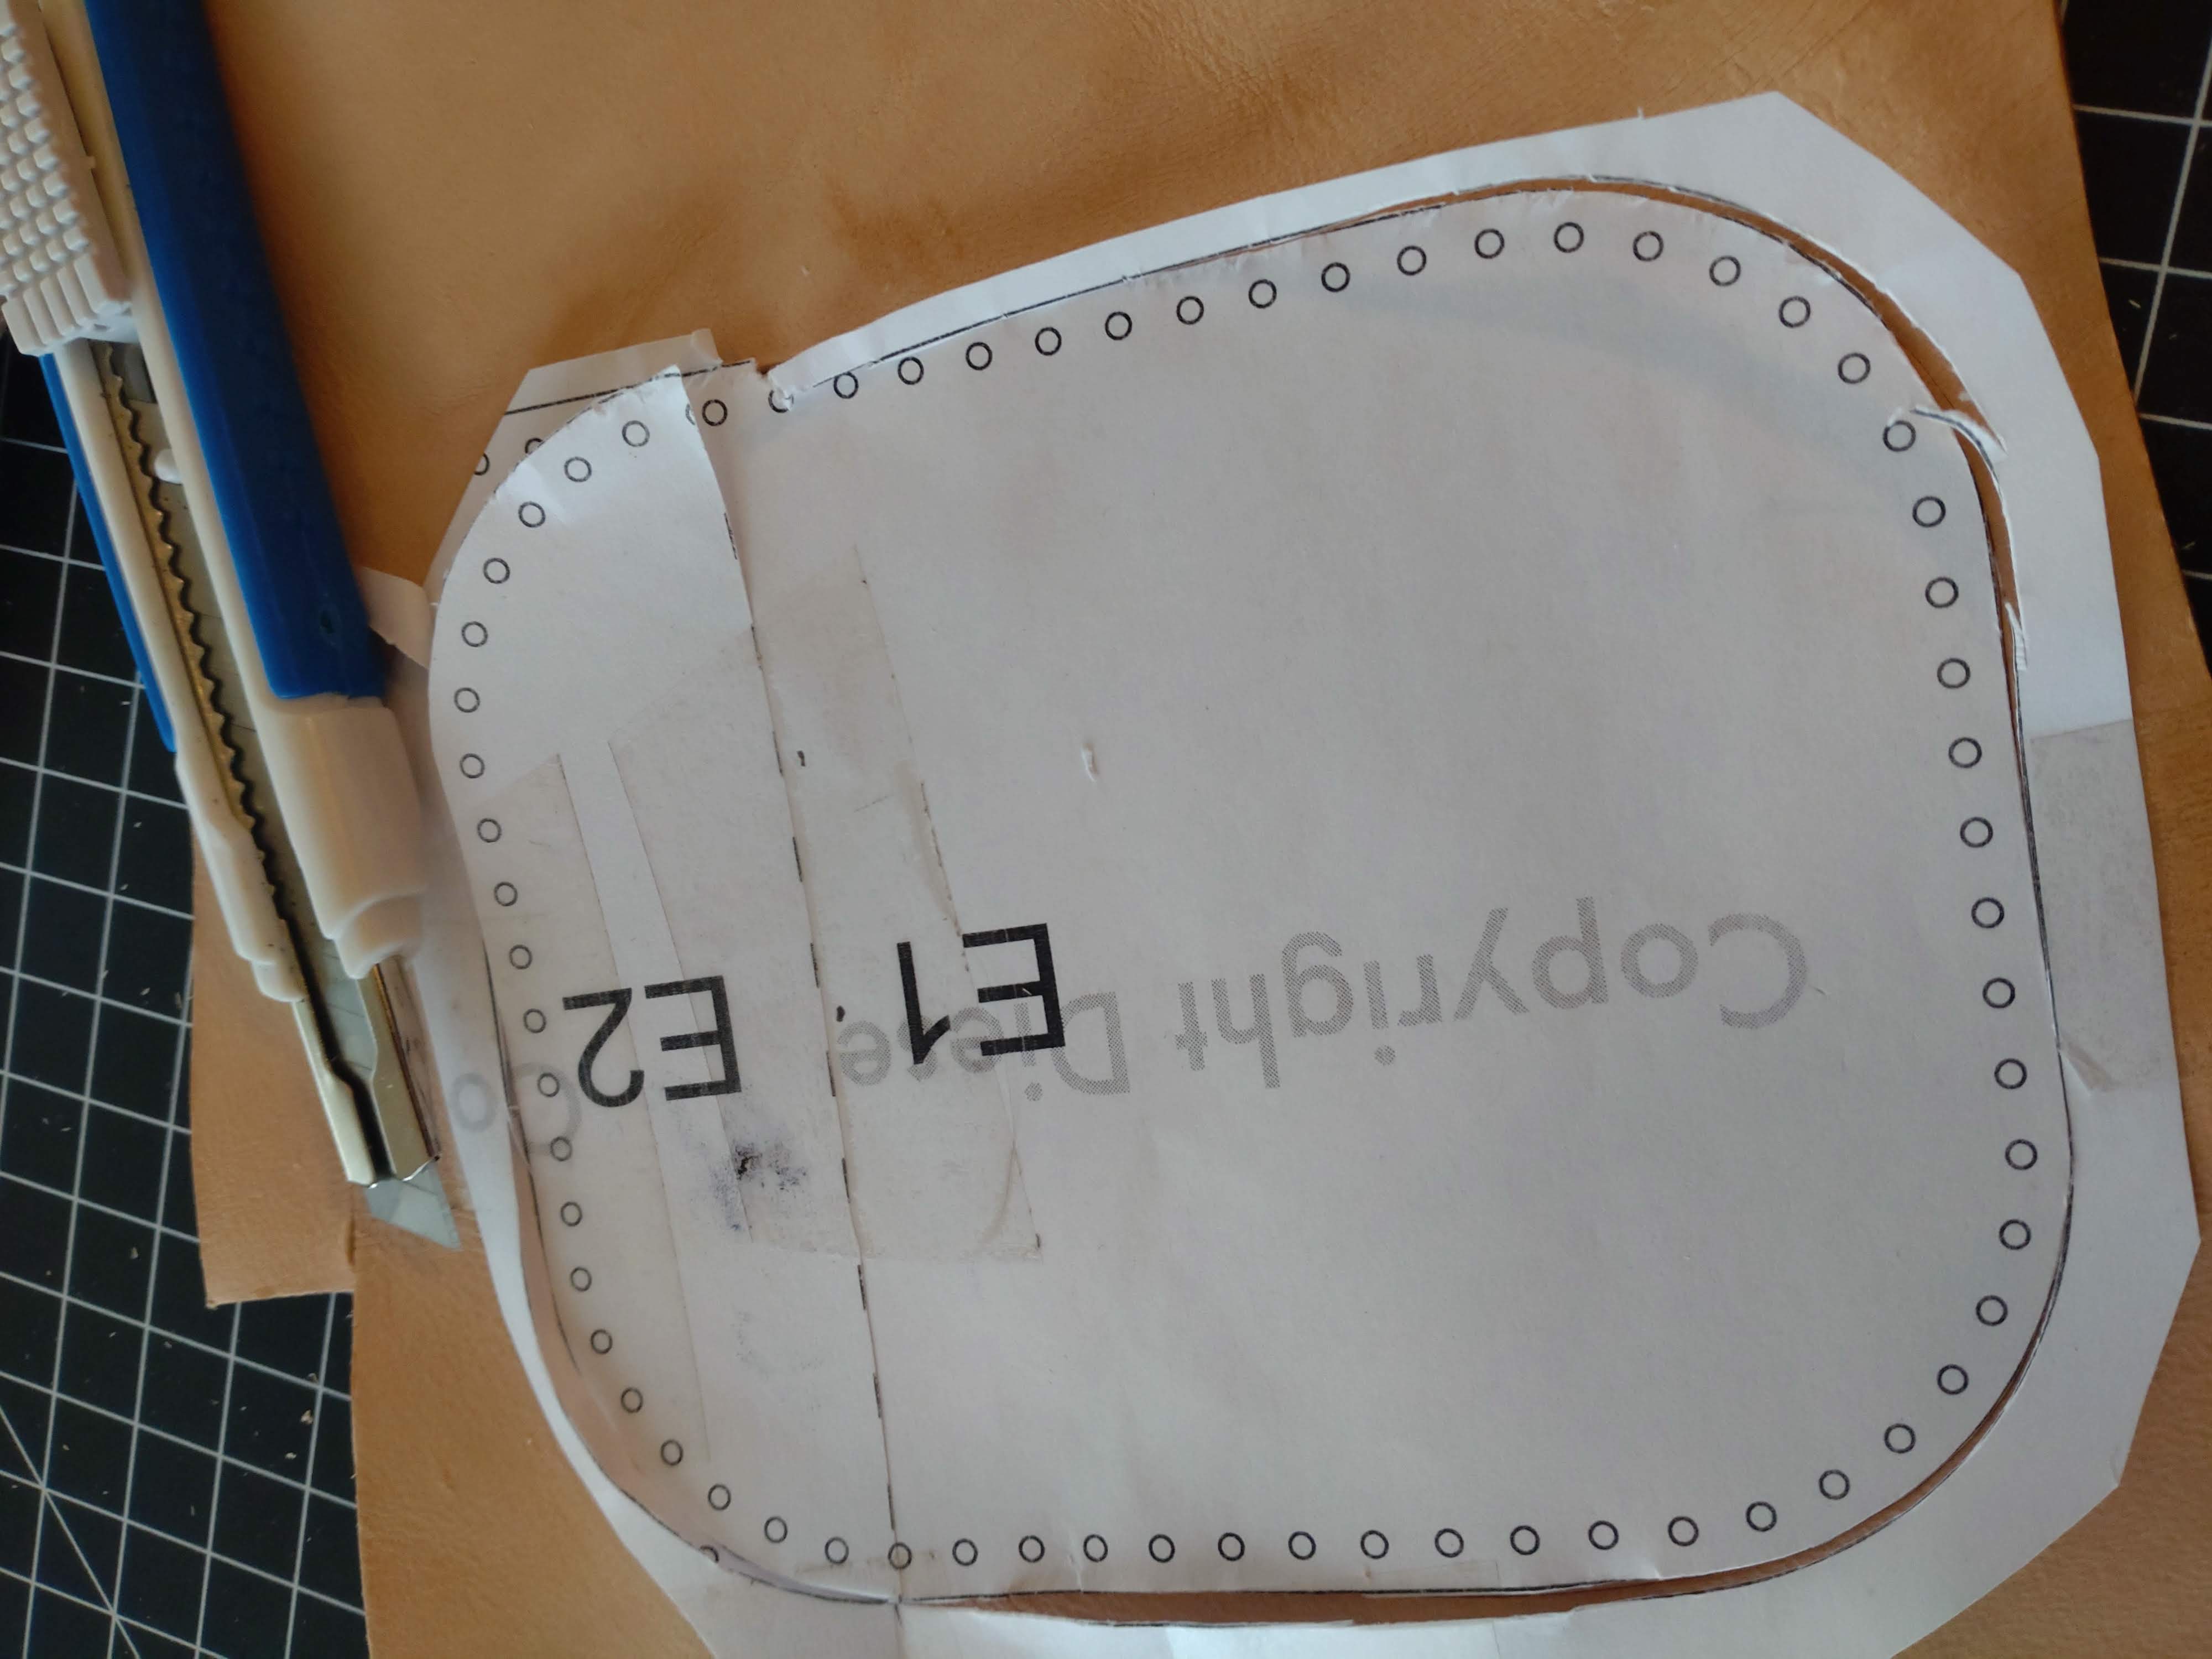
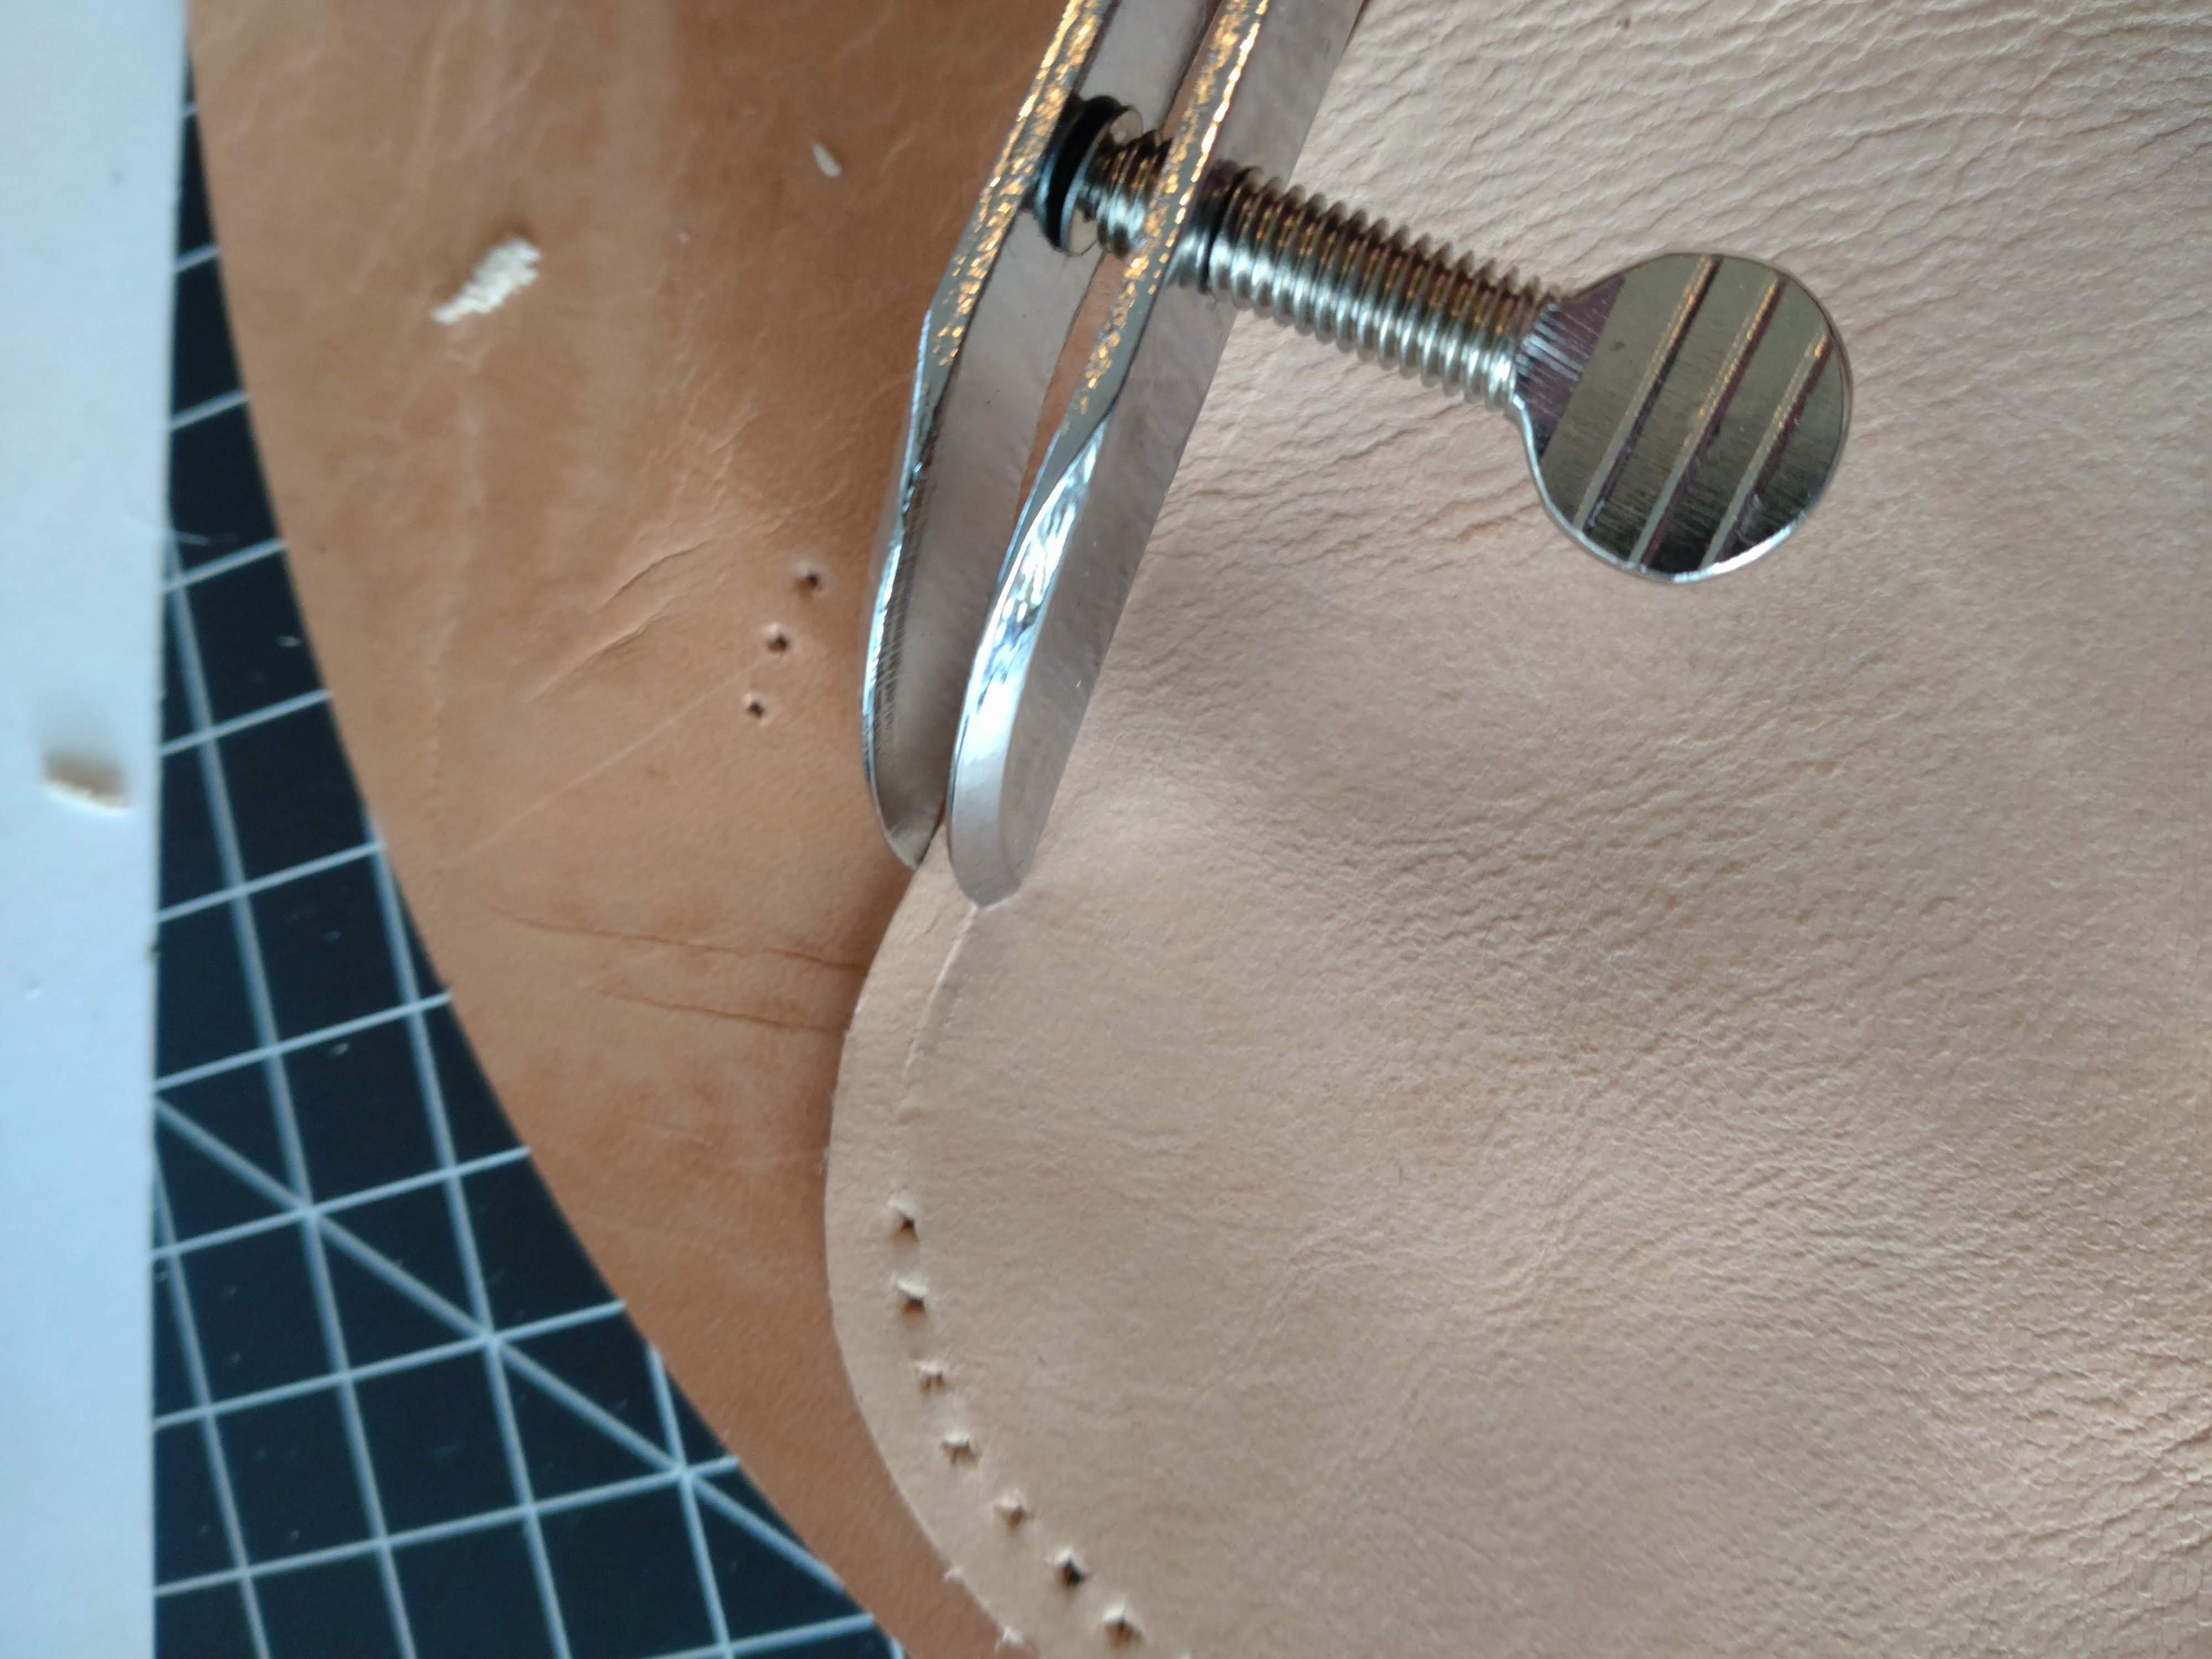
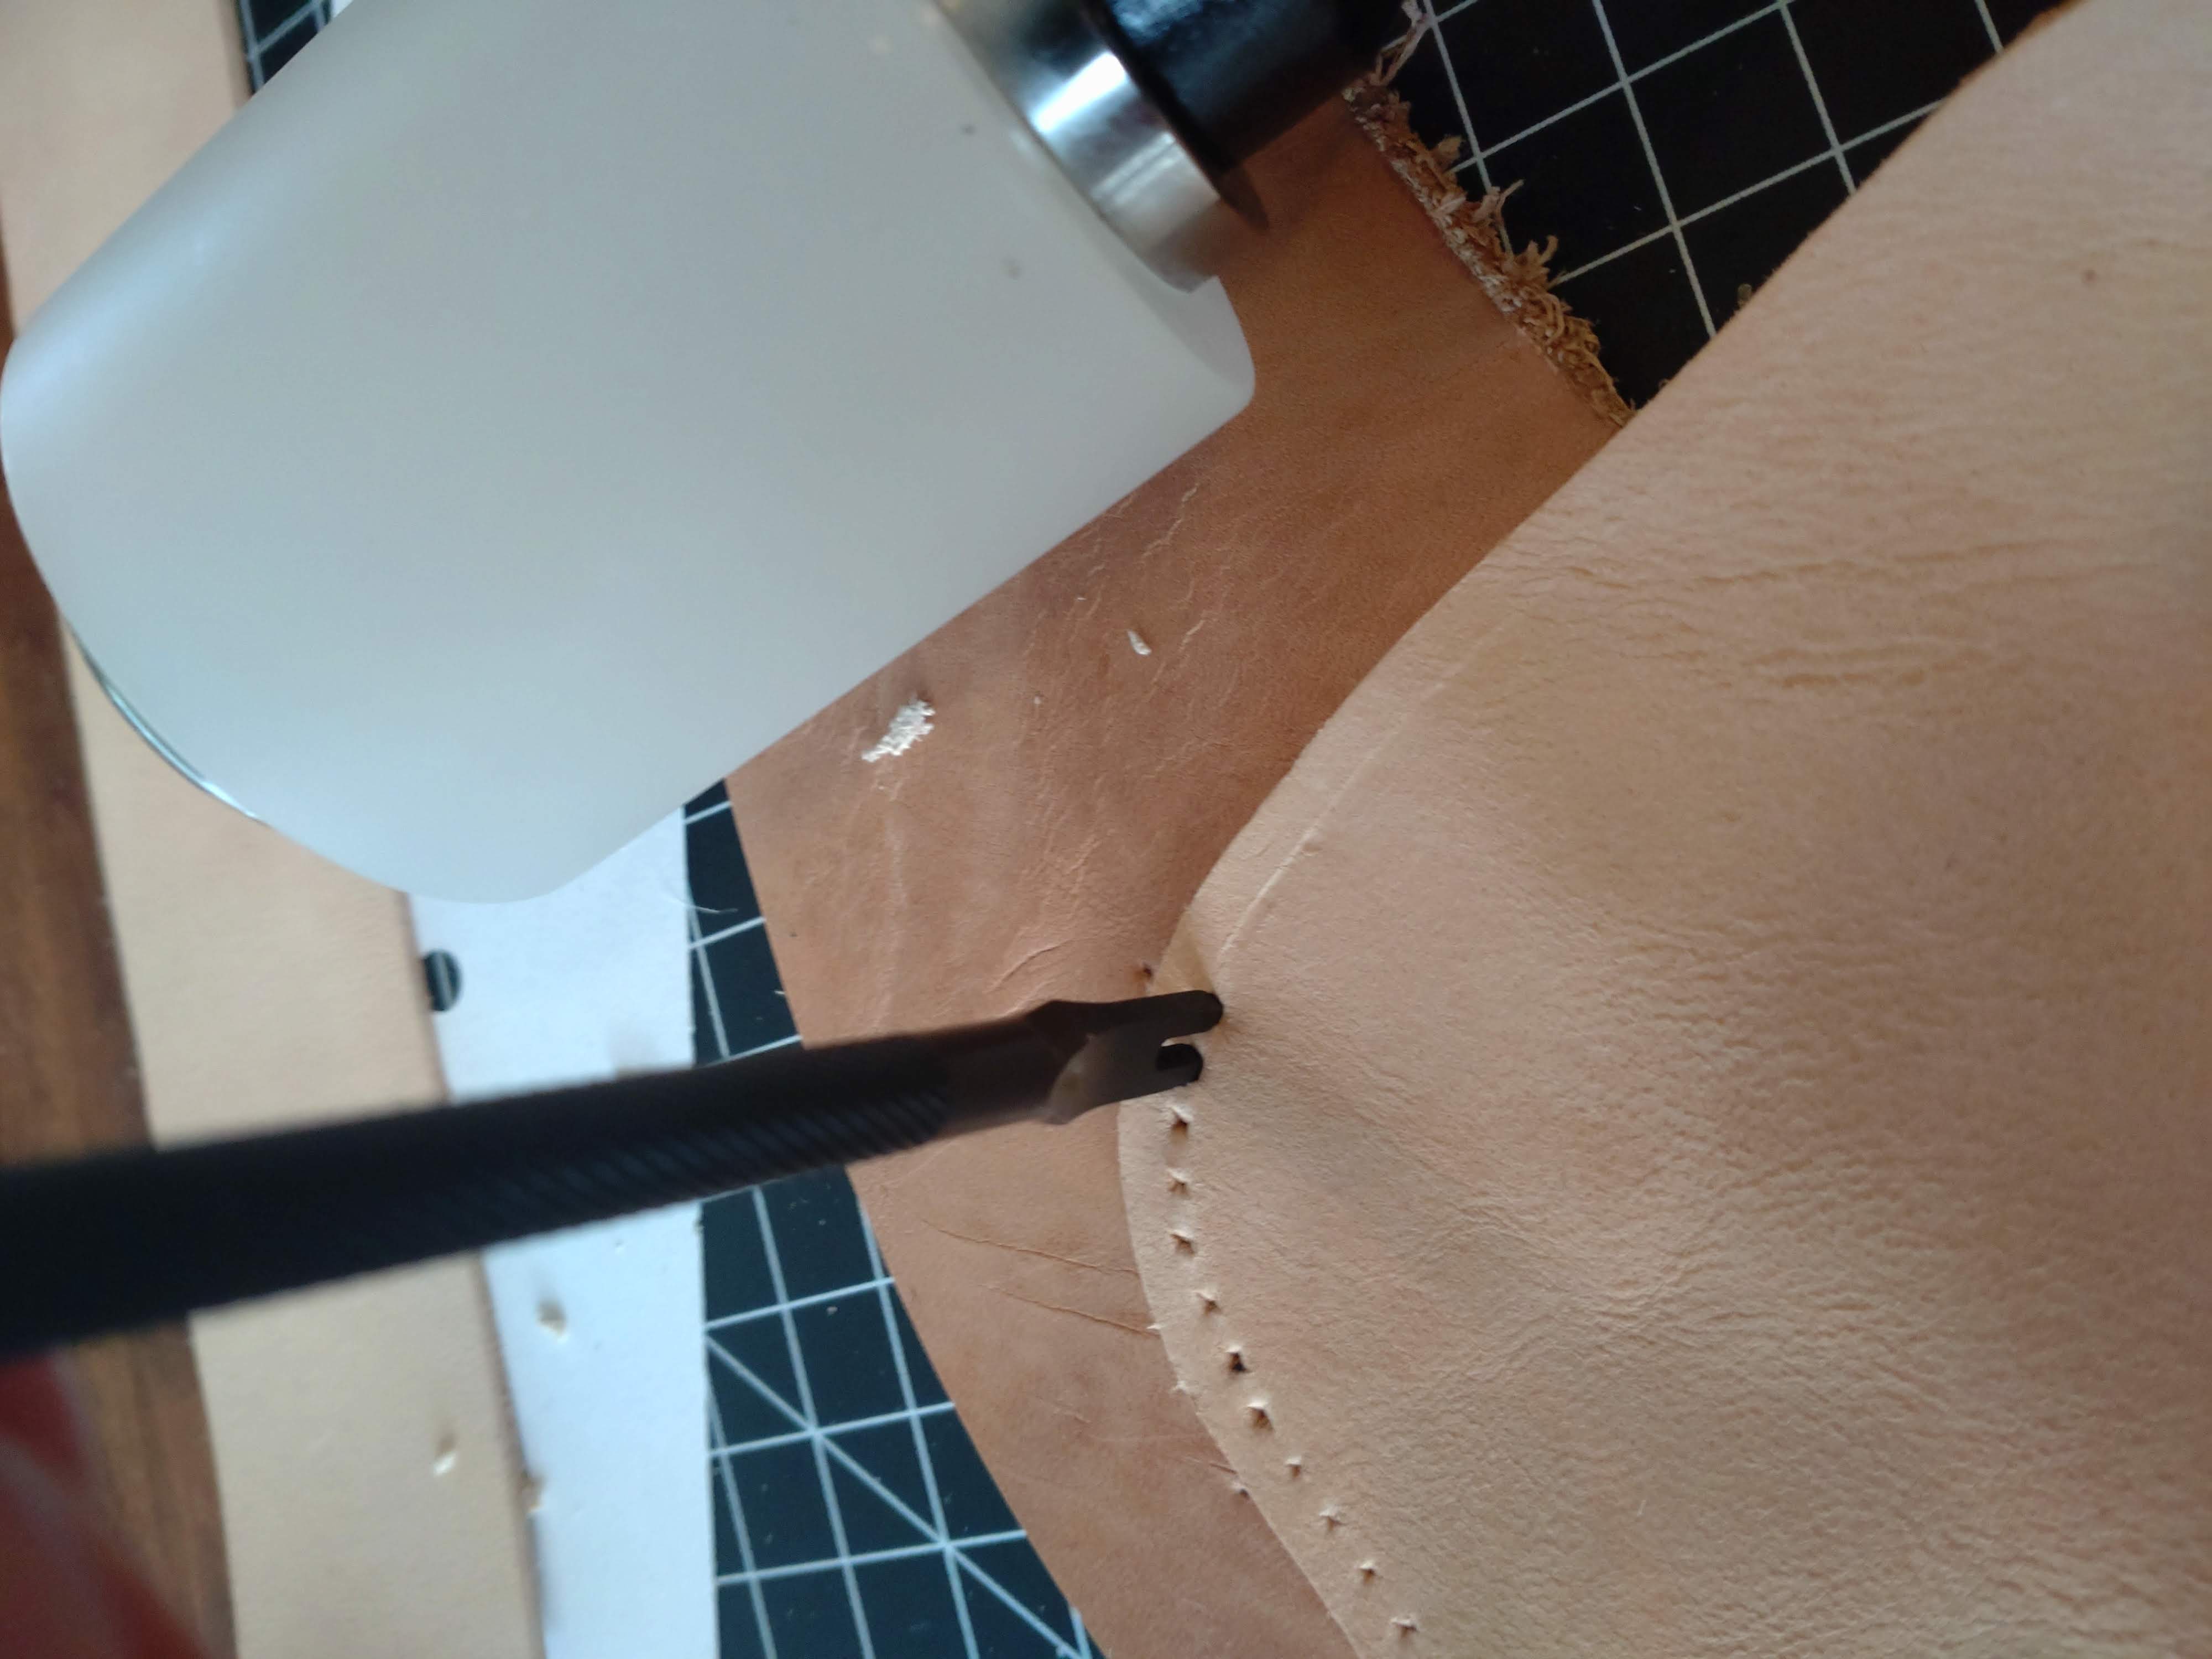
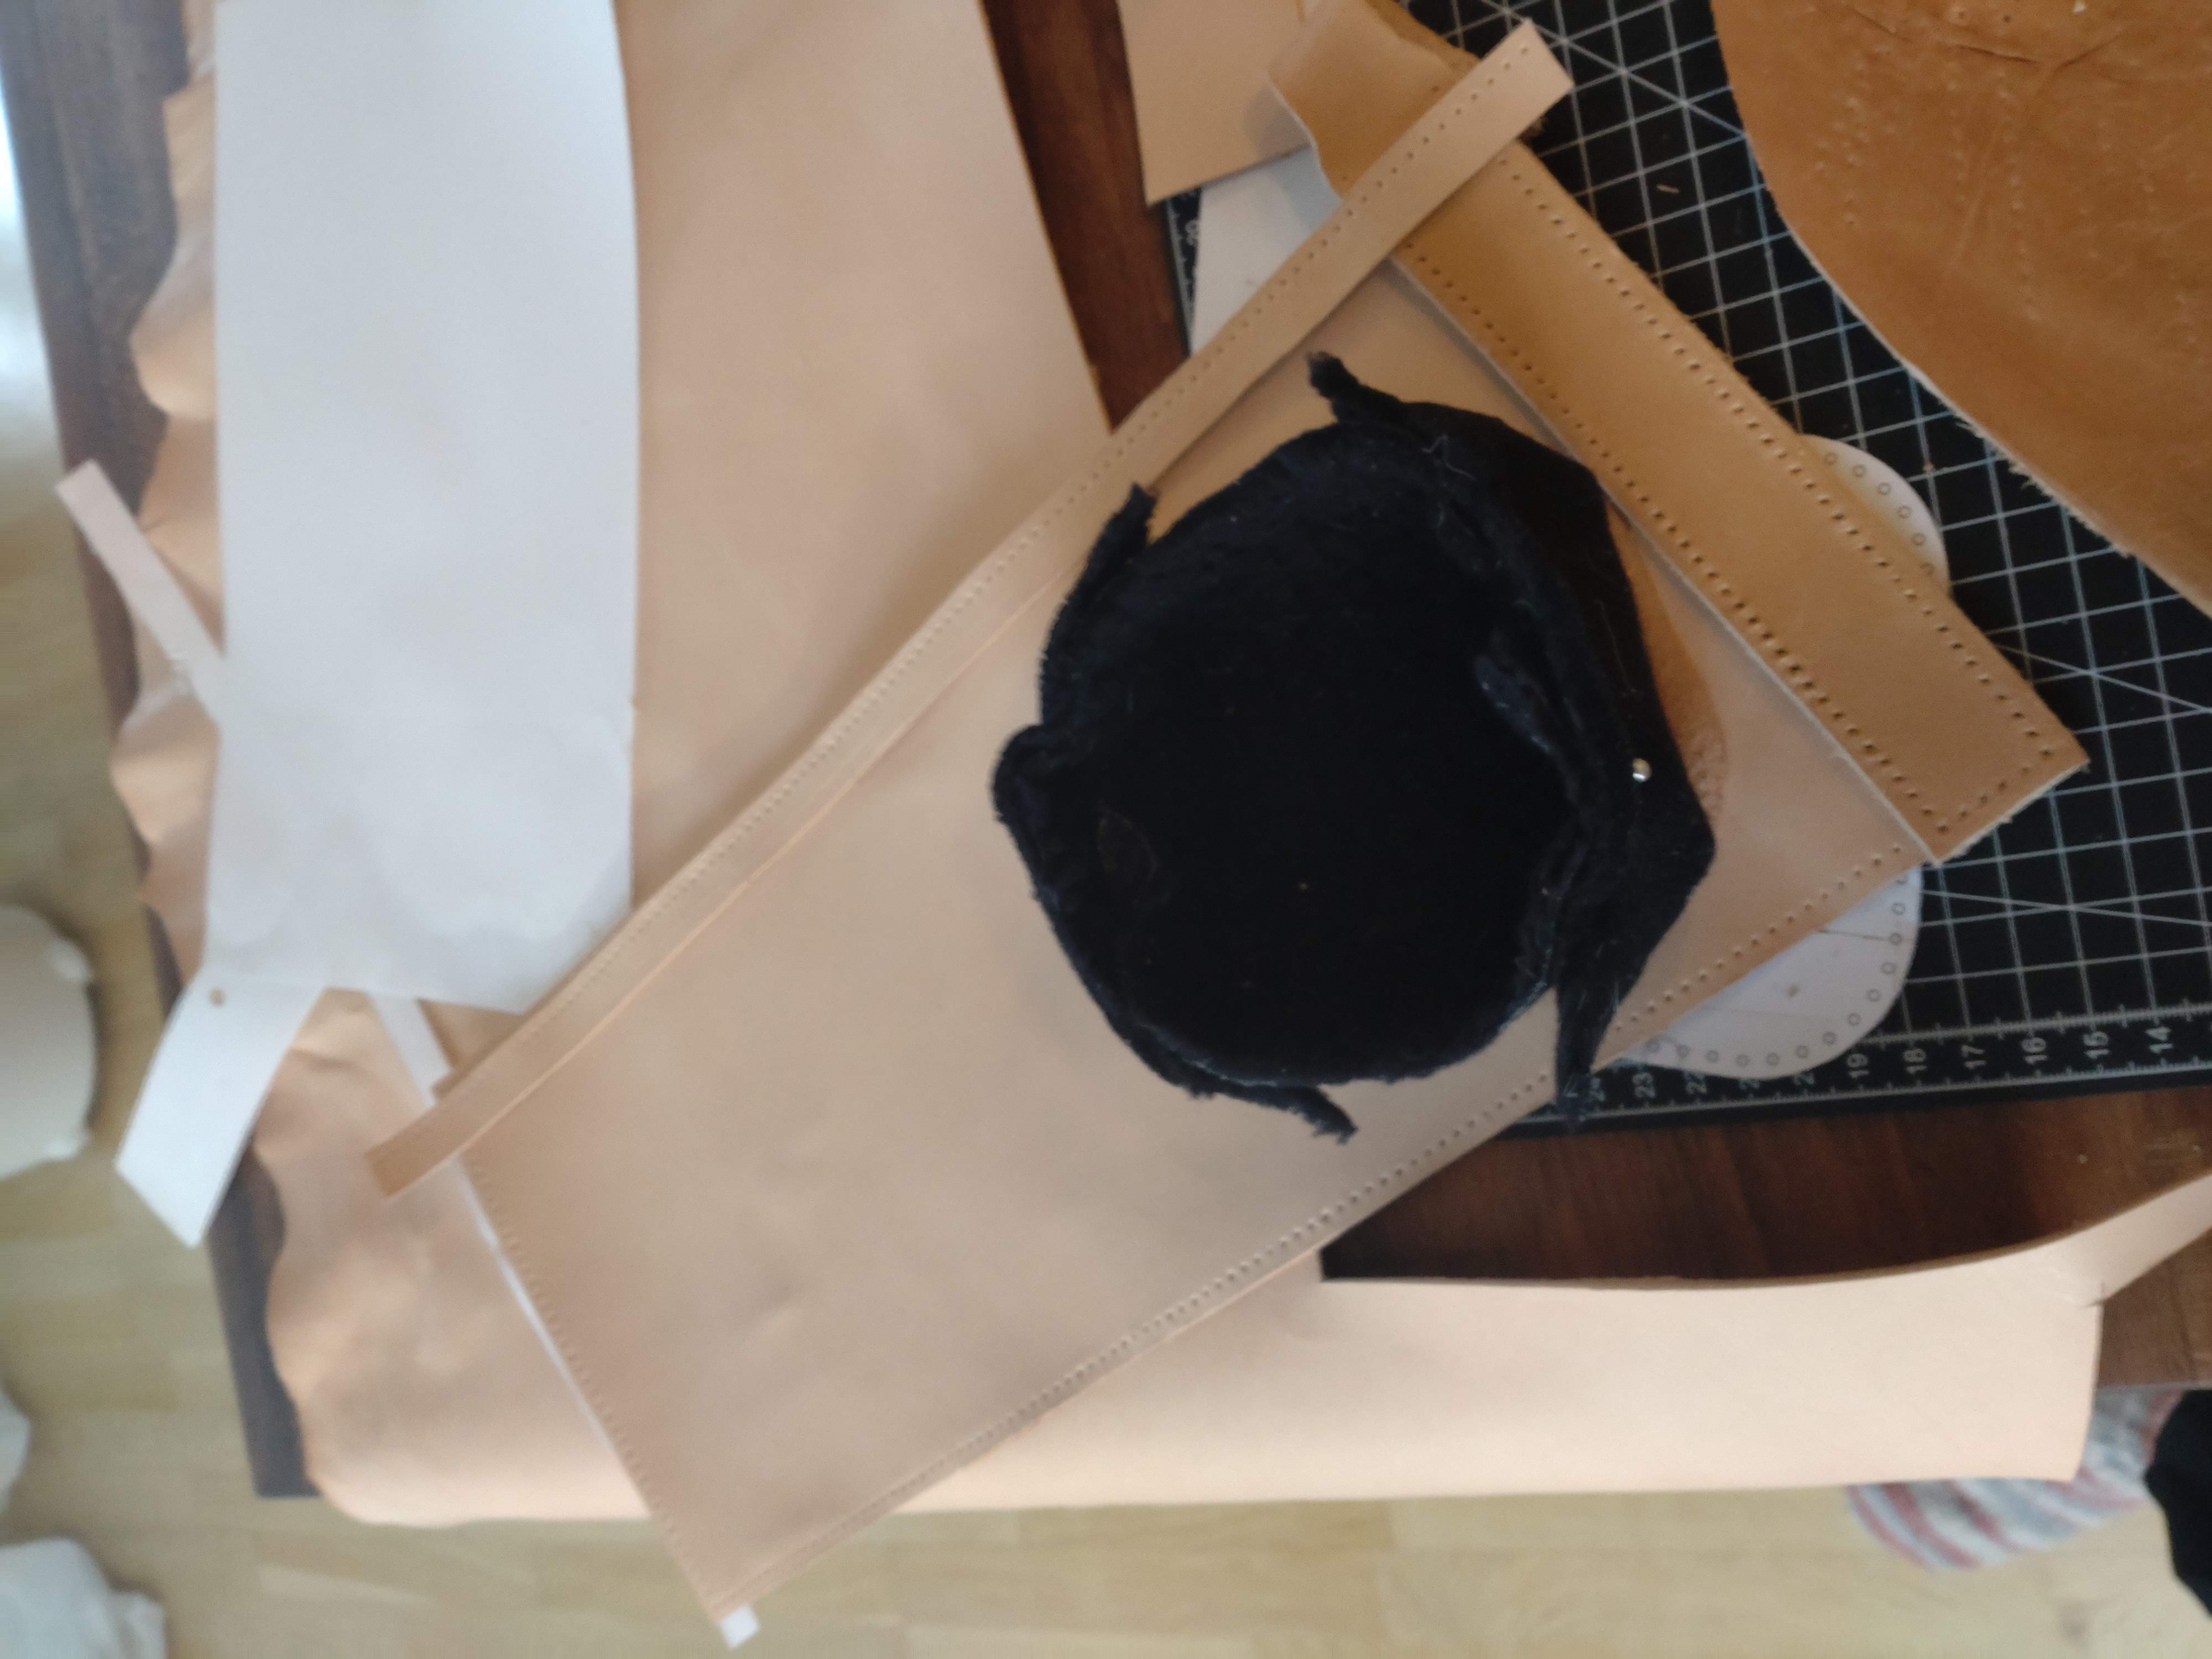
Cutting out pieces and make stitching-holes with diamond chisels.
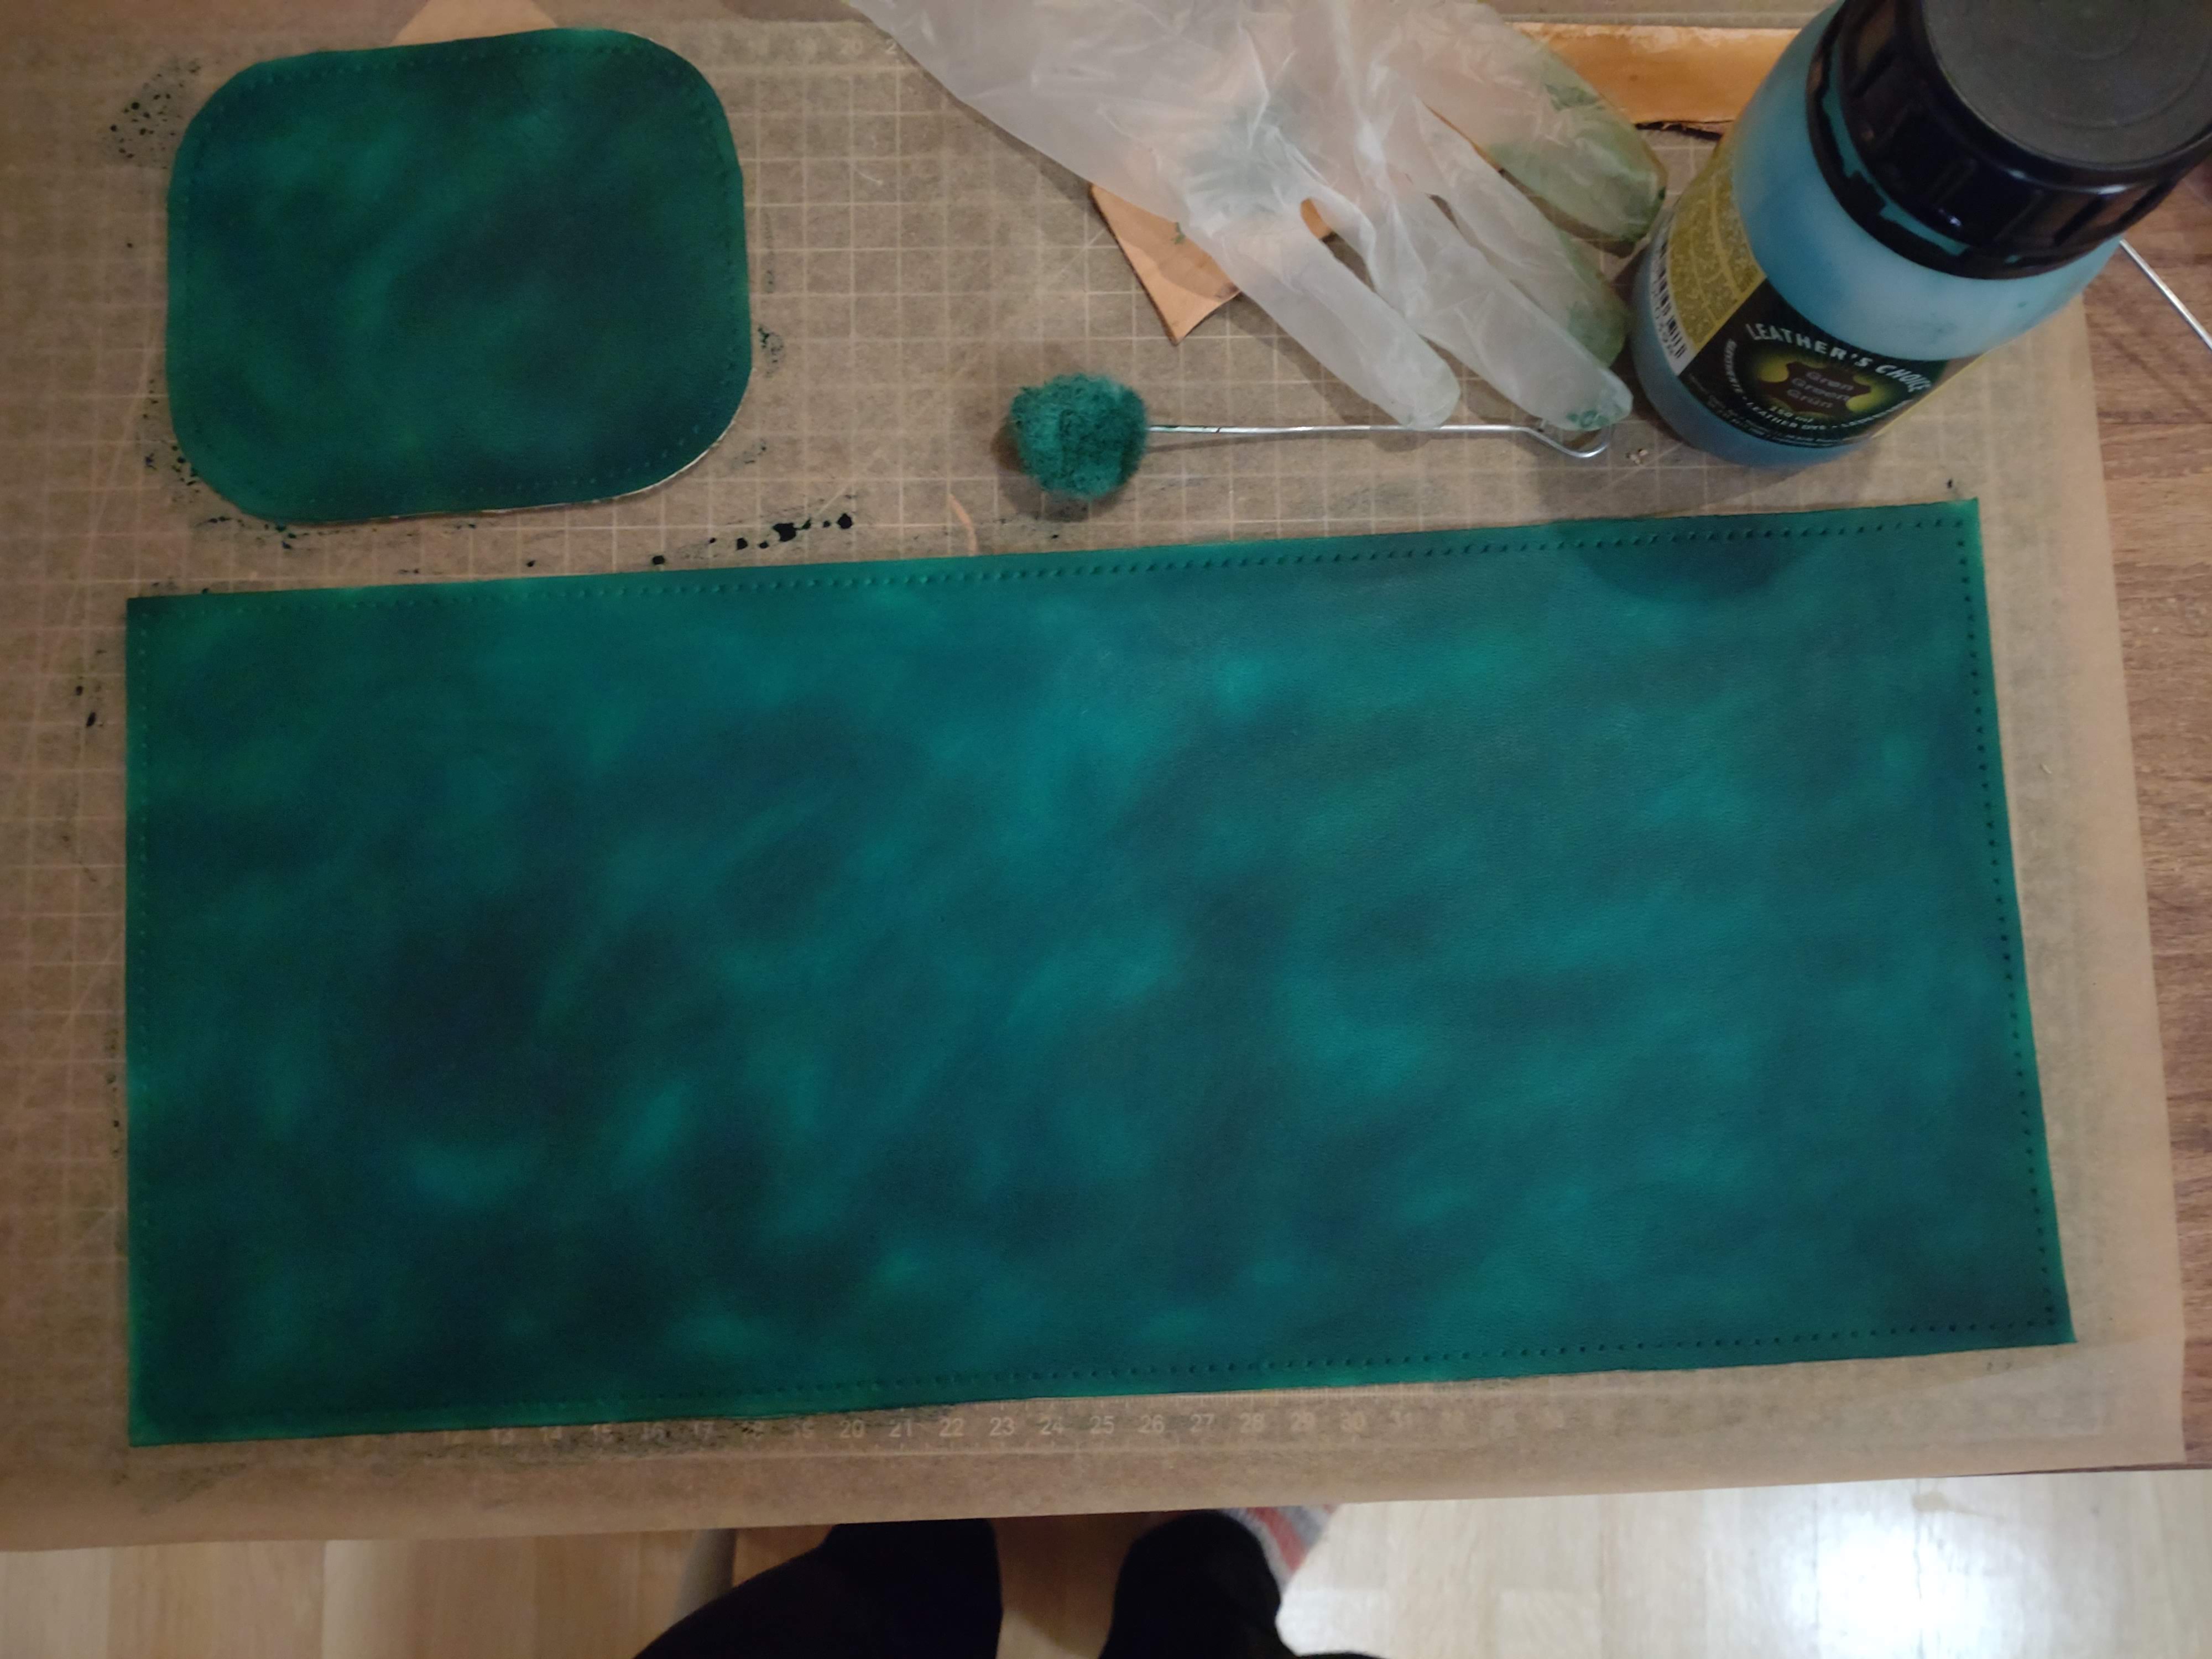
Dying the leather, brown and green. Still the only colors I have but I like the combination.
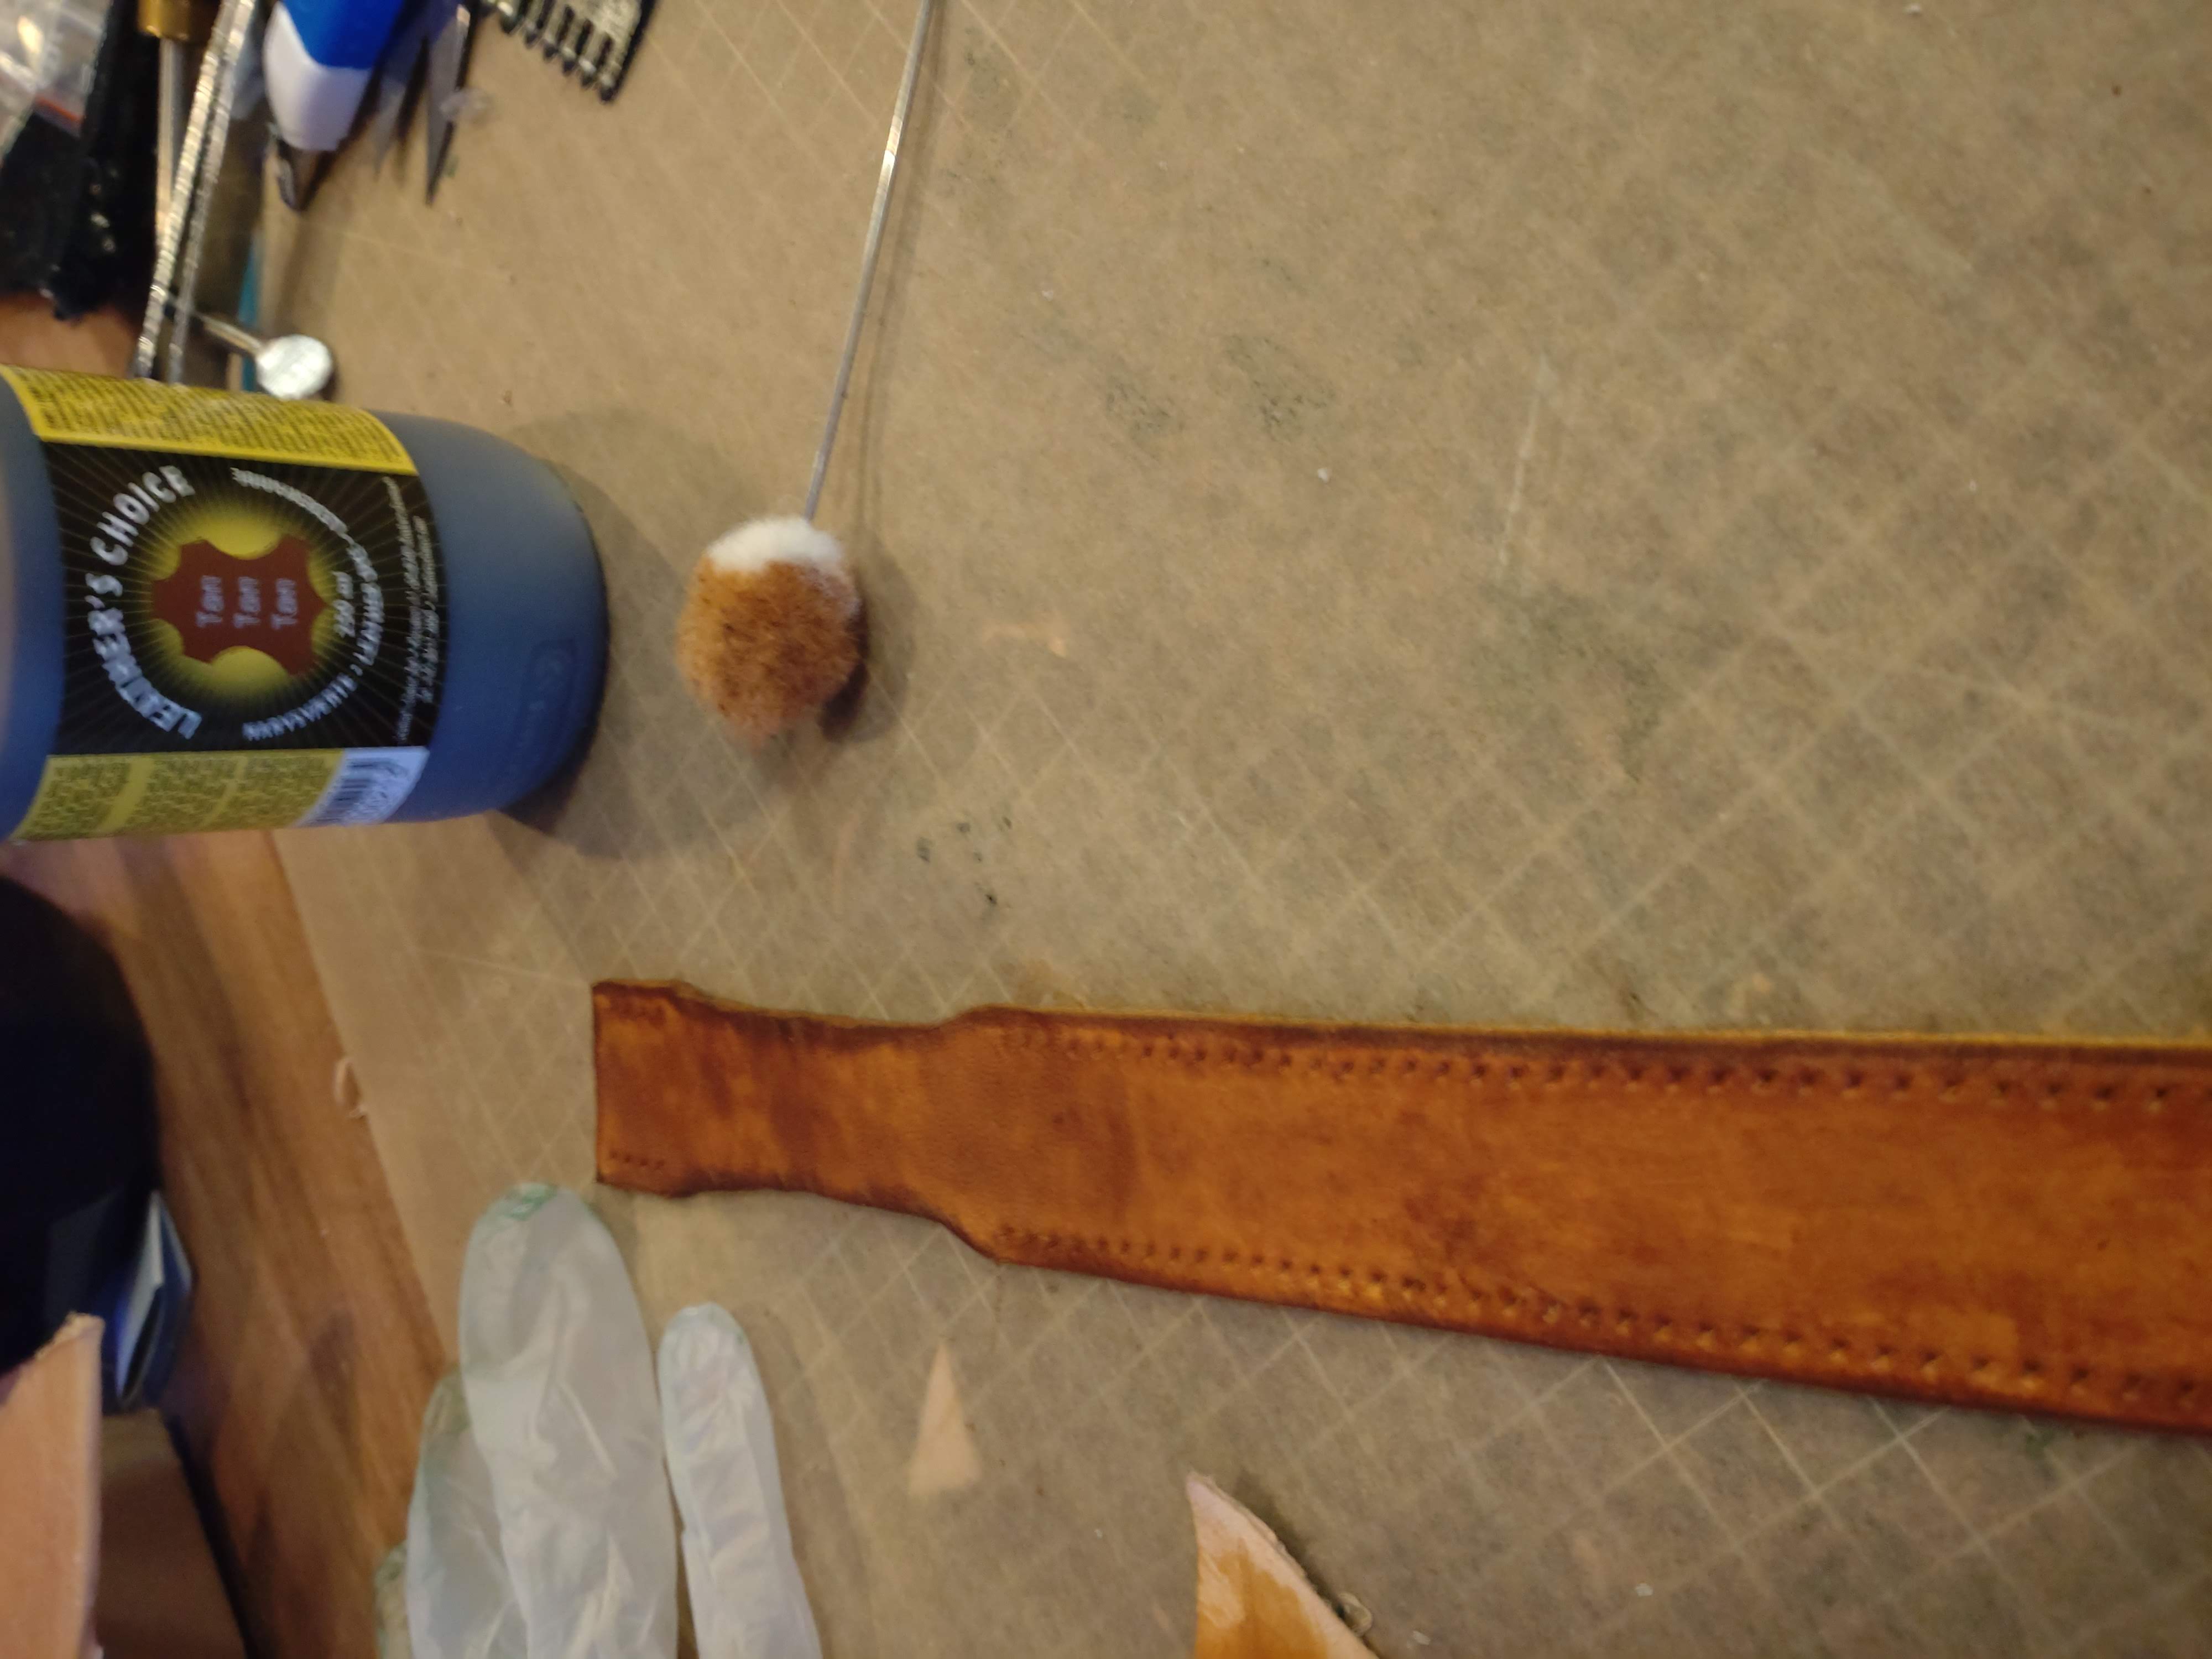
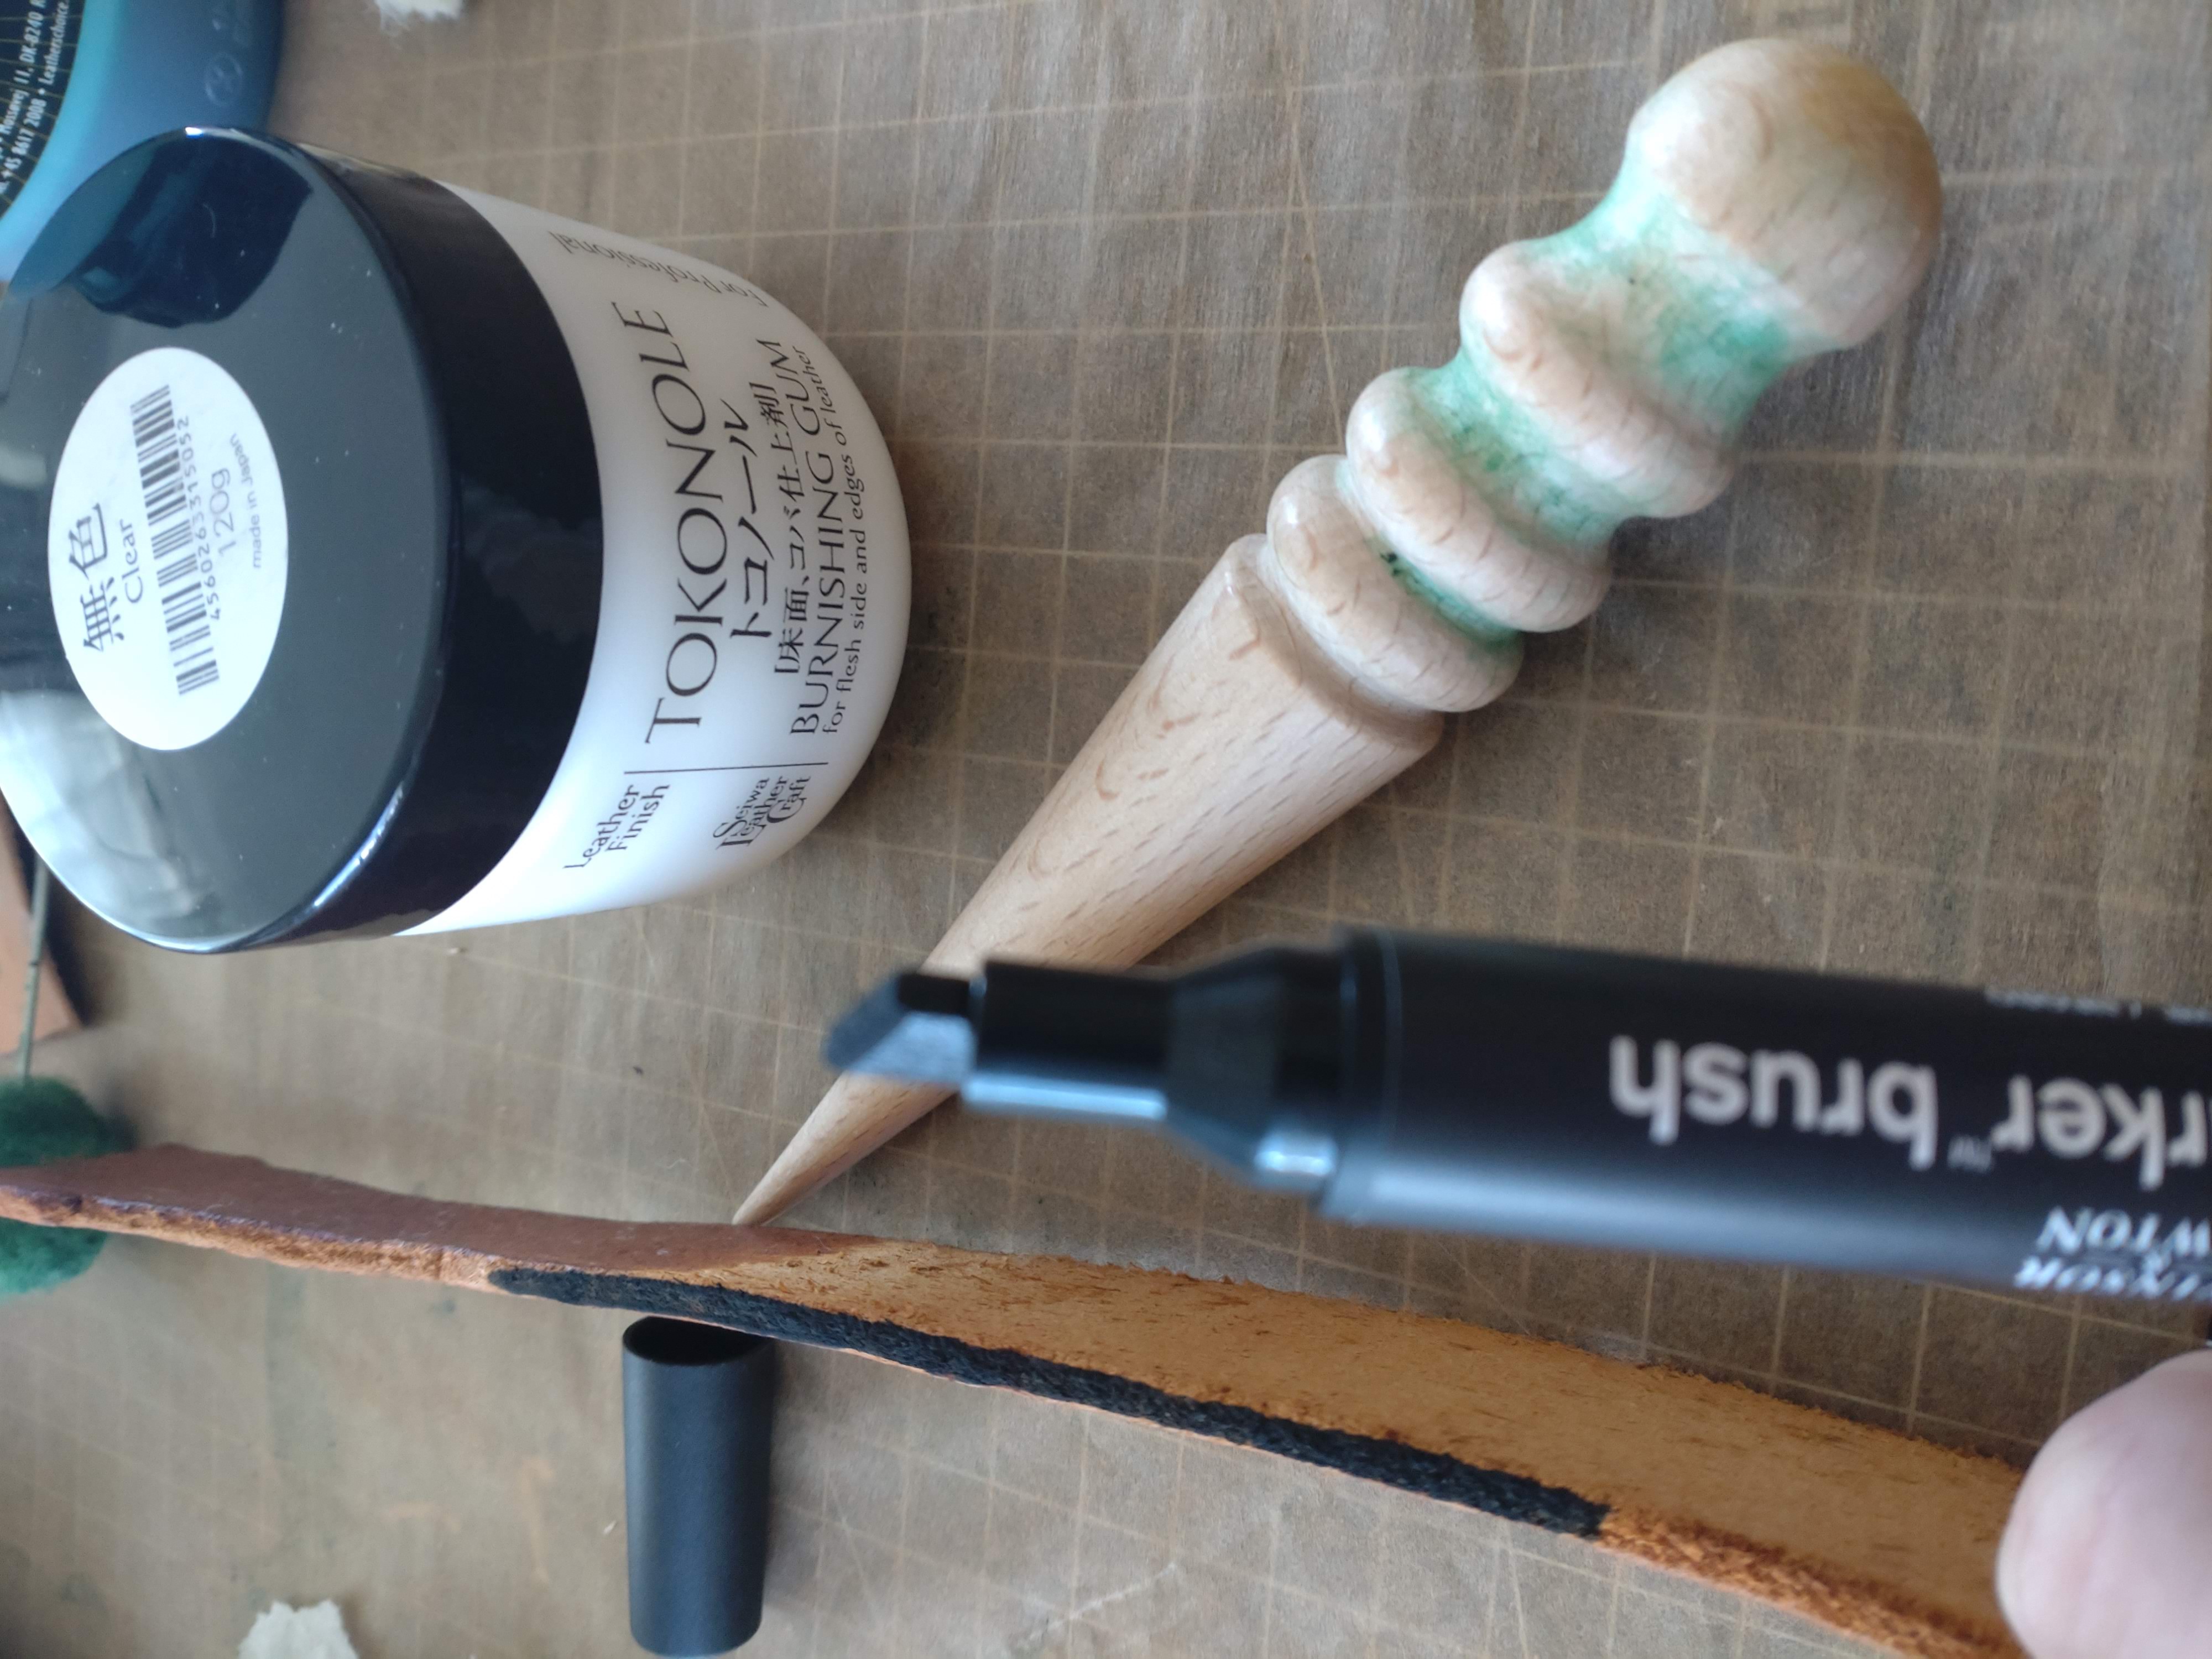
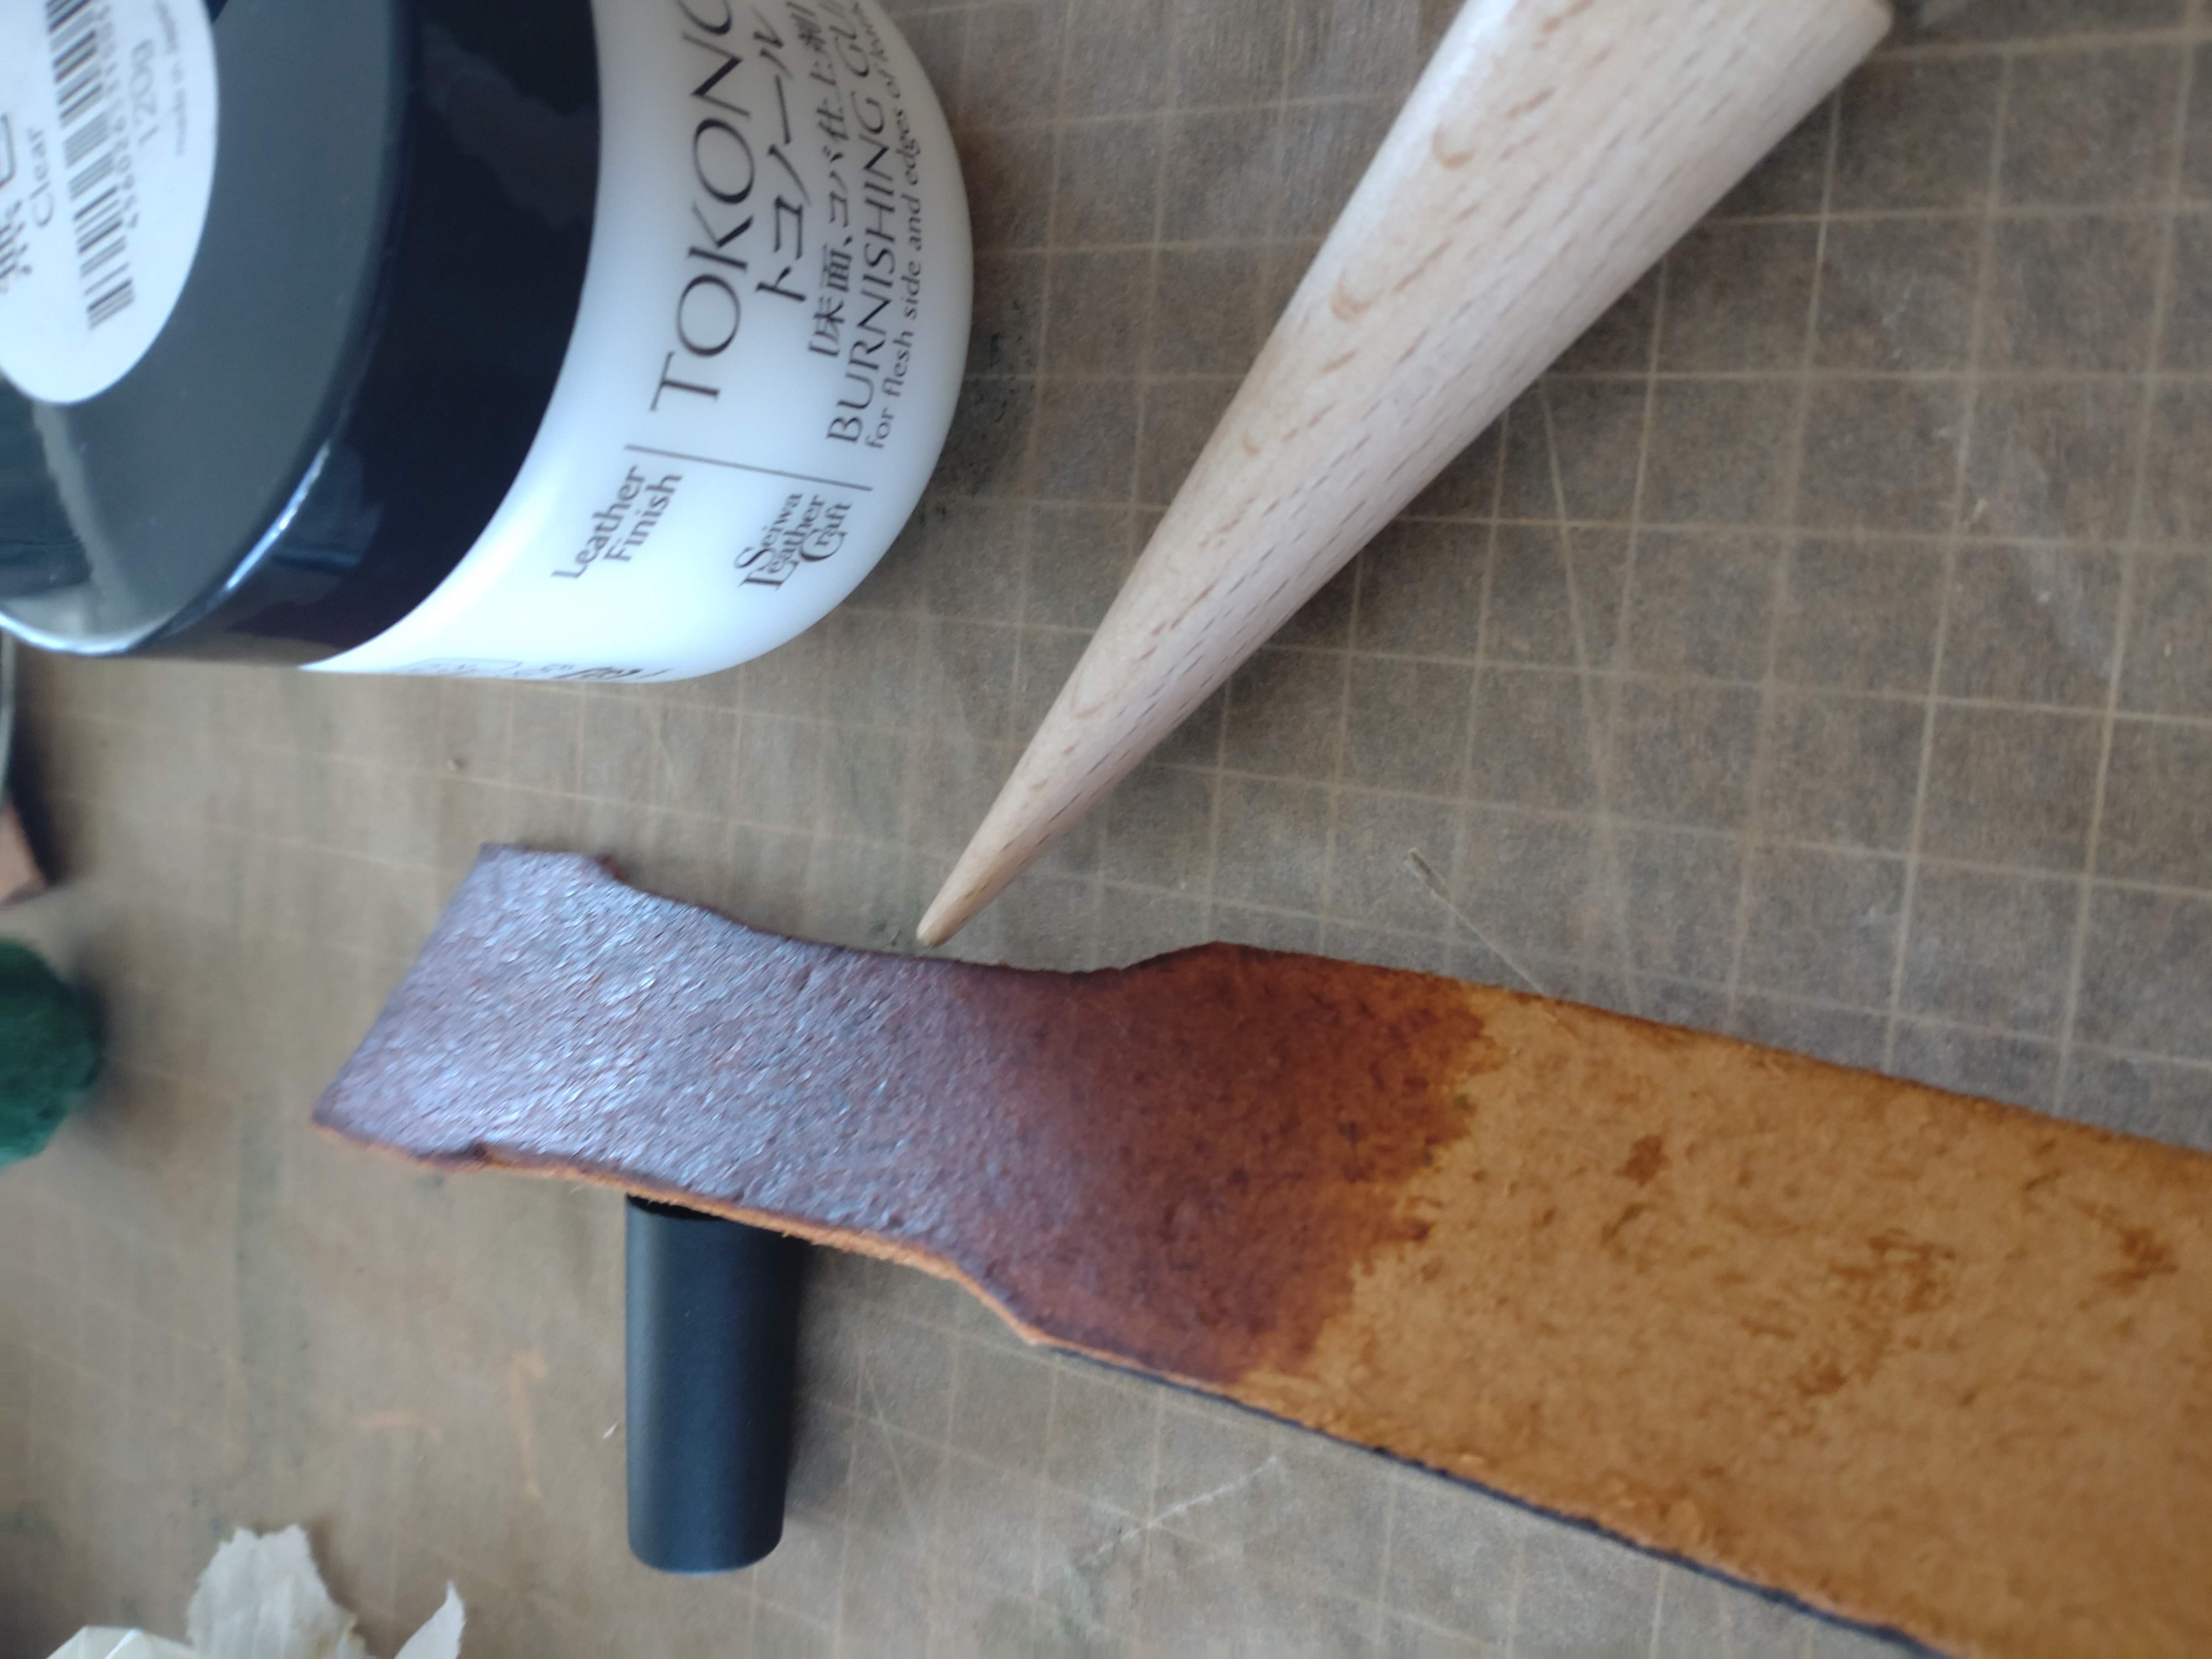
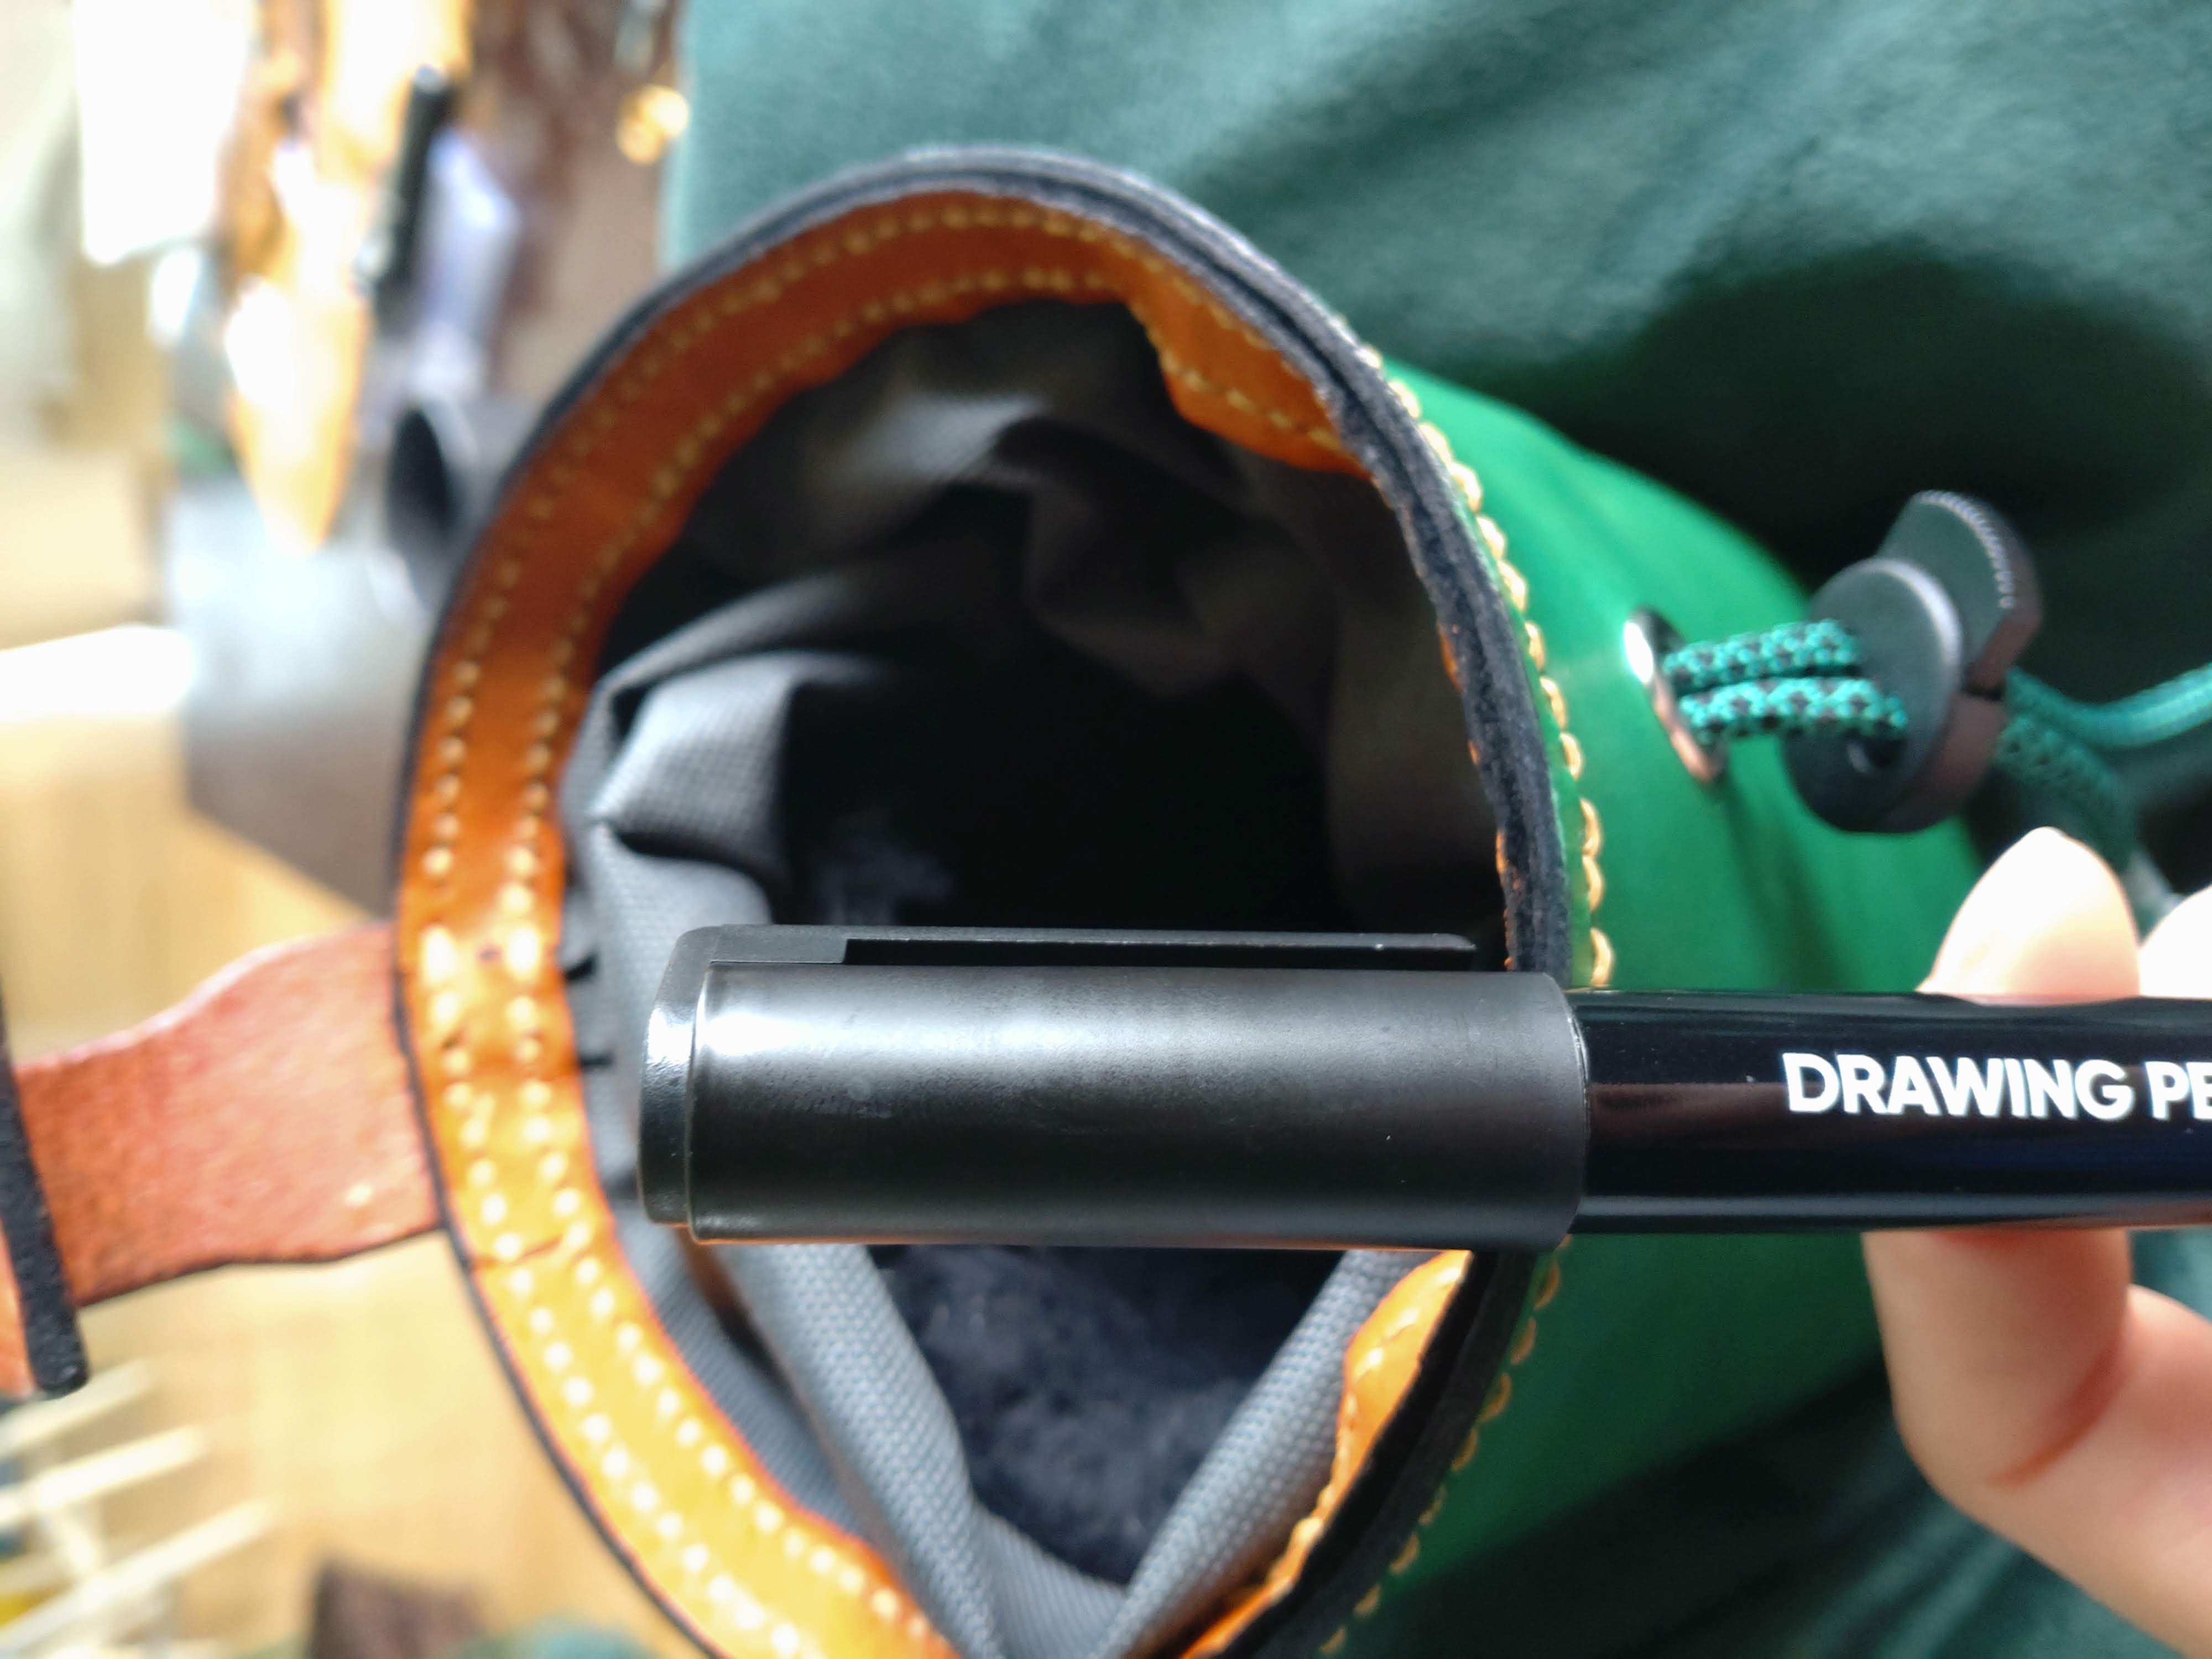
Burning the edges with tokonole after dying them with black markerpen. I also burn the backside of that part that will be the hanger of the bag, to make it more resistible from wear and tear.
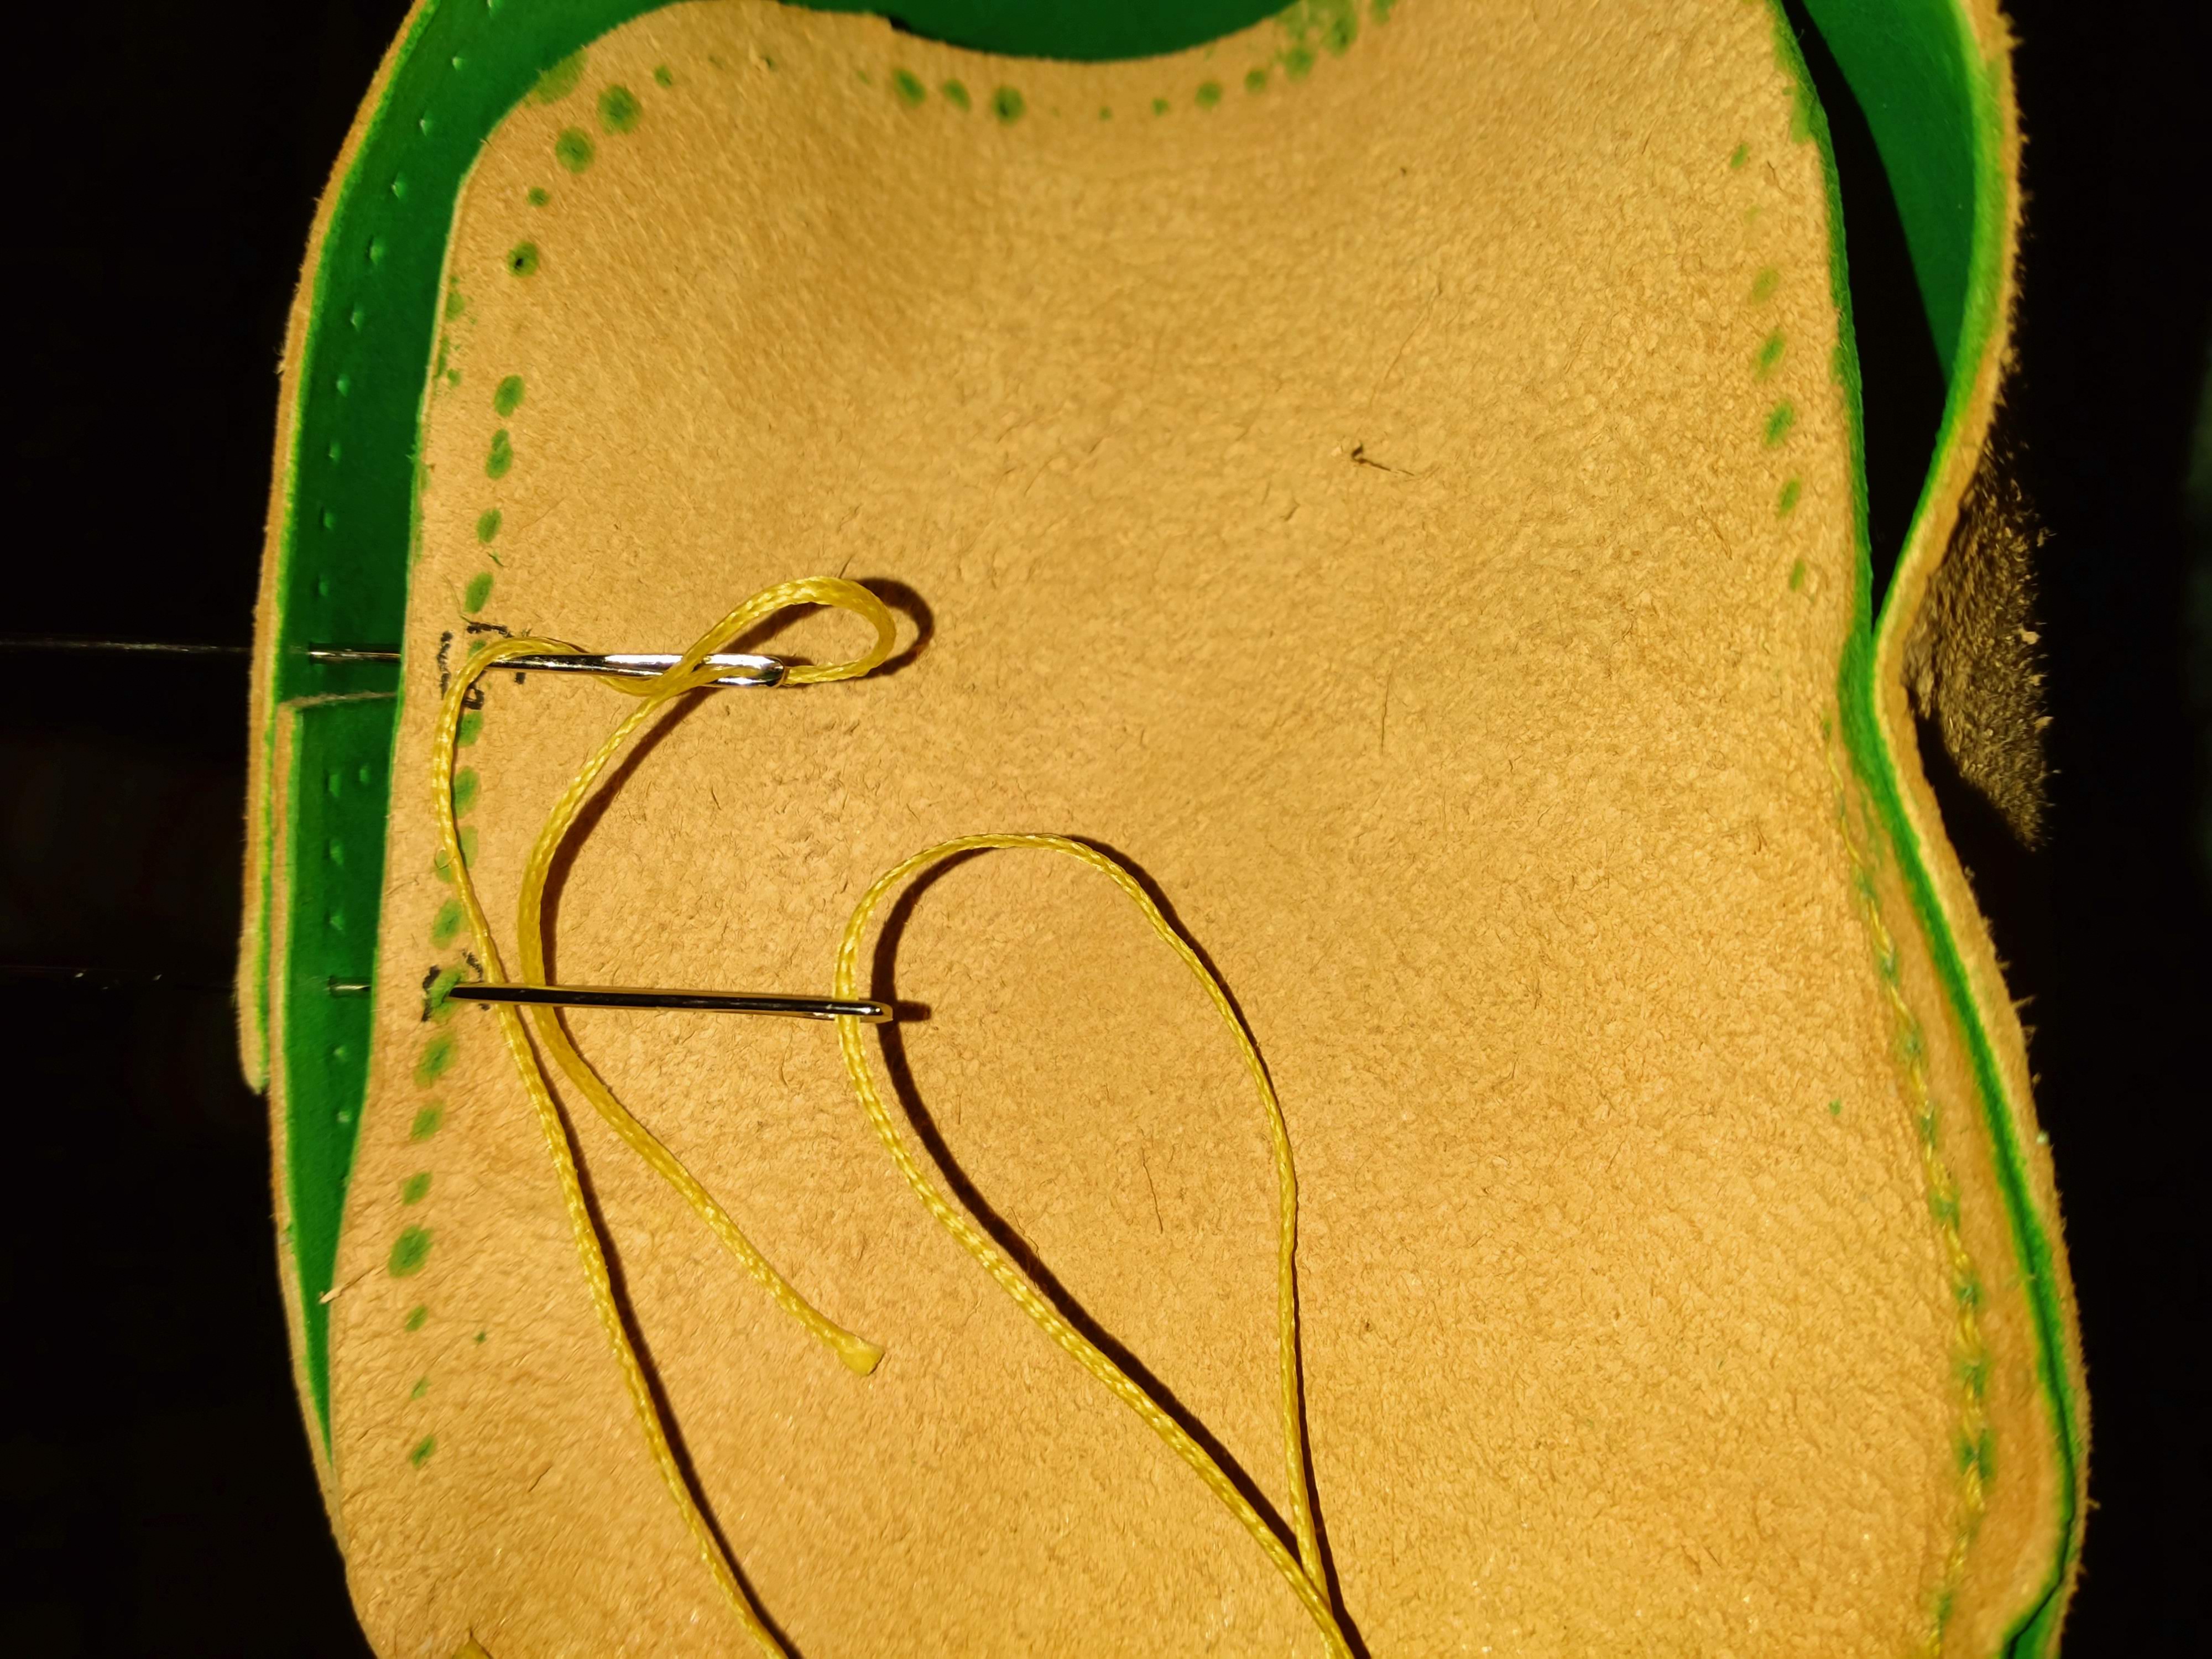
Then start sewing. It was not so tricky seams but it are allot of stitches on a 10x12 cm sized bottom and 16cm high. Or I think it end up as 17cm, don’t know how I failed on that..
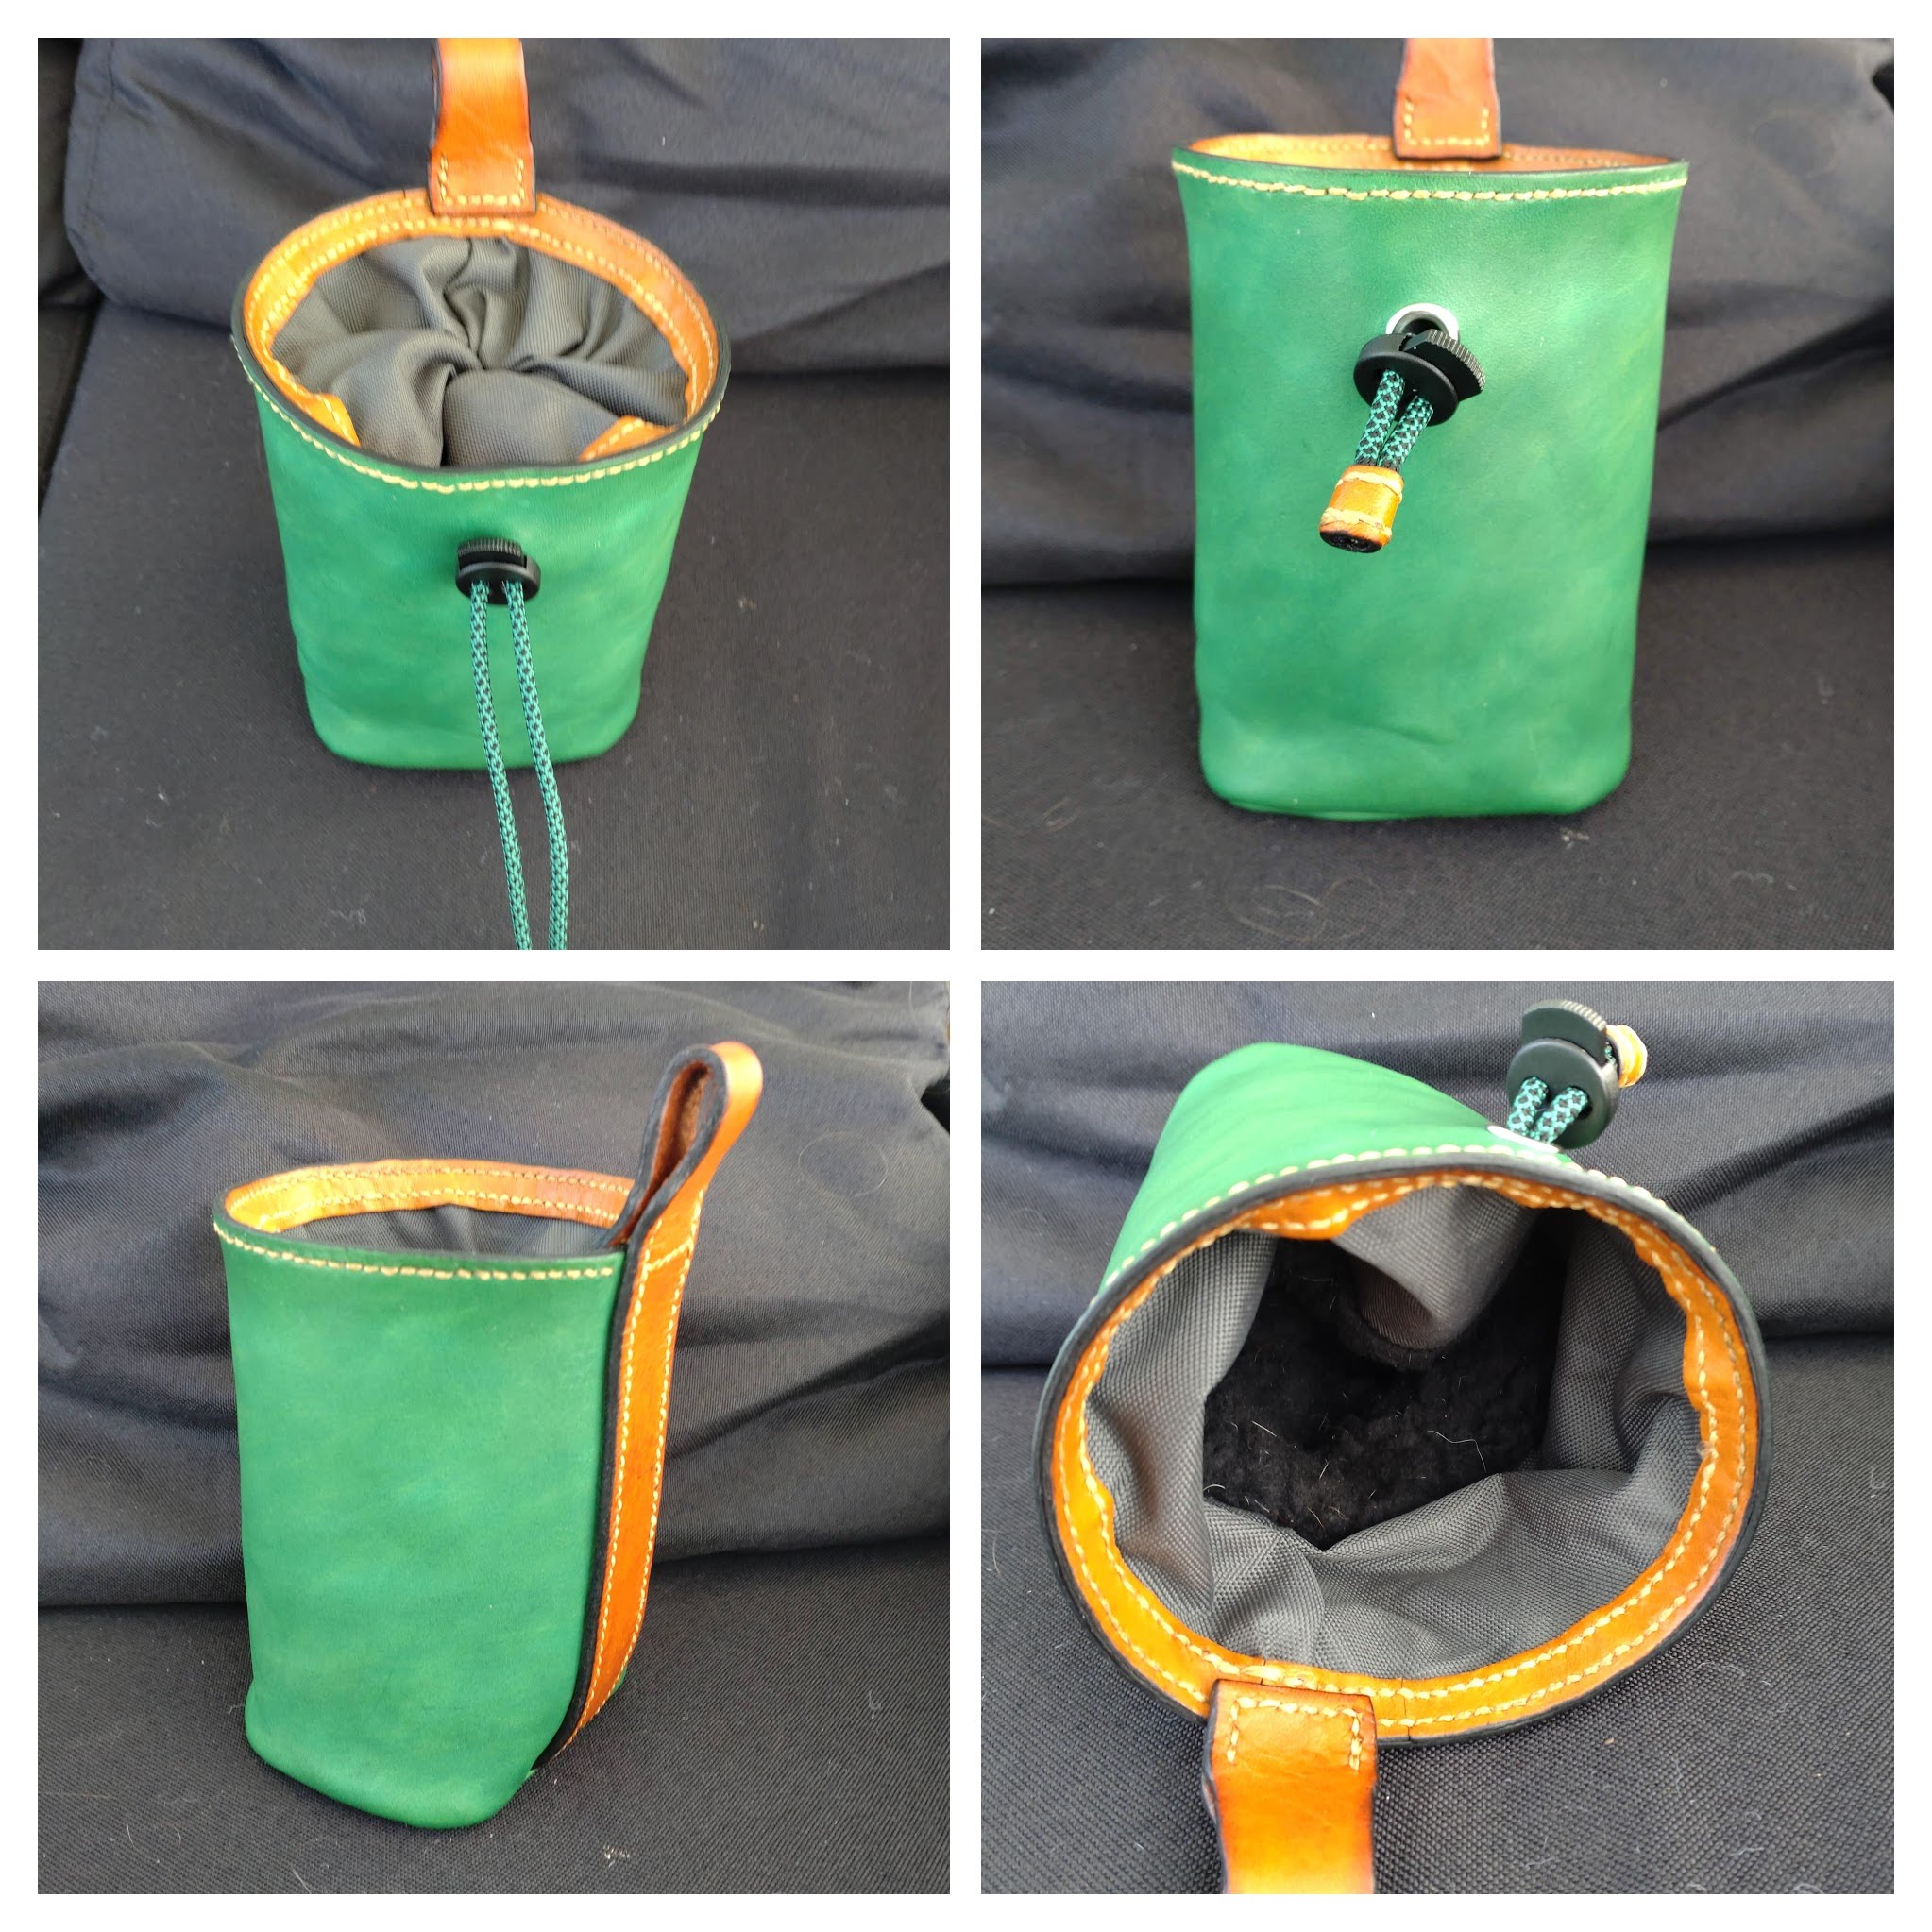
Inside
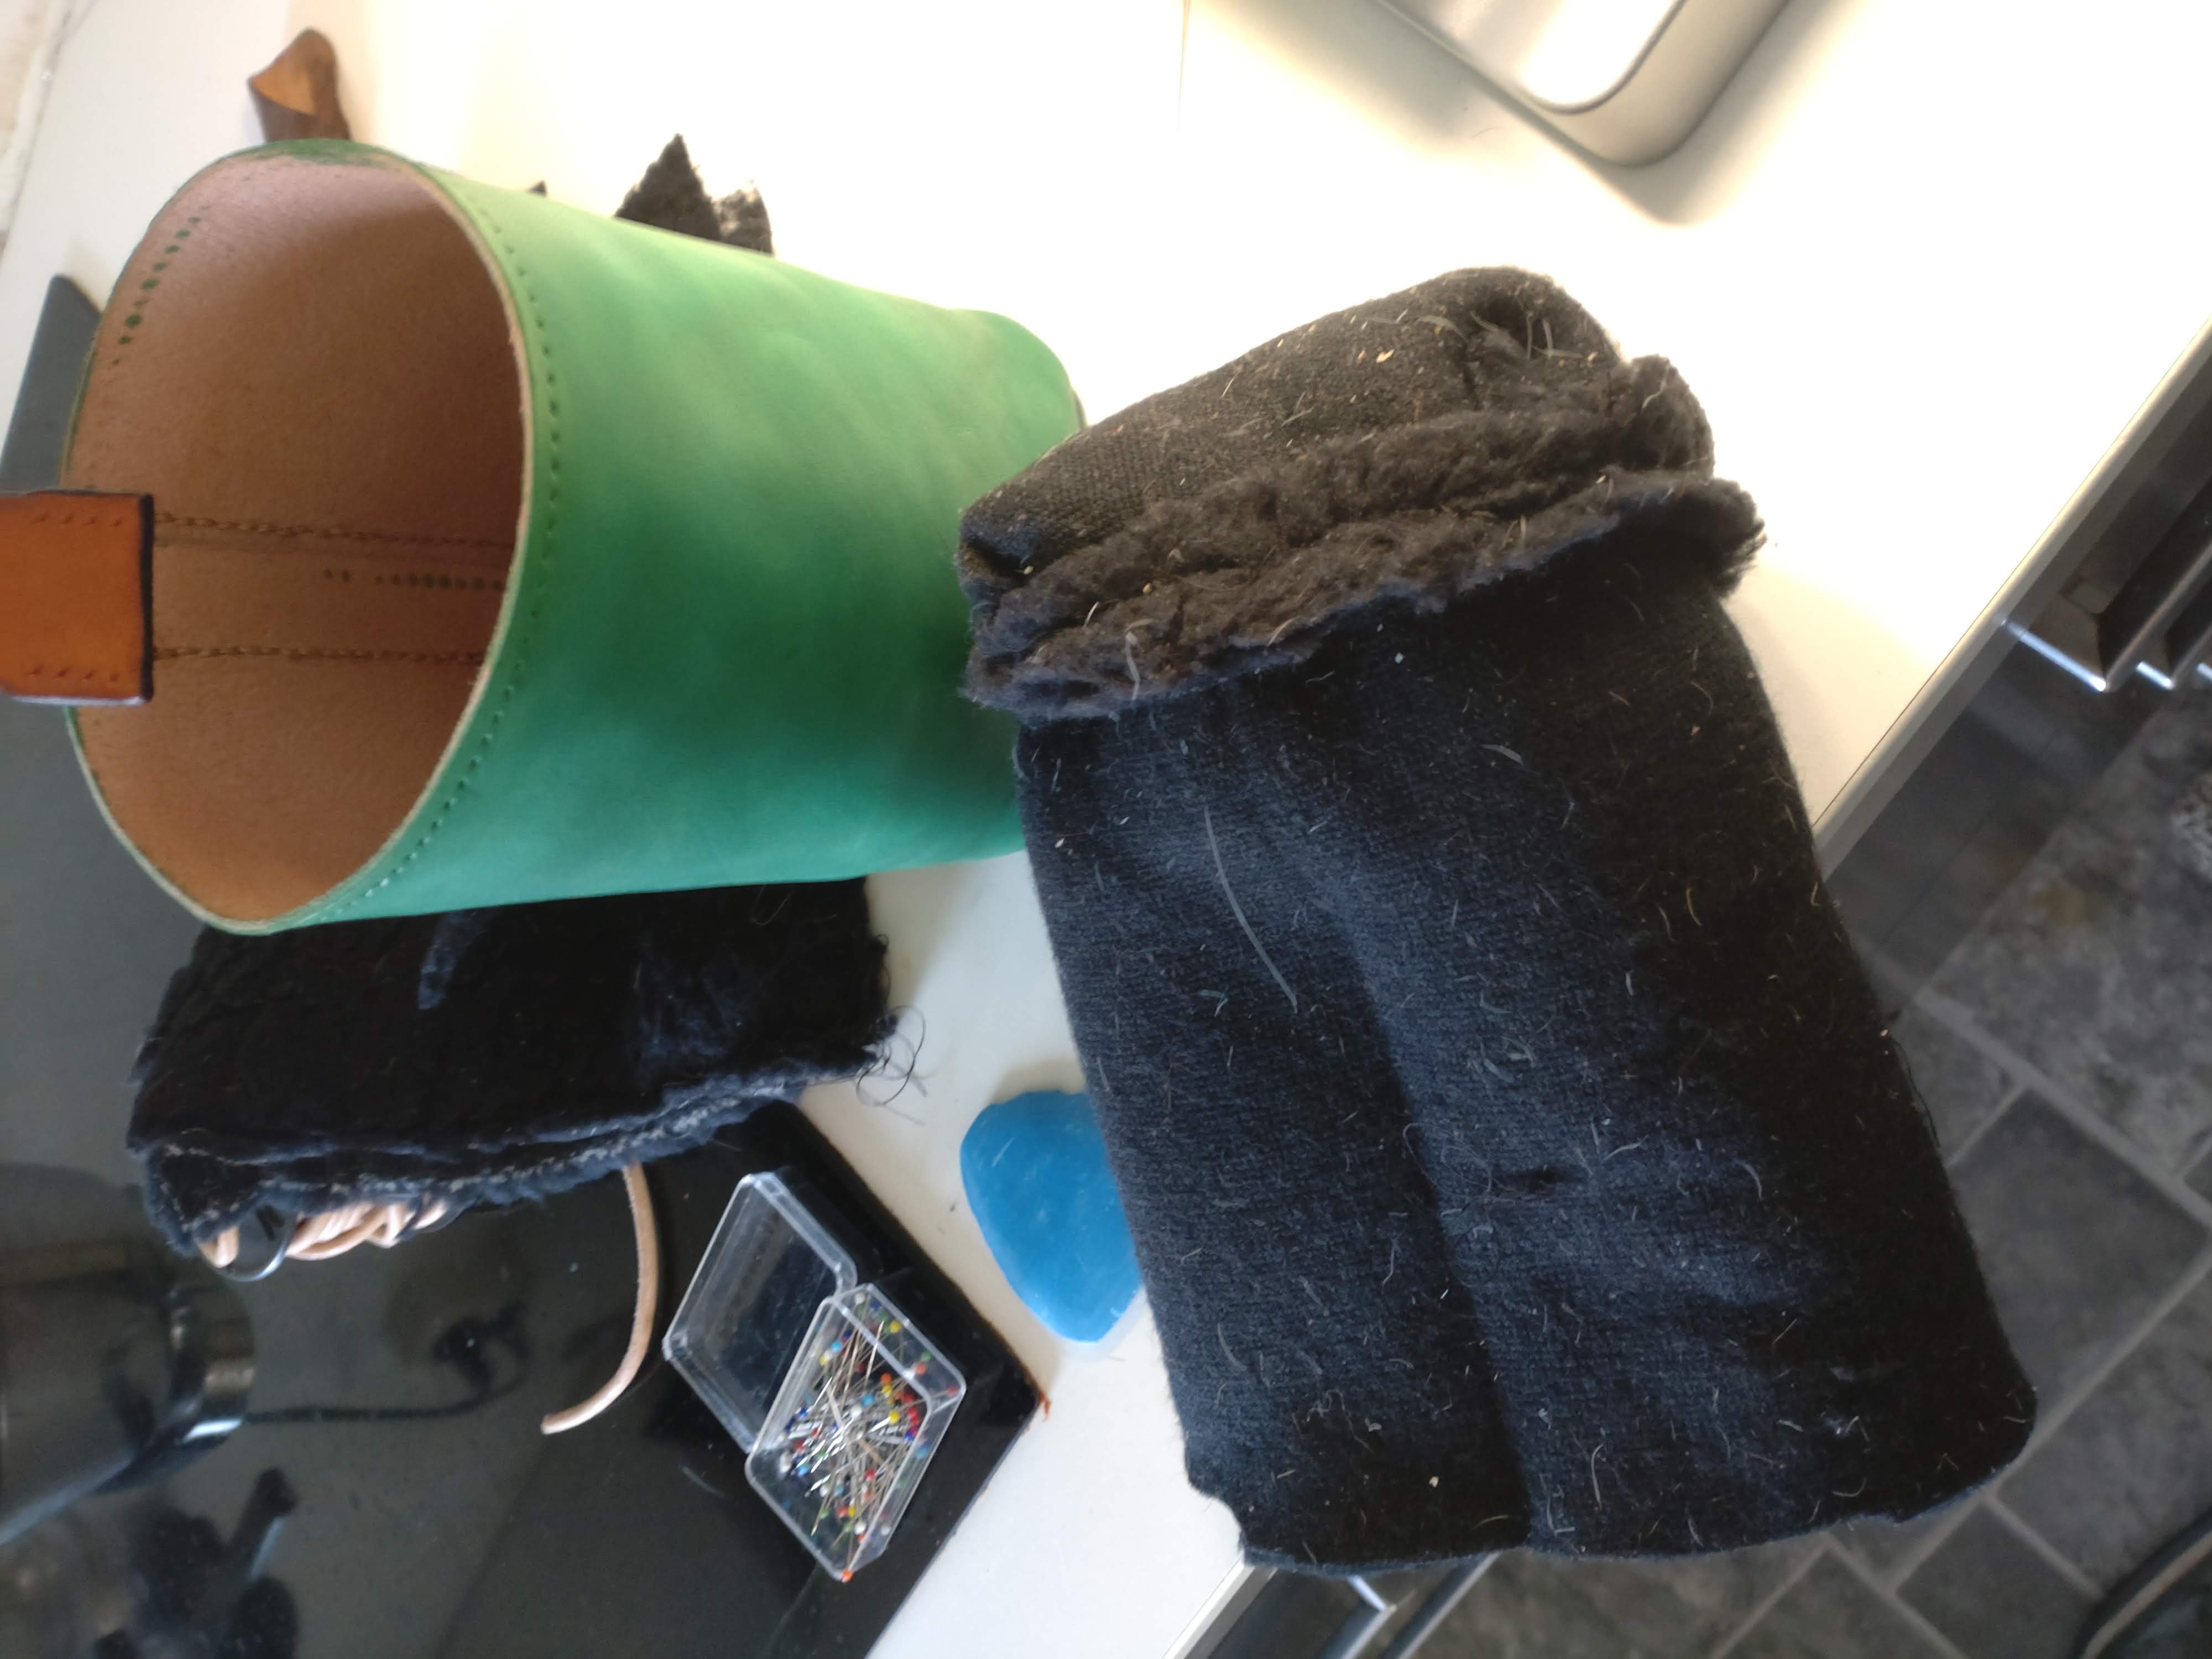
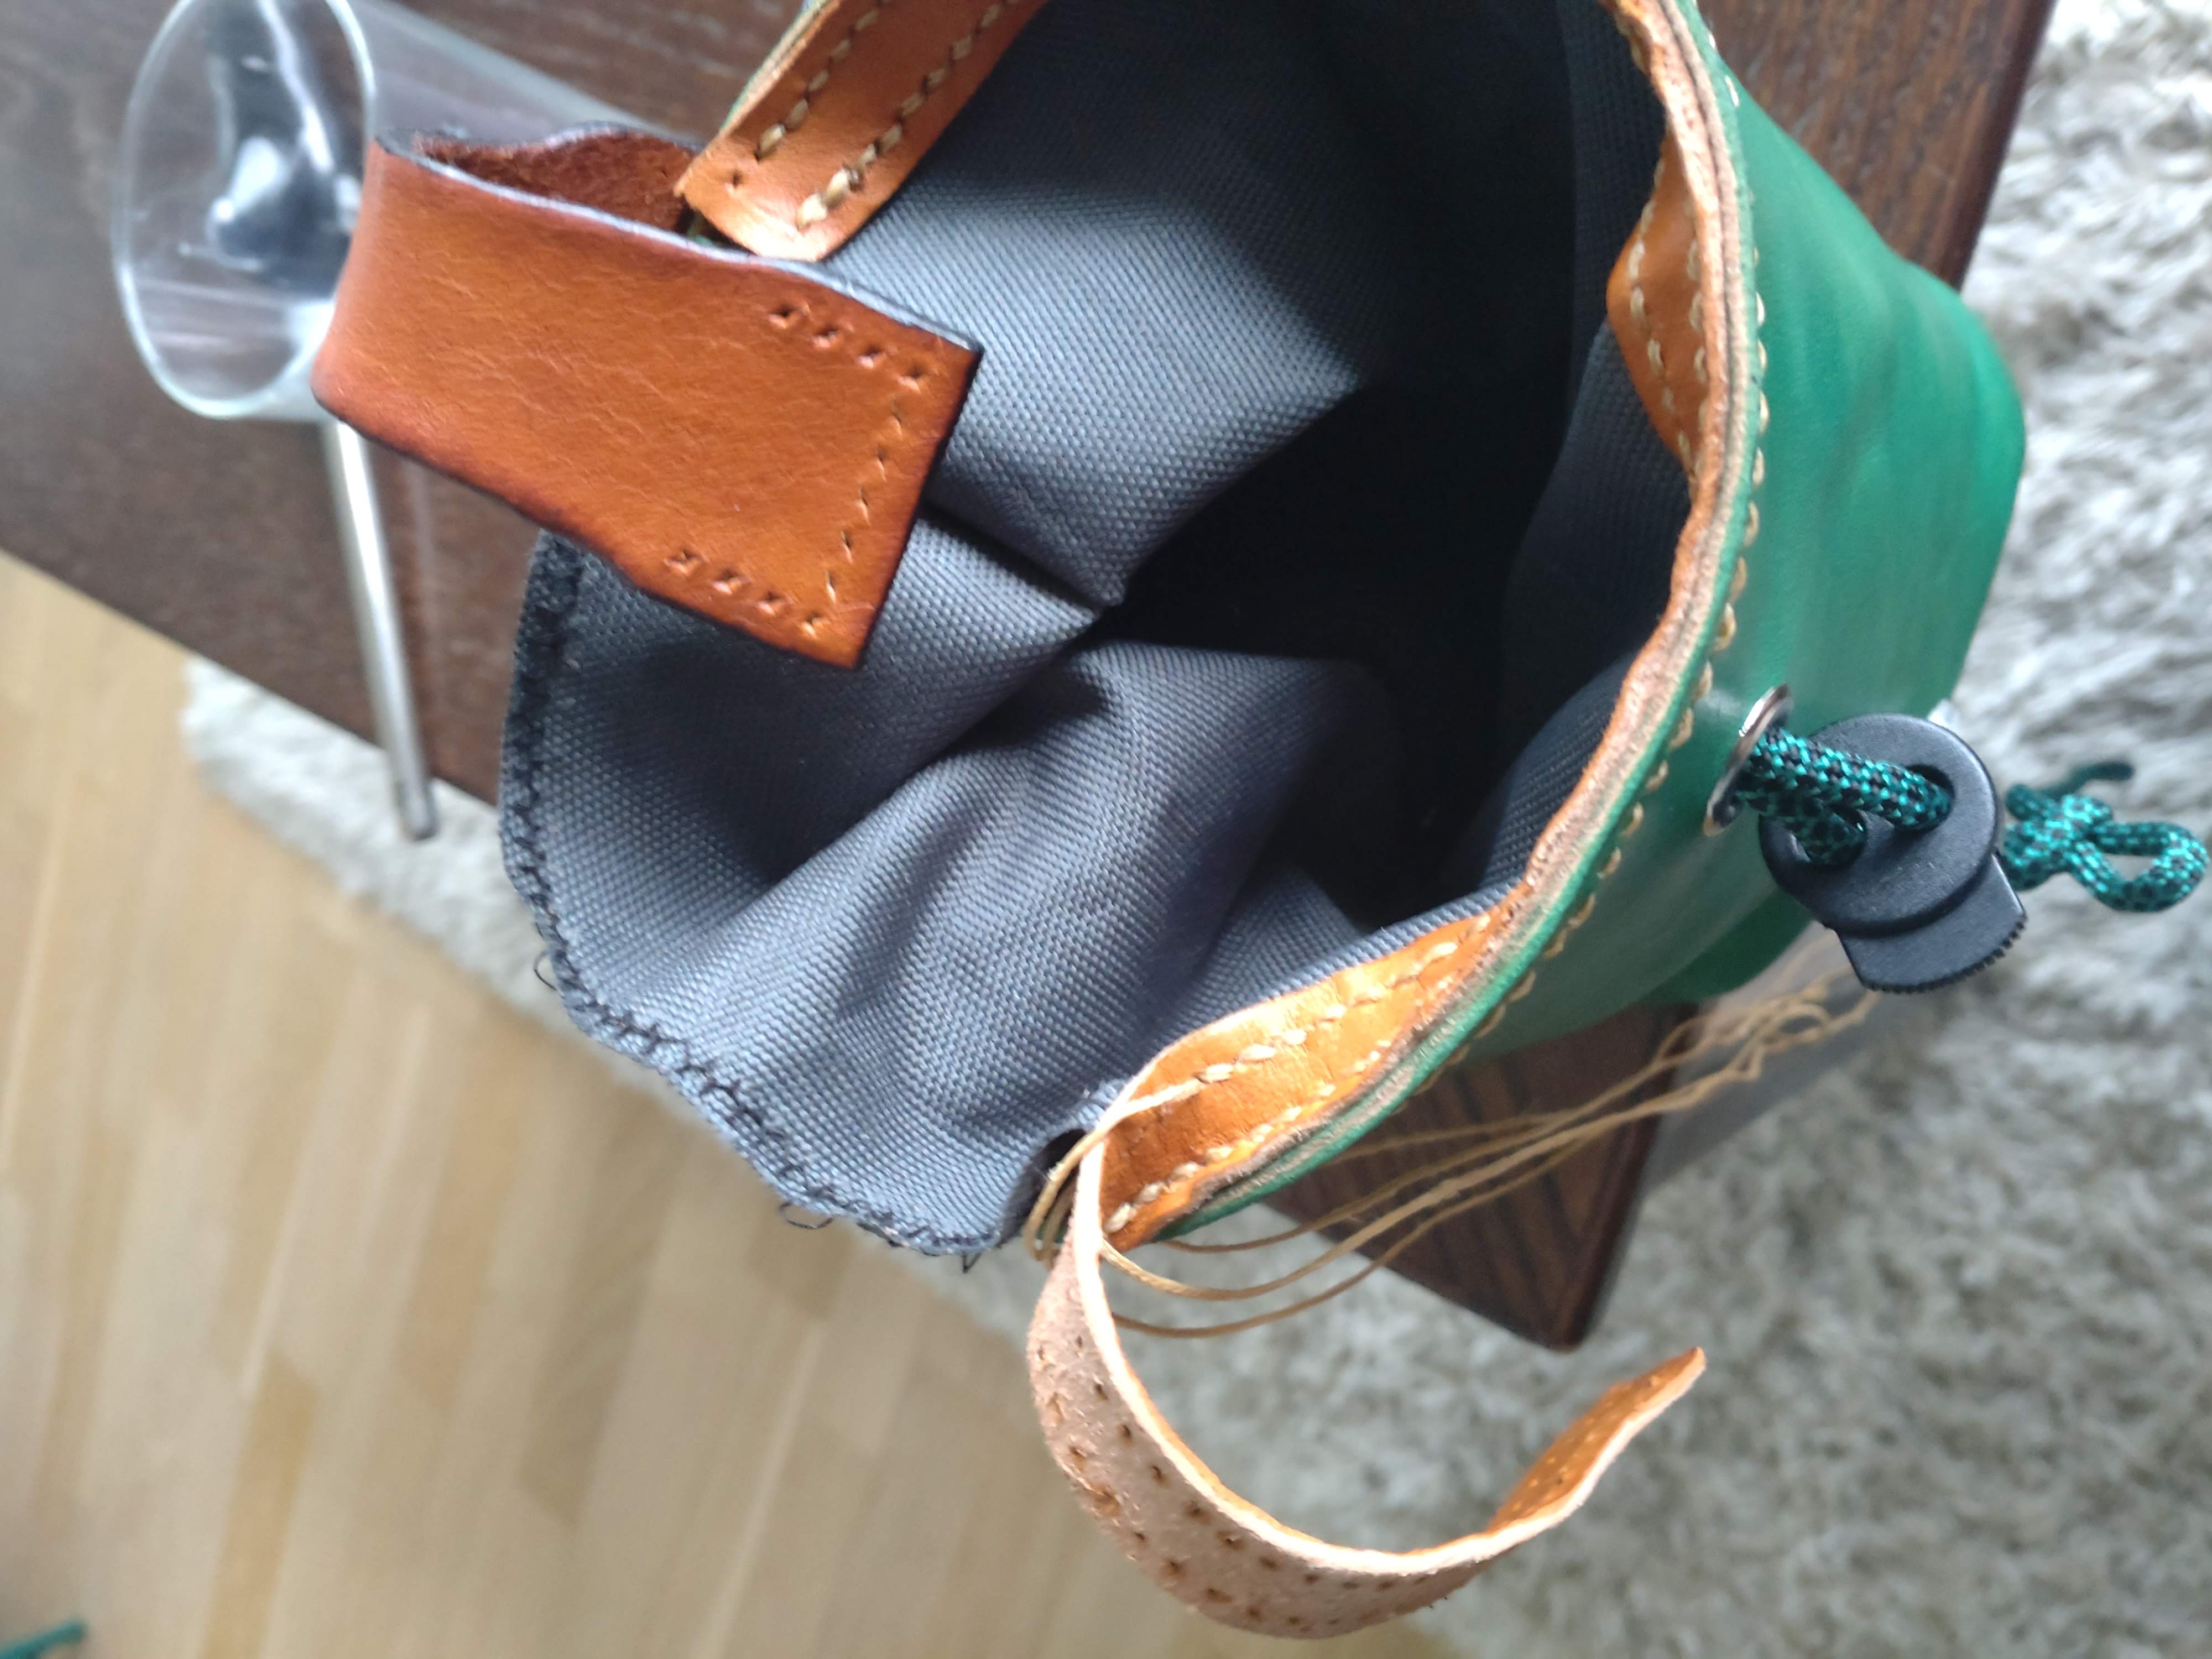
The inside of a chalk bag is often made of some kind of fleece or teddy fabric to hold the dust from the chalk. And then some nylon like fabric for the upper, closing part. The size of the bottom was only made by eye measurement but became good enough. The height of the teddy-part ended up a little to high I noticed, when it all was finished. The fabric have a tendency to become bulky when the bag is open but not in the way of the usability. (Yes, there are some pony hair in the teddy fabric. I killed an old saddelpad but there were allot more of hair from the beginning but impossible to get rid of everything)
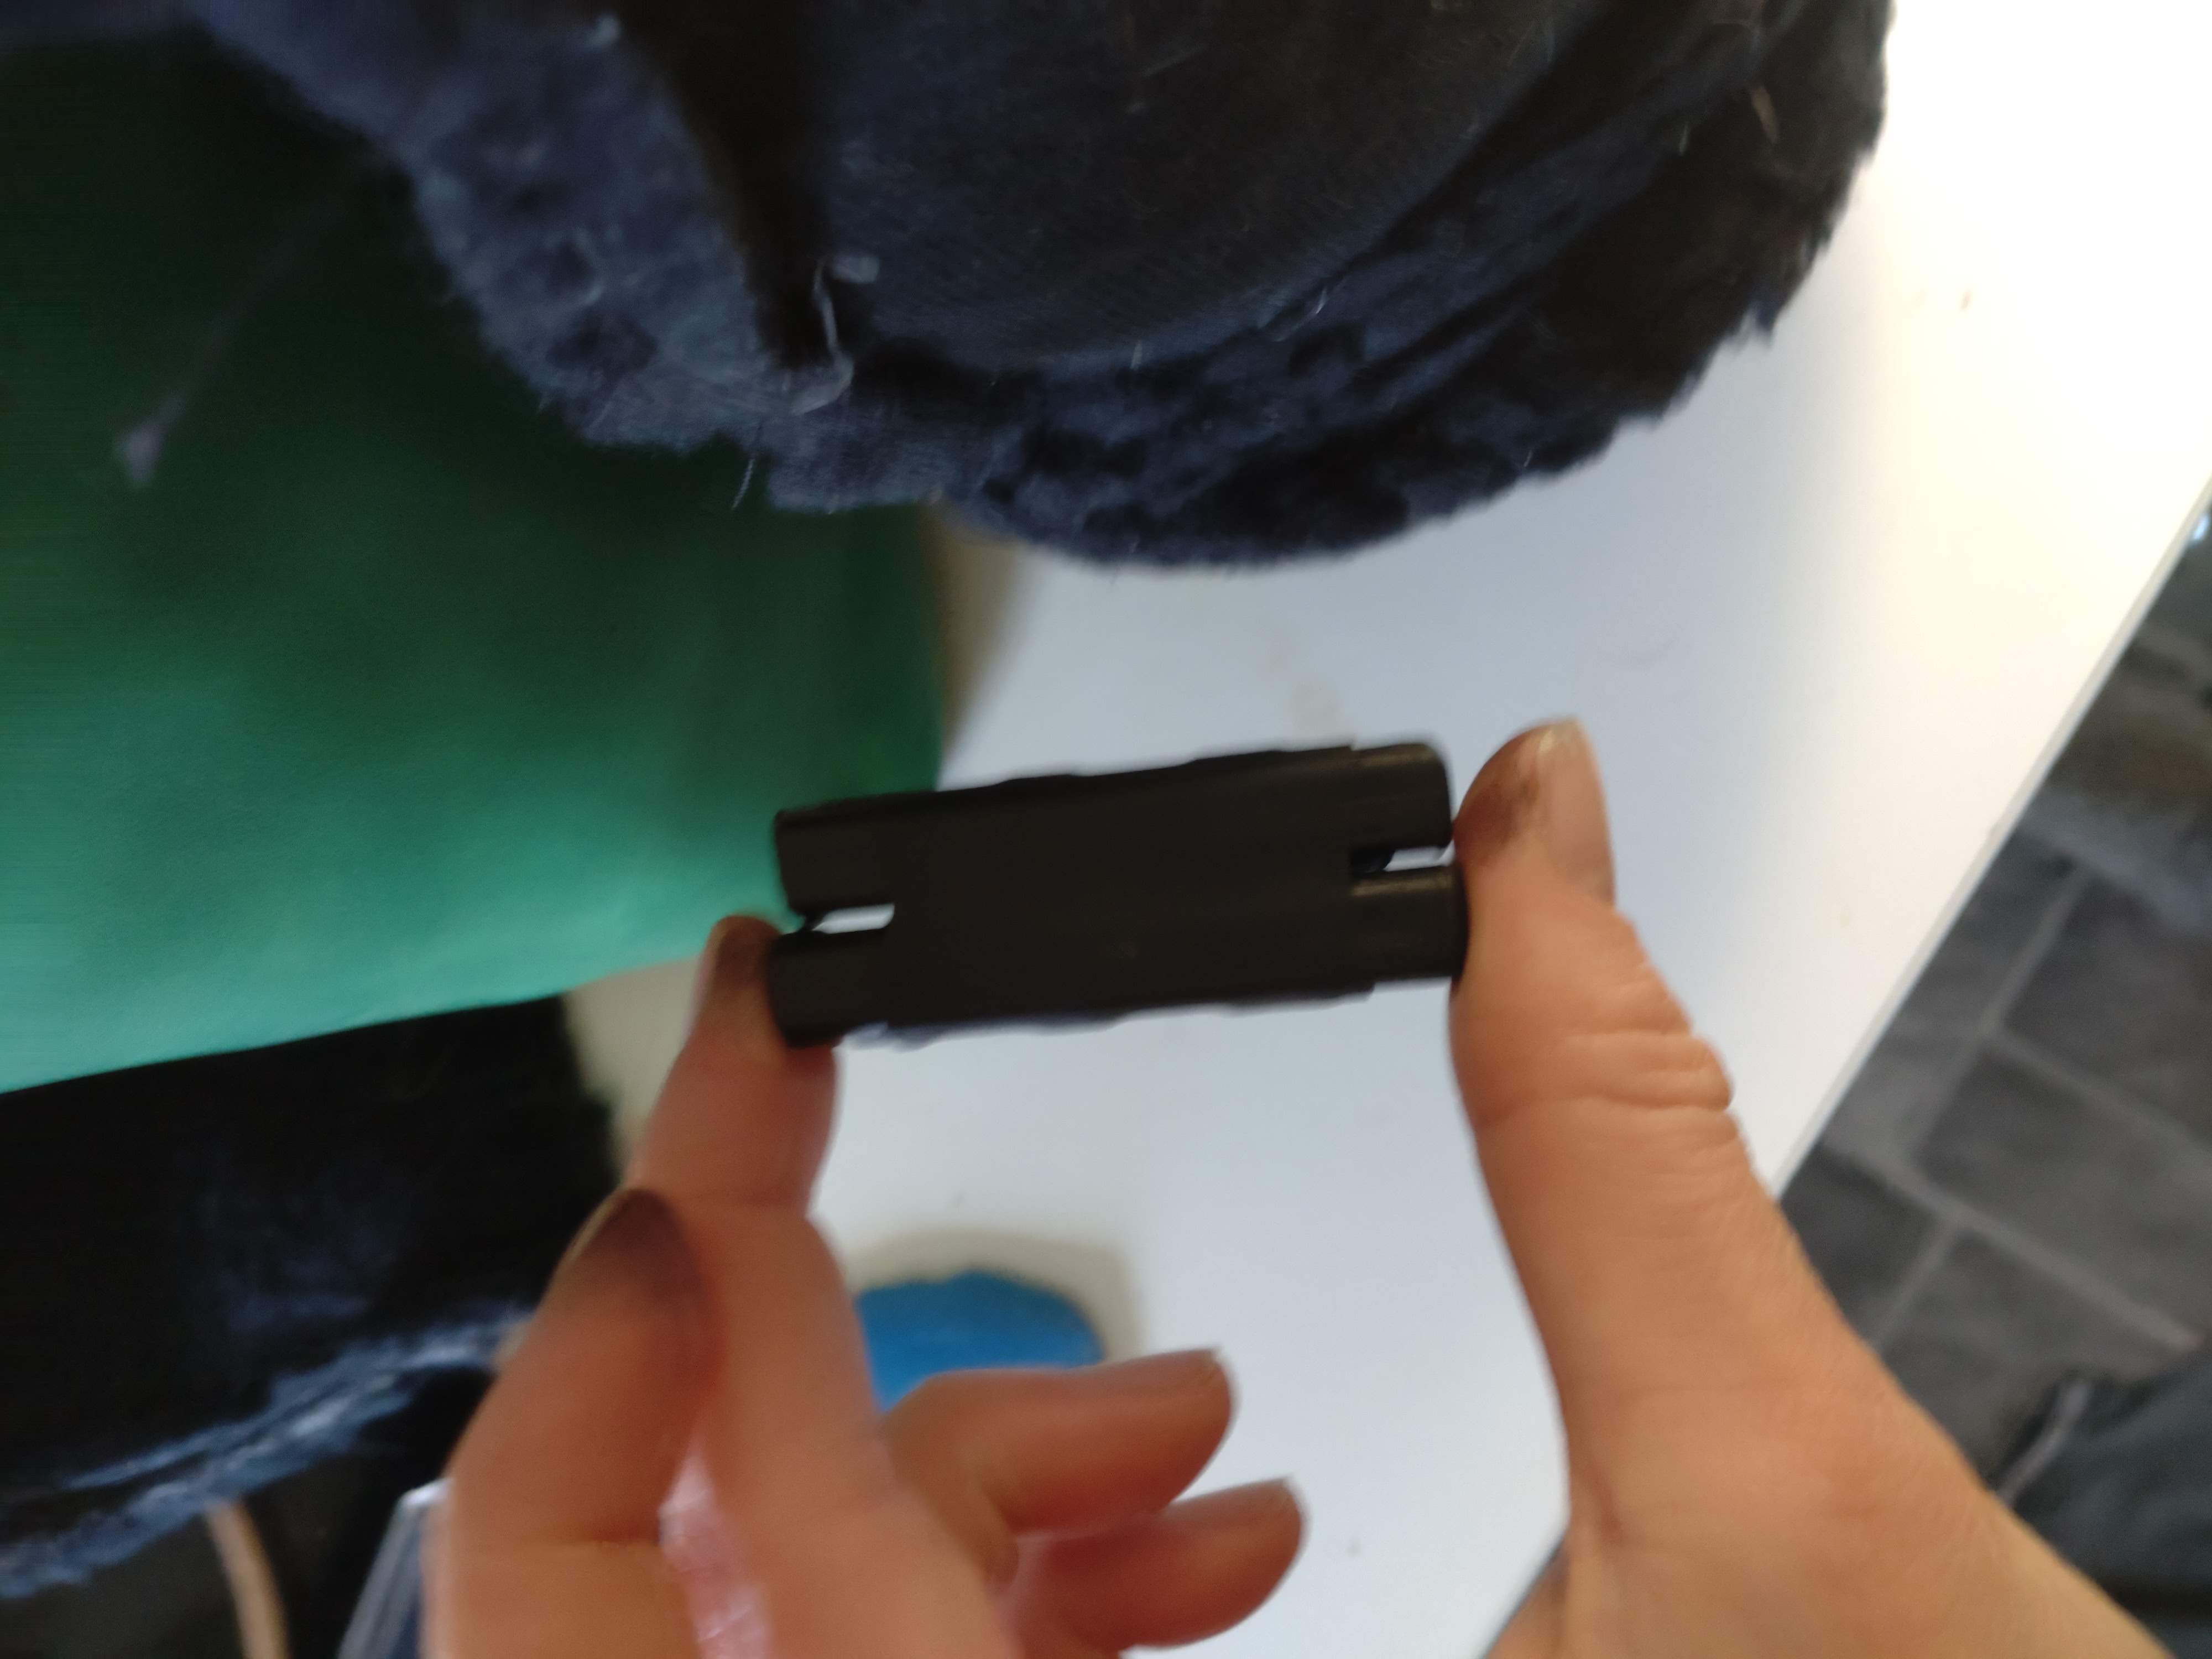
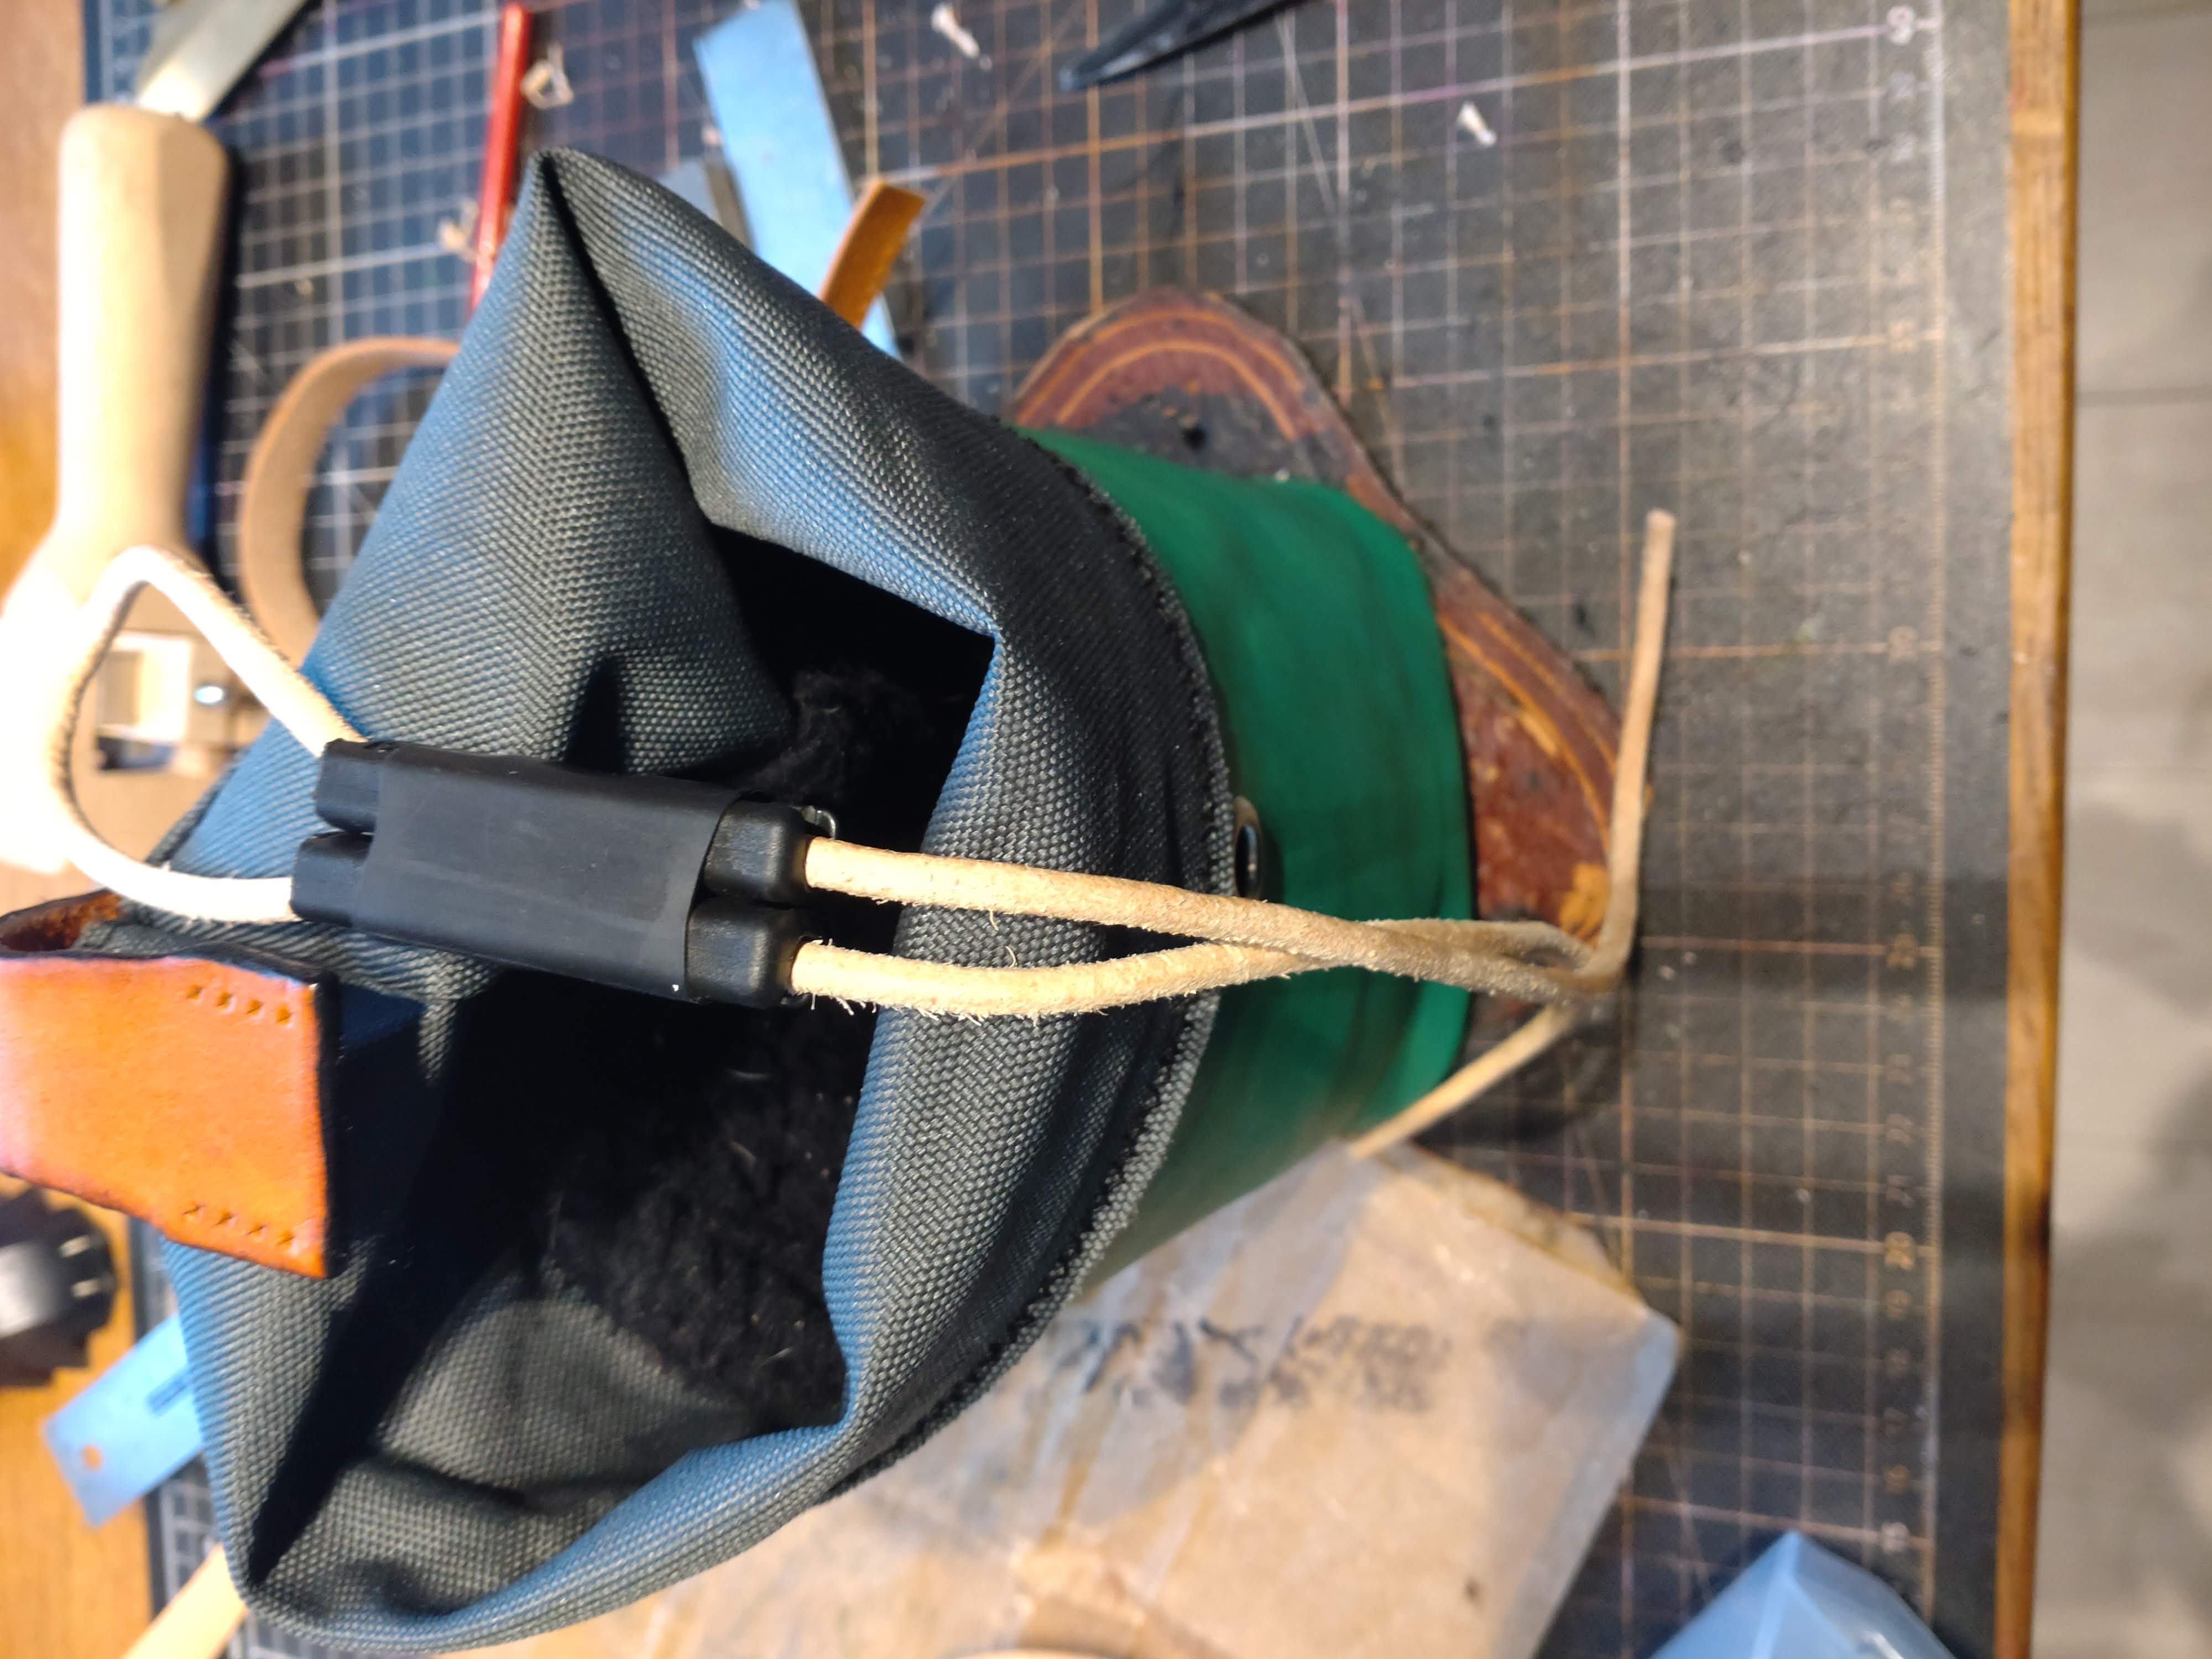
When I exam my friends calk bags I find that the have some kind of tube or pipe-like piece that the string pass trough on the inside. After some thinking I come to the conclusion that it most be fore centering the opening when closing, to the middle of the bag. Otherwise the opening should be drawn to the wall of the bag when pulling the string. Trying to find something at home, that could do the work ended up with a IKEA plastic tool cut in half and glued and hold together by a heat shrink tube. At first I use a leather string but it was to much friction when sliding trough the centering-thing and would tear the string down in the long run.
It all come together
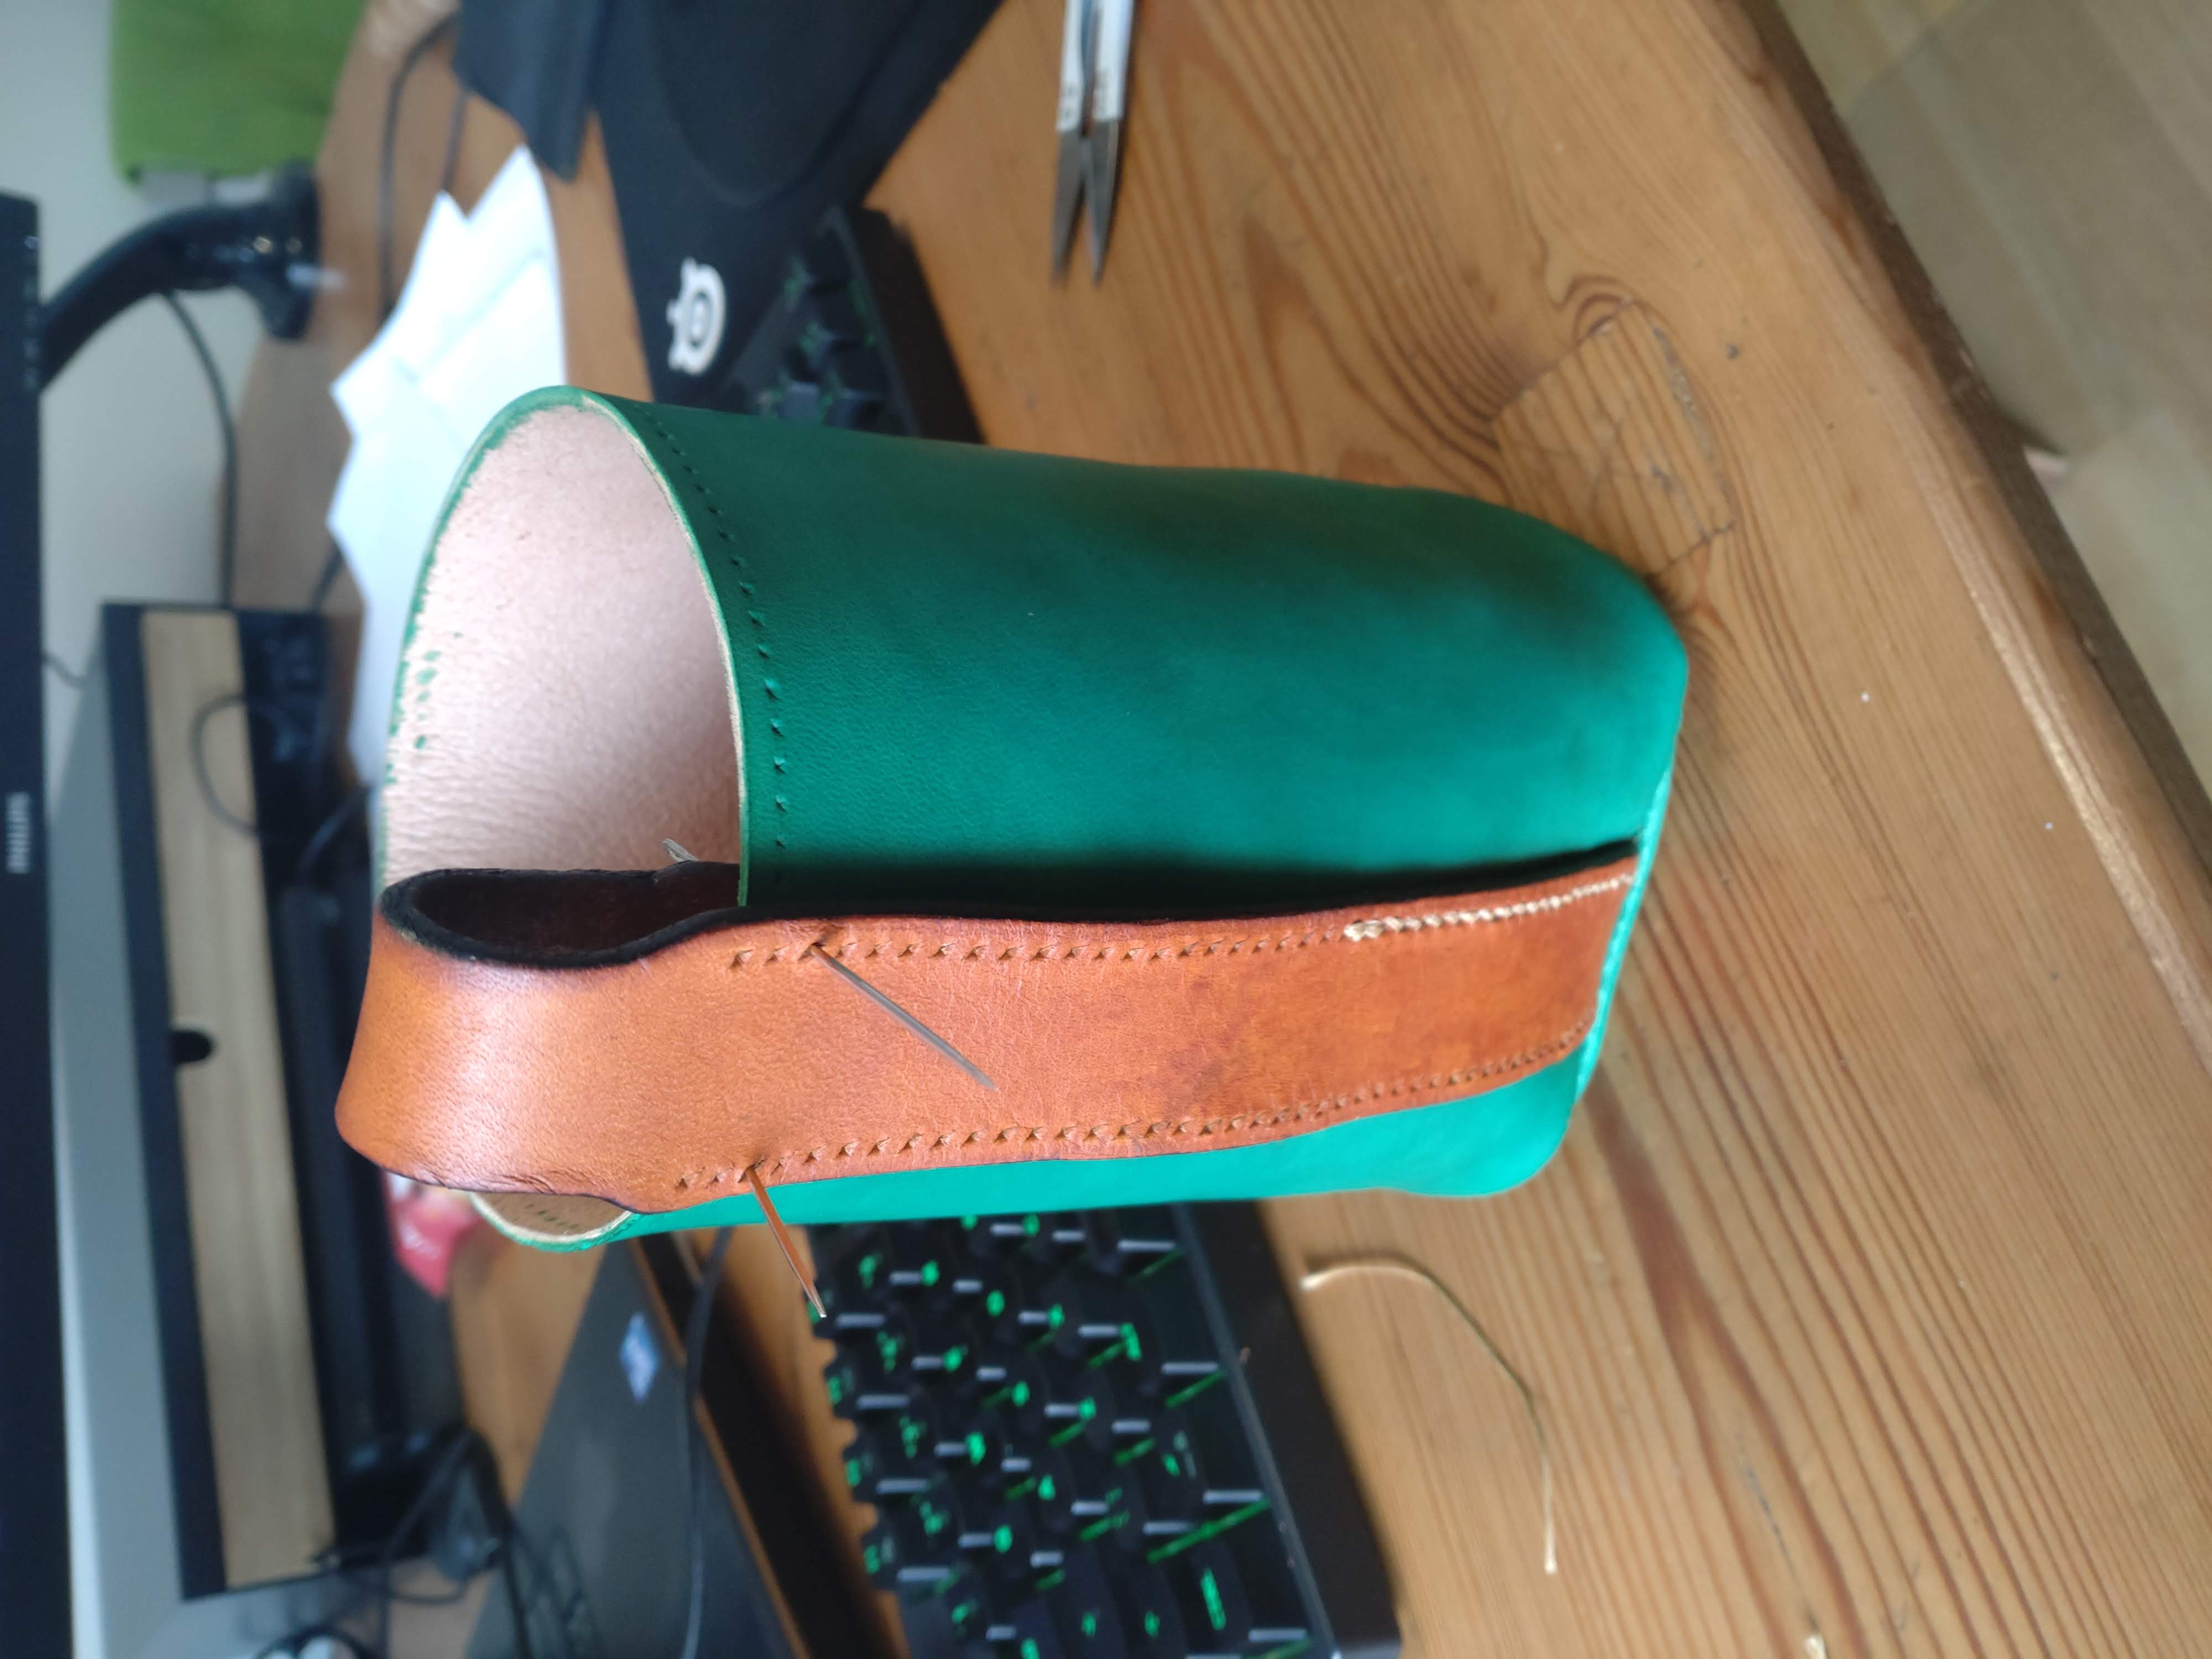
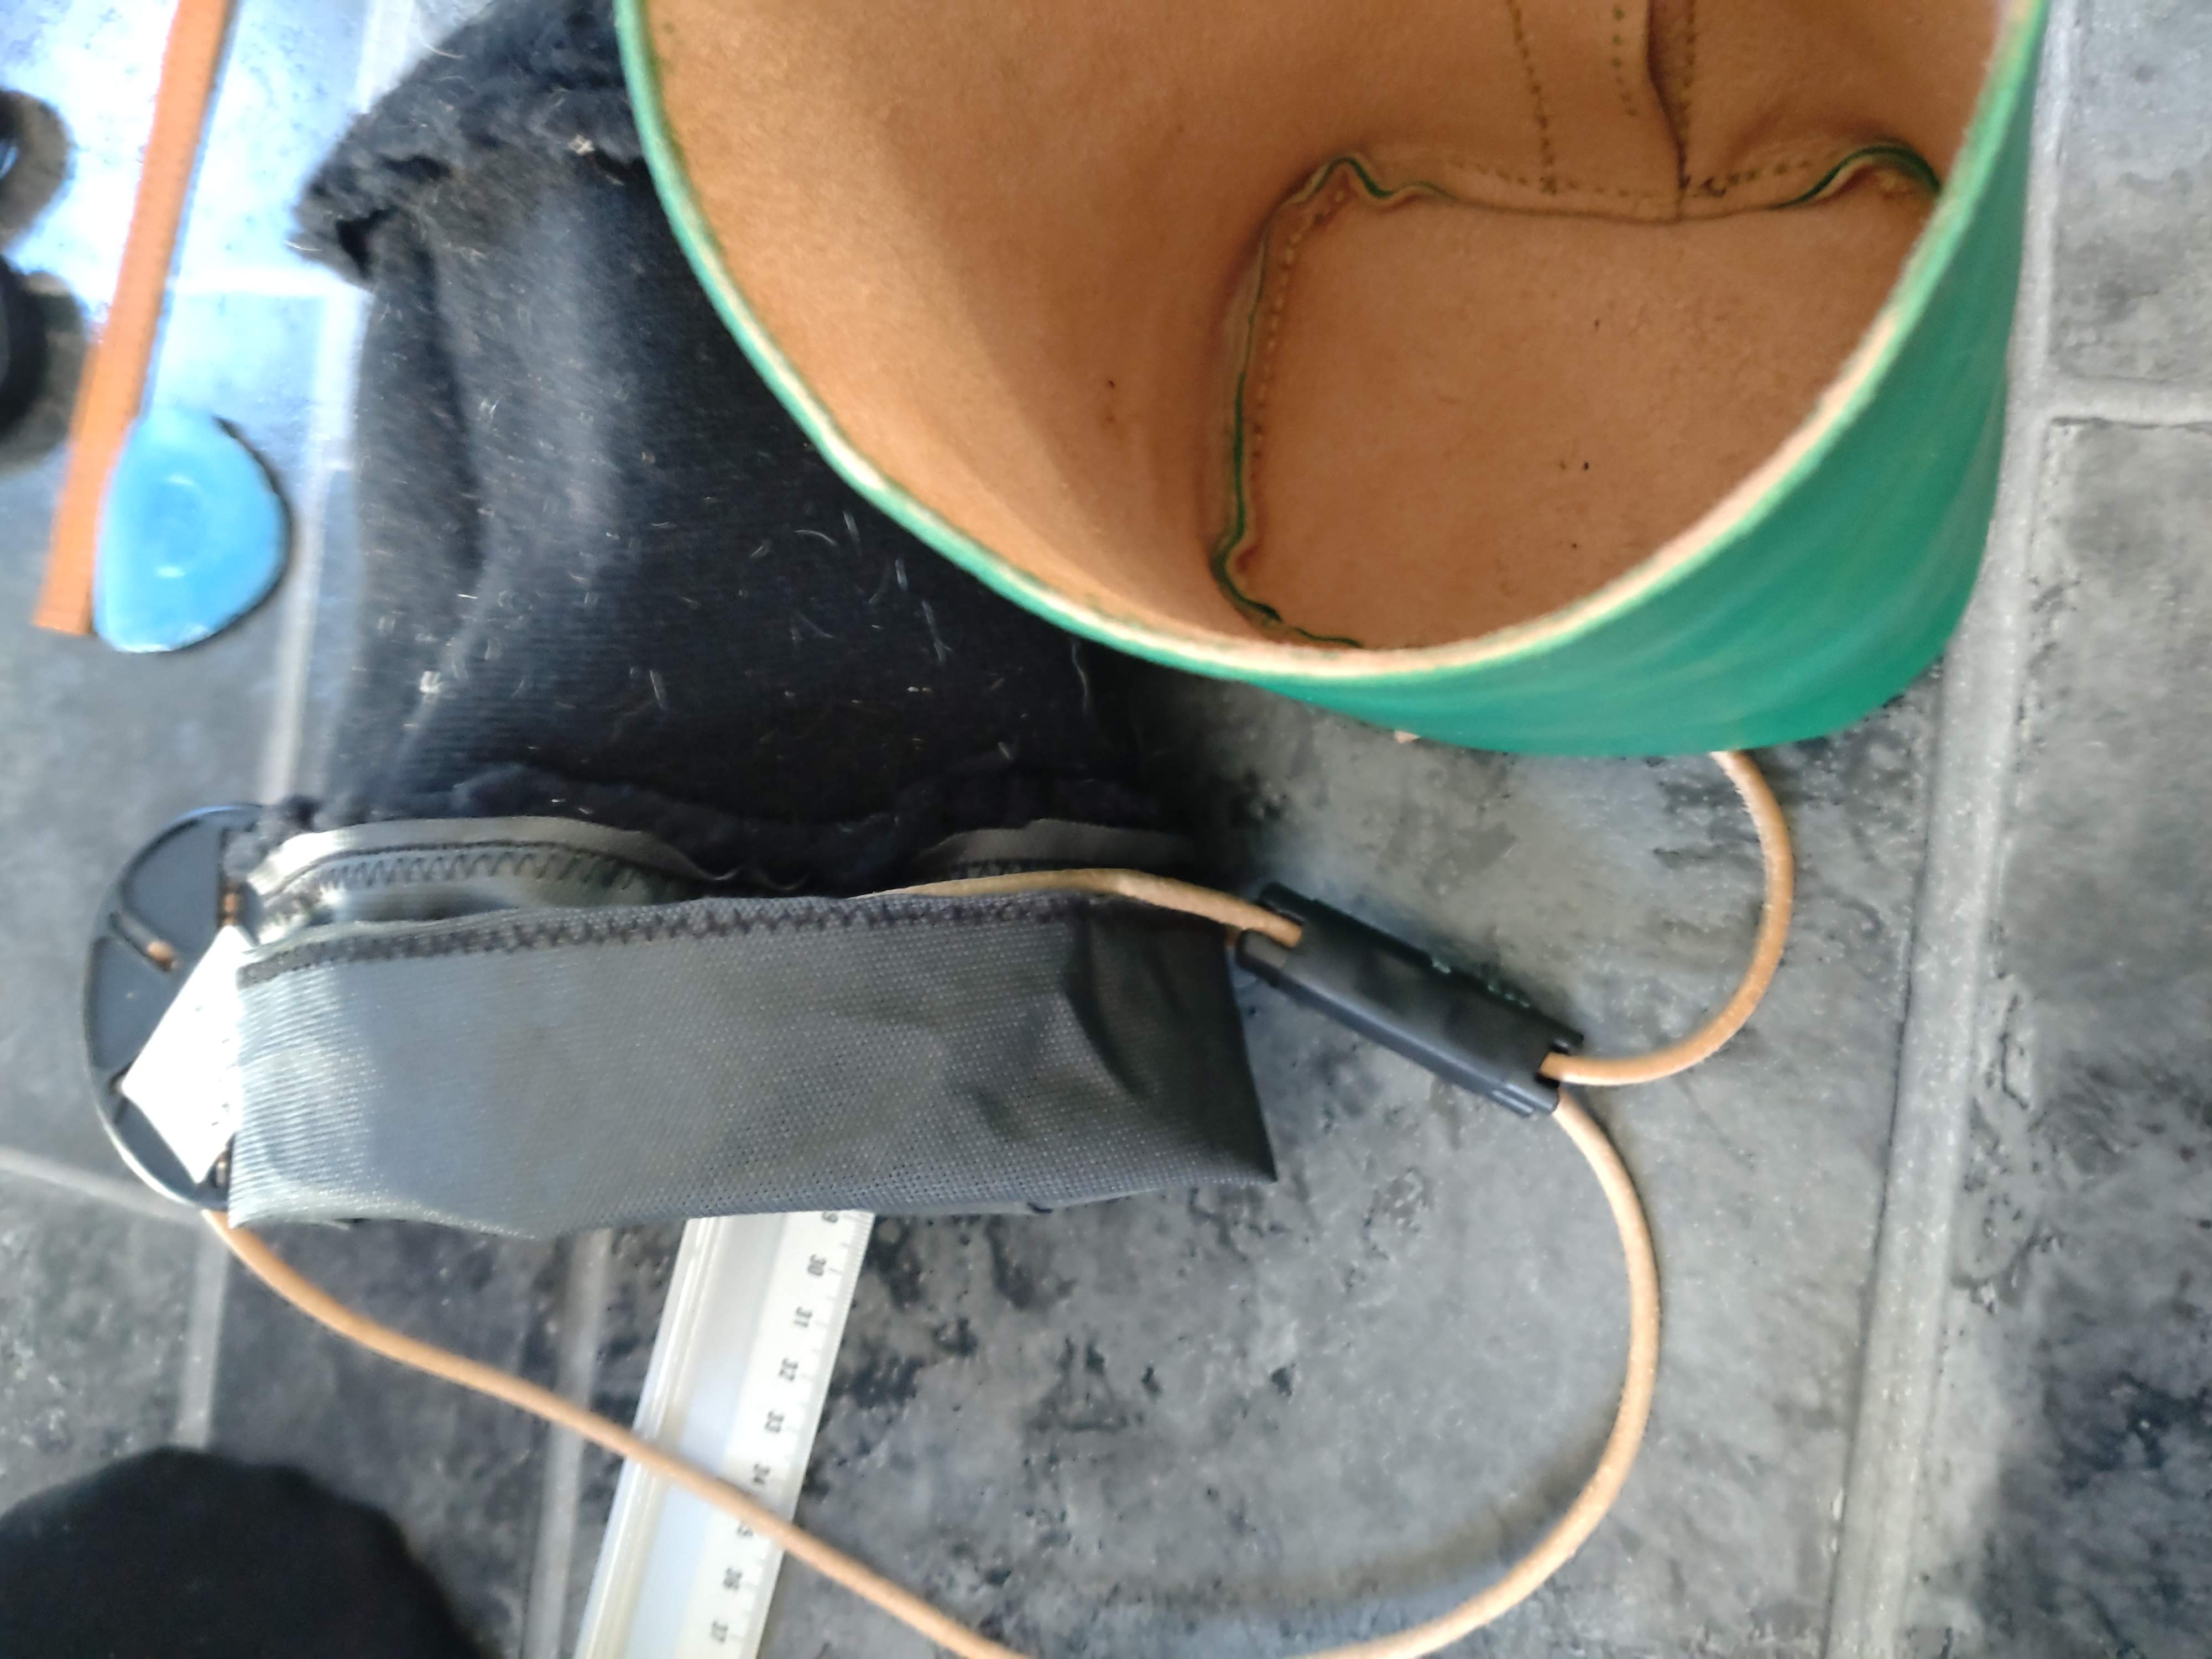
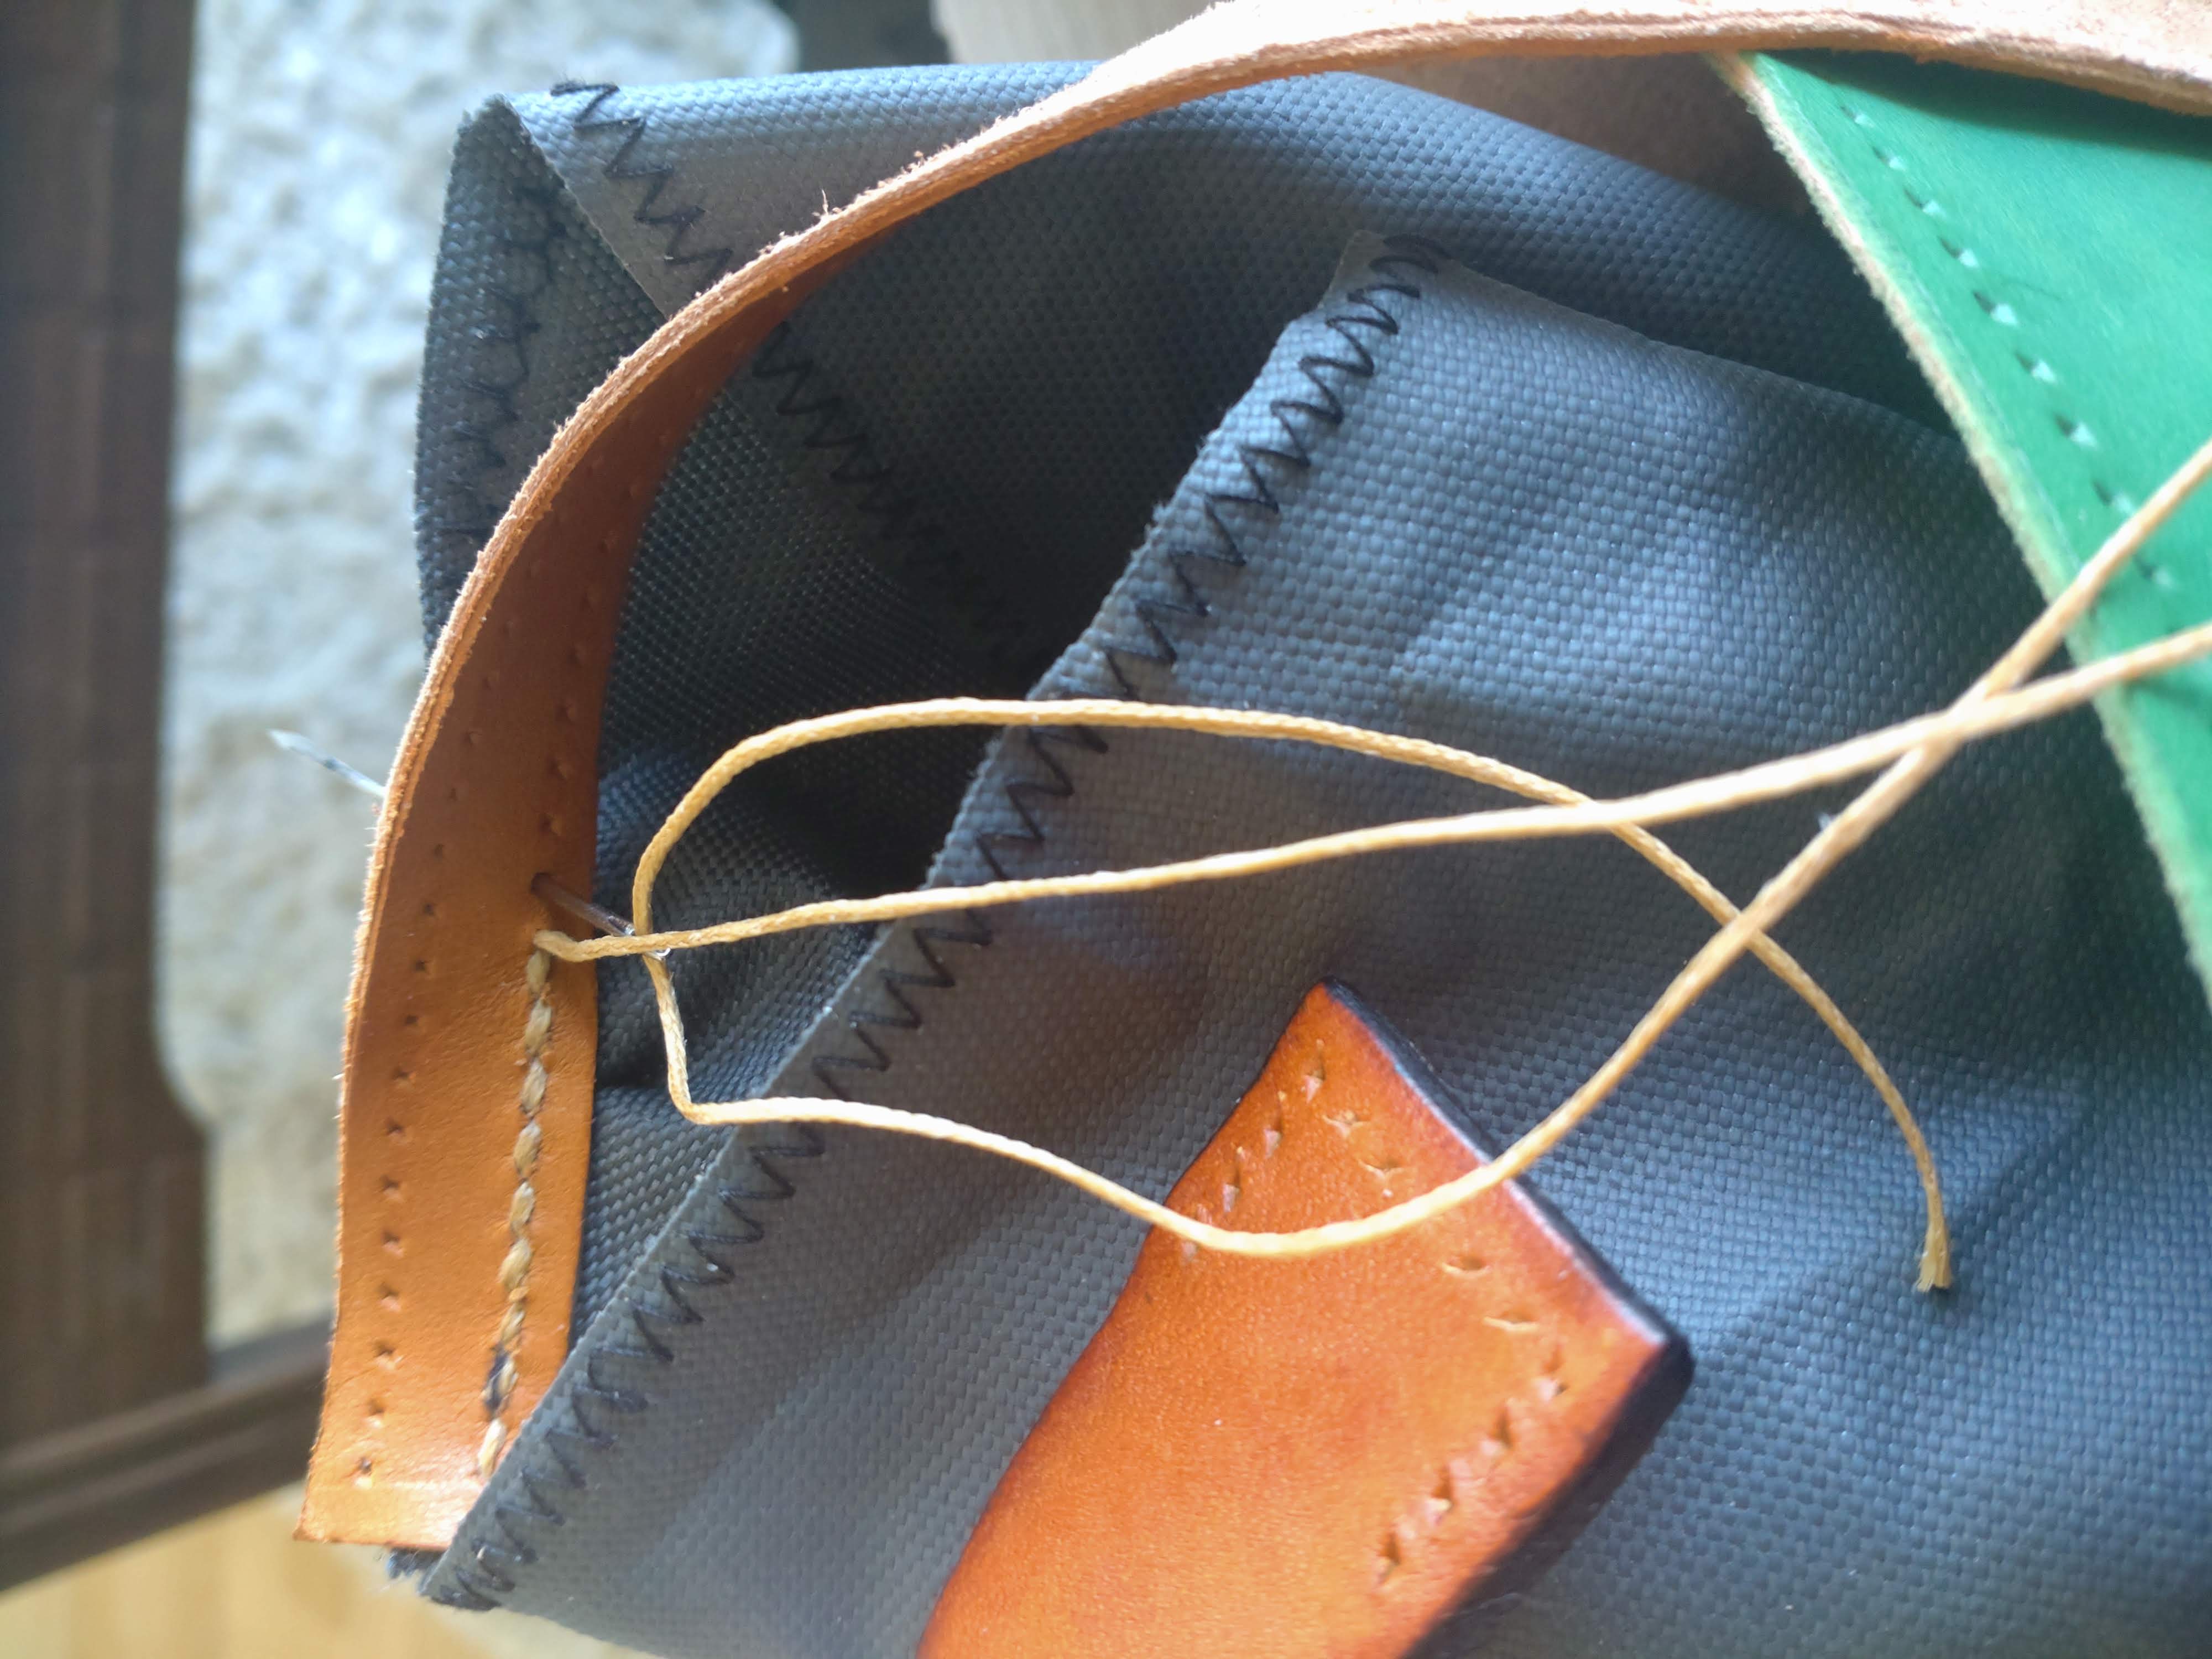
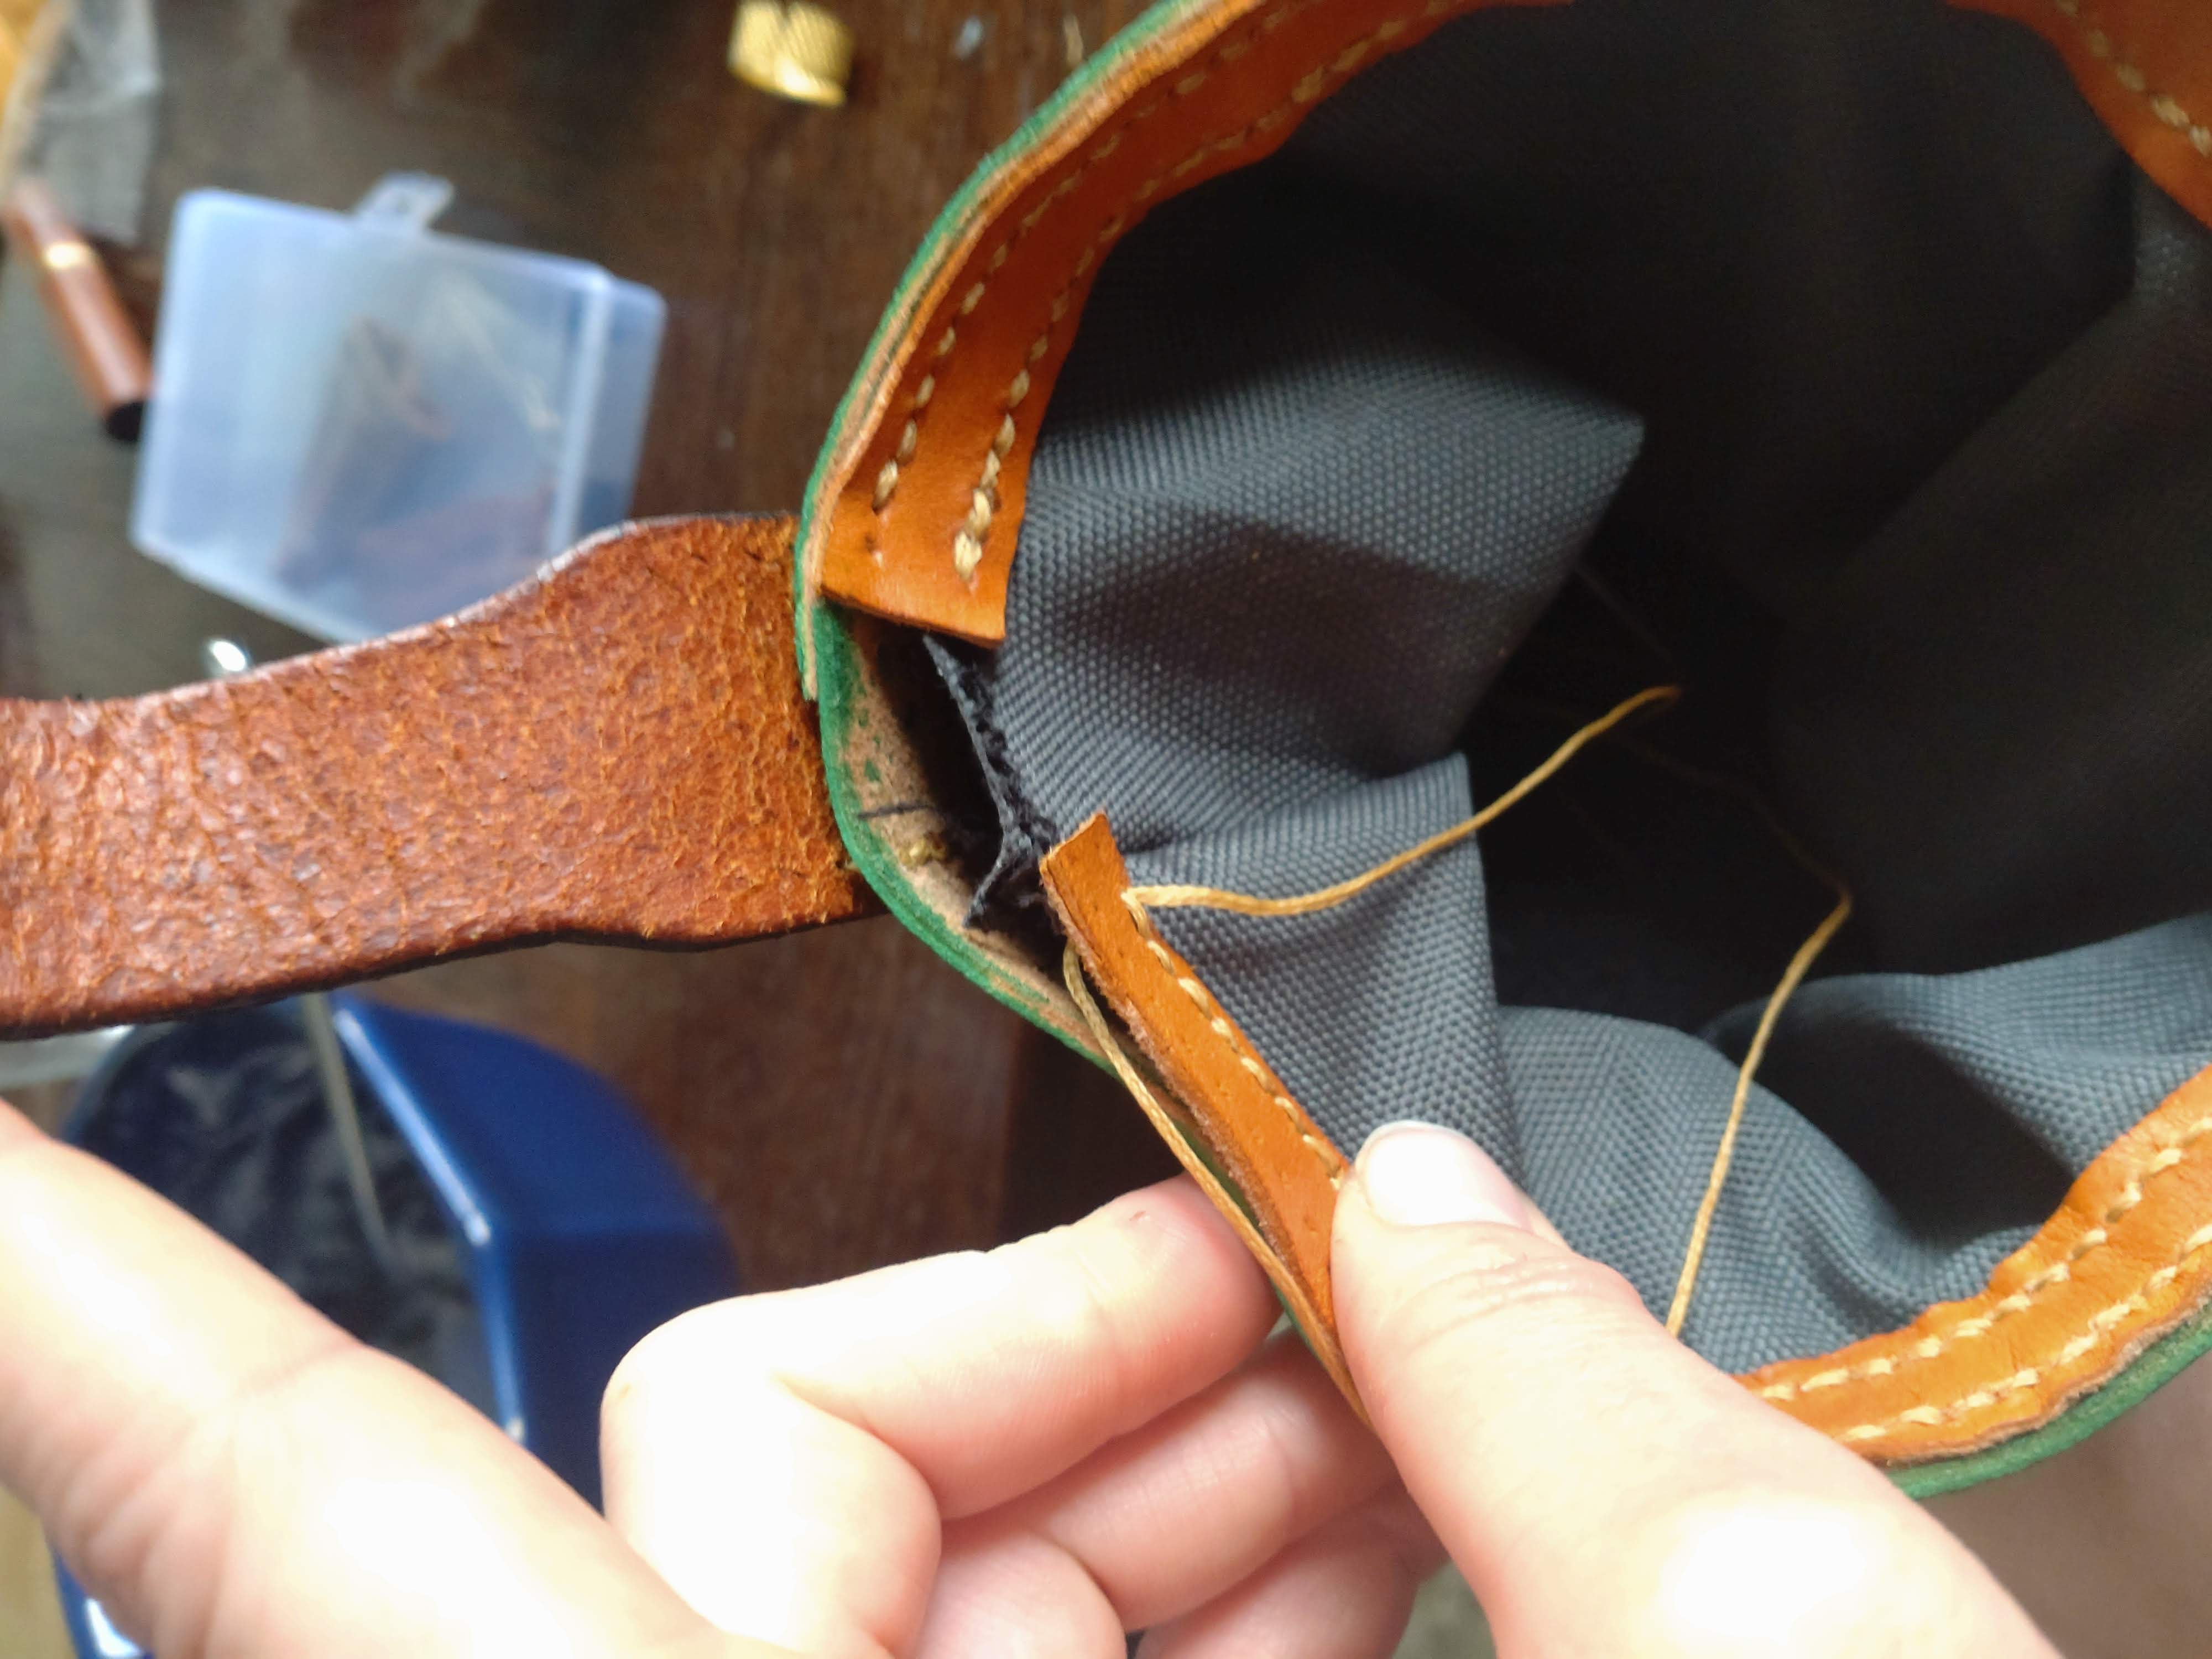
The inner fabric is stitch in to one side of a leather strap and the other side is stitch in the top of the bag.
Almost finish and I notice that my eye measurement isn’t so good.. Just to revers, release the spare fabric and then continue. I also cut the leather strap to short for some reason and need to lengthen it again.
Dye and burn the last edges.
Then the last thing, burn and cover the string edges. I replaced the leather string with a paracord string.

This project took some time to finish, started i March I think. But finally finished. Ended up pretty good I think. But will still see when I try it out the first time.